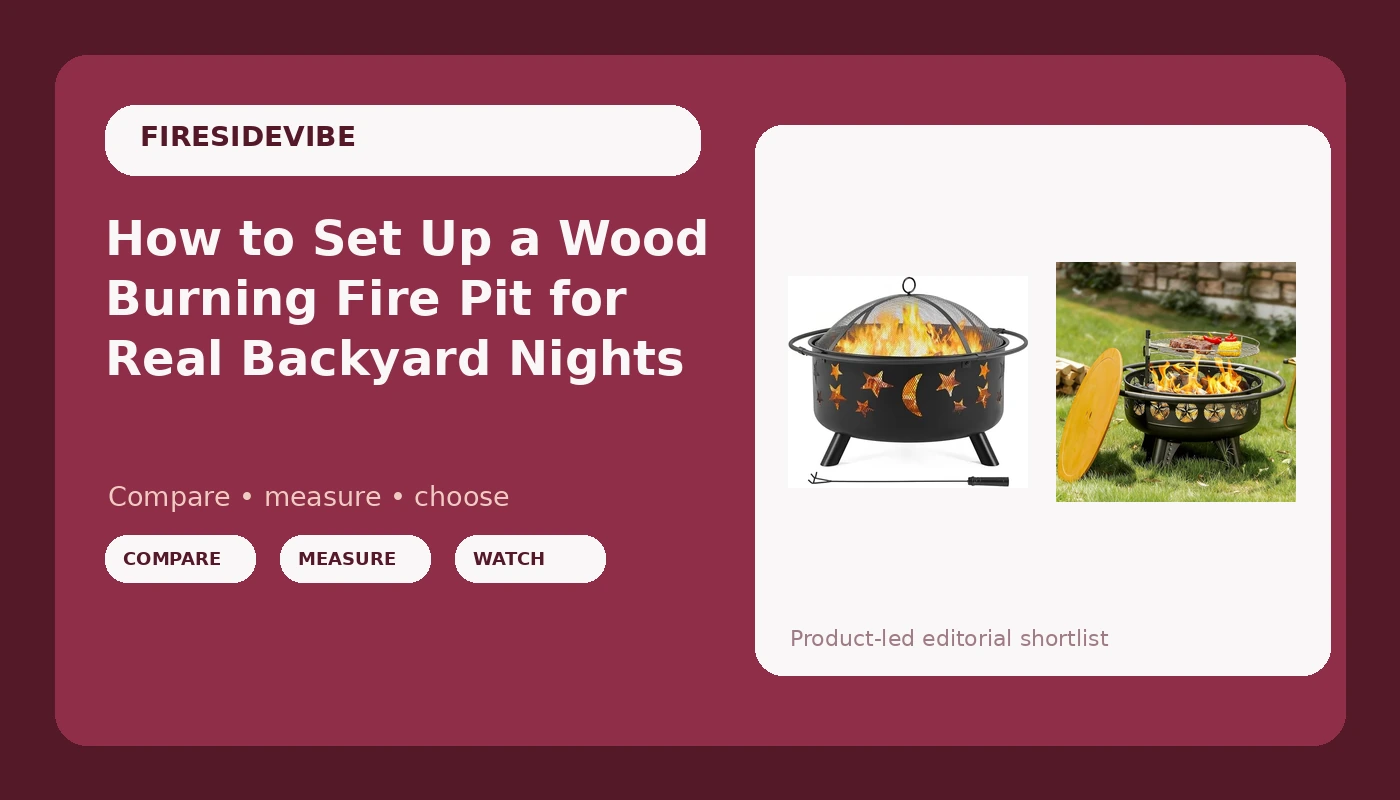
Fire is simple. Steel and airflow are the only things that are hard.
I have said that to clients on more installs than I can count, usually while standing in a backyard where someone parked a bowl on a wood deck, six feet from a cedar fence, and then wondered why the smoke chased them to the far end of the patio.
A wood burning fire pit is not complicated to set up. It is a bowl, a grate, and a decision about where the smoke goes. What makes it feel complicated is that most people do the steps in the wrong order. They buy the pit, drop it where the old one sat, light a big fire, and then spend the evening moving their chair in a slow circle.
Do it in this order instead: surface, airflow, fuel, screen. That is the whole method, and the rest of this guide is the detail behind each step.
Why you should trust me
I have been designing and building outdoor spaces around Asheville for fifteen years, and fire pits are the piece I get asked about most. I have installed everything from a $50 chiminea that cracked in its first season to a $1,200 steel pit that a client will hand to his kids one day. I own three pits myself: a smokeless one for family nights, a classic wood bowl for the nights when I want the real thing, and a gas unit I keep for client events.
I also have a rule I do not break. No recommendation without a full burn night. Not a test fire, not twenty minutes in the driveway. A full evening of wood, and the honest answer to one question: does the smoke follow you around the fire?
How I picked and how I tested
Everything in this guide gets the same treatment: burn it with the same seasoned hardwood, in the same backyard, on a night with a little wind, and watch where the smoke goes. I check the steel gauge by feel and by weight. I check whether the spark screen is a real mesh lid or a decorative ring. I check whether the pit still stands level after a season of rain and one hard freeze.
The two pits below are the two I would hand a first-timer, for two different reasons. Neither is a forever pit. One is the cheapest way to find out whether you actually like sitting outside in the dark, and the other is the cheapest way to find out whether you like cooking on a live fire.
One caveat before you read the picks: prices on this class of pit move around, so check the listing before you commit.
The two pits I would start with
Both of these are wood burning, both are in the same size class, and they are built for two different evenings. Read the caveats, because the caveats are the same on both.
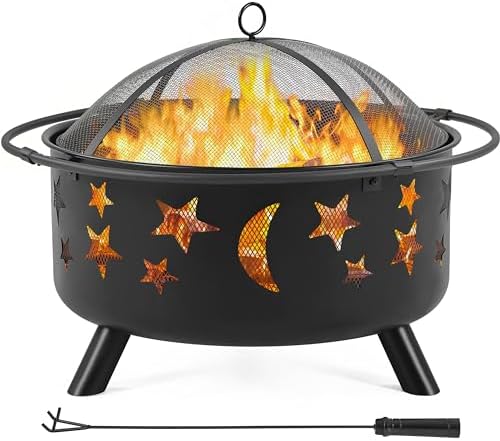
Budget pick: Yaheetech 30in Fire Pits for Outside Wood Burning Outdoor Fireplace
 Visit on Amazon →
This is the pit I recommend when someone is not sure they want a fire pit at all. Thirty inches across, wood burning, and shaped like the classic bowl every backyard had in 1995. It throws real heat, it takes standard firewood without a fight, and it does the one thing a first pit has to do: it lets you find out where you actually want to sit.
The honest caveat is the steel. This is thin gauge, and thin gauge means two things. It heats up fast, which is nice on a cool night, and it will eventually rust through if you leave it out in the weather with ash sitting in the bottom. Keep it covered, dump the ash after it cools, and you will get several seasons out of it. Leave it full of wet ash under a tarp that traps moisture and you will not.
Check the listing for what ships in the box. If the spark screen is not included, buy one before your first burn. I have watched an ember roll off a deck and into dry leaves, and I do not want to watch it again.
Flaws but not dealbreakers: Thin steel, and the finish will discolor with heat. Neither one changes how the fire burns.
Anyone renting, anyone on a tight budget, or anyone who wants to test a spot in the yard before committing to a permanent build should start here.
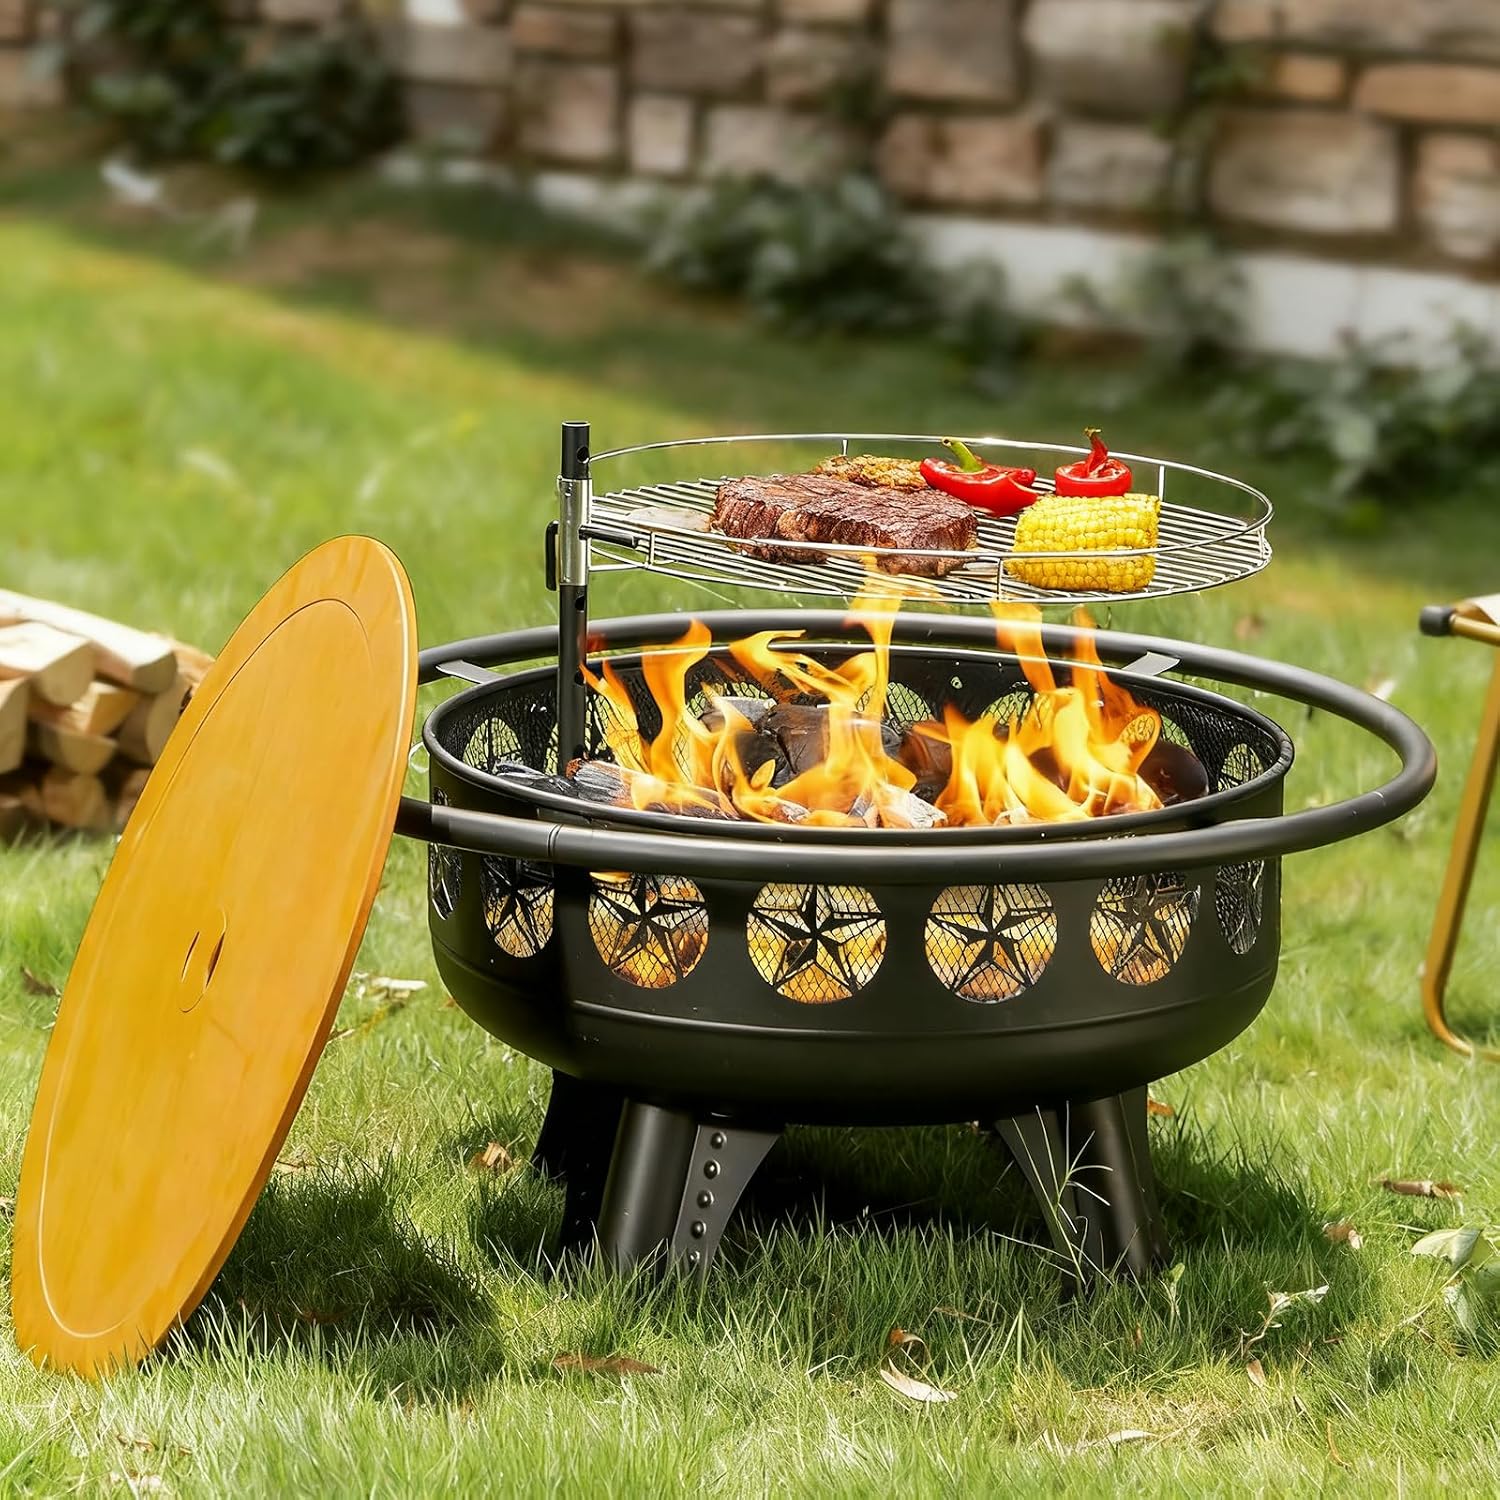
The cooking pick: Verdeluxe 32 Inch Outdoor Fire Pit with Grill 3-in-1 Wood Burning
 Visit on Amazon →
The name says three jobs, and the one that matters for this guide is the grill. A grate over a wood fire turns a pit from a place to stare into flames into a place to cook dinner, and the difference in how much you use it is bigger than you would guess. Thirty-two inches gives you a little more room to keep coals on one side and a clear cooking zone on the other.
A 3-in-1 pit is a compromise by design, so treat it like one. The cooking surface sits close to the coals, which means hot and fast, not low and slow. Steaks, sausages, peppers, corn, things that want high heat and a short visit. If you want to smoke a pork shoulder for eight hours, that is a different tool and a different article.
The same steel caveat applies. A pit that lives outside needs a cover and an empty ash pan.
Flaws but not dealbreakers: The grate is not a full-size grill grate, so do not plan on cooking for twelve. And like most combo pits, the cooking surface is one more thing to clean.
Anyone who wants one object in the yard that handles fire nights and dinner on the same evening will get the most out of this.
The setup order that actually works
Now the part you came for. This works with either pit above, or with whatever you already own.
Step one: pick the surface before you pick the spot. A wood burning fire pit goes on gravel, pavers, brick, or bare dirt. Not a wood deck, not dry grass, not a plastic patio mat, and not the mulch bed against the house. If the only flat spot in your yard is the deck, put a paver pad down first, or accept that you are shopping for a different kind of pit.
Step two: give it room. Ten feet of clearance from the house, the fence, the shed, and anything with low branches overhead. Embers rise and drift. The spark screen catches most of them, not all of them.
Step three: check the airflow path. Look at the pit before you light it. Most wood pits breathe through vents or holes in the wall, and some have a grate or pan in the bottom that lets air come up under the fuel. If those openings are blocked with ash from last time, the fire will smolder and smoke. Clear them first. Airflow is the whole game with wood.
Step four: start small. Three or four splits, teepee style, with kindling in the middle. Not a bonfire. The first fire in any new pit is a break-in fire, and its job is to burn off the manufacturing oils and let the metal expand and contract once at a moderate temperature. A roaring first fire on thin steel can warp a pan or blister a finish.
Step five: let it burn out, then check the finish. A new pit will smoke and smell for the first twenty or thirty minutes. That is the coating cooking off, not a defect. Once it cools, look at it. Discoloration around the hottest zone is normal. Flaking is a sign you pushed it too hard on night one.
Step six: fit the spark screen. If your pit came with one, use it every time, not just when the wind picks up. If it did not, buy one. This is not a maybe.
Step seven: deal with ash. Ash insulates and holds moisture against the steel, which is how thin pits die. Wait until everything is cold, scoop it out, and put it in a metal can. A thin layer left in the bottom is fine. A winter's worth of wet ash is not.
Smoke, airflow, and the first burn
Here is the part nobody tells you. Most of what people call a smoky fire pit is a wood problem, not a pit problem.
Wet wood smokes. Unseasoned wood smokes. A fire with no air under it smokes. Seasoned hardwood, split and stacked for a year, with a gap under the fuel for air to move through, burns hot and clean in a cheap bowl. The same wood piled tight in a premium pit smolders and sends smoke straight at your chair.
The other half is wind and placement. Smoke follows the breeze, so the person downwind gets it. On a still night, smoke rises straight up and everybody is happy. On a night with a steady wind, no pit on the market will keep the smoke off the person sitting in the path. Watch your yard for a week, figure out which way the evening air moves, and put the pit where the smoke has somewhere to go.
That is the difference between the two categories of pit. A standard wood bowl manages smoke through placement and fuel. A double-wall smokeless pit pulls air down the outside, feeds it back into the fire, and burns the smoke a second time, which is real technology and real money. The pits in this guide are in the first category. They are honest wood pits. Use good wood, keep the airflow clear, and sit on the right side.
The mistakes I see most
Mulch against the house. It looks great and it is a fuse.
A pit on a deck with no pad under it. Even a raised bowl radiates down, and a hot ember that rolls off the edge does not care that you were careful.
No screen. I have said it three times now. There is a reason.
Buying the biggest pit the yard can hold. A four-foot bowl takes four-foot fires to look right, and that is a lot of wood, a lot of smoke, and a lot of heat for four people. Thirty inches is the sweet spot for most backyards.
Leaving it out all winter full of ash. This is how a pit that should last five seasons lasts two.
What this all costs
Check current Amazon price on both pits before you decide, because this is a category where the number moves. What I can tell you is the shape of the math.
The pit itself is the cheap part. What adds up is everything around it: a paver pad if you do not have a non-combustible surface, a cover, a spark screen if yours does not include one, and a few cords of seasoned wood over a season.
Spread that over five years and it is not much per night. The pits in this guide are entry points, not heirlooms. If you burn twenty nights a year for five years, you will get your money out of either one and then decide whether you want to spend real money on a thicker pit that outlives you.
That is the honest version. Start cheap, learn where you sit and which way the smoke goes, and buy the permanent pit second.
The best fire pit is the one that makes your friends stay until the logs are ash. Get the surface and the airflow right, and that is what you get.