Most people treat a wood burning fire pit setup as a shopping problem. It is not. It is a dirt problem, a drainage problem, and an airflow problem, and the shopping part takes ten minutes once you know what you are looking at. I have been designing and building backyards around Asheville for fifteen years, and the pits that fail in year one almost never fail because the owner bought the wrong bowl. They fail because the bowl sat in a low spot, or three feet from a fence, or on a deck board that was already dry as paper.
This is the order of operations I use: pick the spot, prep the ground, set the pit, and run the first burn so the smoke goes up instead of into your chair. The two pieces of hardware I would start most people with are linked below, one budget bowl and one galvanized ring that doubles as a raised garden bed if you change your mind halfway through the project.
Why you should trust me
Fifteen years of landscape work in western North Carolina, most of it in yards with a slope, a burn ban calendar, and a homeowner who wants the fire to look like it belongs there. I have built more fire pits than I have attended campfires, which is a strange thing for a guy who writes about fire to admit. I own three: a smokeless double-wall unit for family nights, a plain steel bowl for the nights I want real wood smoke, and a propane one that exists because clients ask for ambiance without the smell in their hair.
What I care about is unglamorous. Steel gauge. Airflow. Drainage. A spark screen that actually fits the top of the thing it shipped with.
The four questions I ask before any pit goes in the ground
Every pit I install gets the same interrogation, and it has nothing to do with how it looks on a patio.
How thick is the steel? As a rule of thumb, 3mm and up is a decade of fires, 1mm is a season. Thickness is what keeps the bottom from warping into a taco and the legs from sagging. You will not find a gauge printed on most listings, so read the material description and the weight, and treat a pit that weighs nothing as a pit that will not last.
Where does the air come from, and where does the smoke go? A bowl with holes punched in the side burns differently than a solid bowl with a grate. You want air under the fuel and a path for it to move through. A solid bowl with no under-air is a smoke machine.
Is there a real spark screen? Not a decorative lid. A mesh screen that sits on the rim and catches embers. I have seen what an ember does to a deck, and I do not want to see it again.
What happens after three days of rain? If the answer is "it sits in a puddle," you have bought a planter, not a fire pit.
Pick the spot before you buy anything
This is the part people rush, and it is the part that decides whether you enjoy the pit or resent it.
Call 811 first. In the US, that is the free utility locate line. Do it before you dig even a shallow base. Gas, water, irrigation, and fiber all run shallower than you think.
Check your rules. A common baseline is 10 feet from a structure and 3 feet from anything combustible, but your local code, your HOA, and your apartment lease are the ones that actually matter. Ask about burn bans too. Plenty of mountain counties shut down open burning in dry stretches, and a fire pit is open burning.
Think about the evening breeze. Smoke follows the person sitting downwind. Watch your yard at dusk for a few nights before you commit to a spot, and position the pit so the prevailing air moves smoke away from where you plan to put chairs.
Look up. Low branches overhead are a problem, and so is anything that drops leaves into the bowl all summer.
Look down. Level ground, mineral soil or a non-combustible pad. Grass is fine under a raised bowl. A wood deck is not, no matter how nice the pit looks on it.
The setup workflow, step by step
Step one: mark and clear. Set the pit down where you want it and trace the footprint. Pull the grass and organic material out of that circle and a few inches beyond it. You want bare dirt or a hard surface, not turf.
Step two: build the base. Four to six inches of compacted gravel, or a paver pad if you want it to look deliberate. Make the pad wider than the pit so embers land on stone instead of mulch. Tamp it in lifts, not all at once.
Step three: level it. A pit that rocks will tip a log and roll an ember off the edge. Check level in two directions. If your ground slopes, dig the high side down rather than propping the low side up.
Step four: handle water. Slope the pad away from the seating area, or set the pit on gravel so water drains through instead of pooling in the bowl. This single step is the difference between a pit that lasts years and one that rusts from the inside out.
Step five: set the pit or the ring. If you are using a bowl, set it and check that it does not rock. If you are using a ring, sink it slightly into the pad so ash and logs stay inside the boundary.
Step six: check the clearances again, with a tape. Not by eye. Three feet to combustibles is closer than it sounds once a chair and a wood pile are involved.
Step seven: add the screen and a poker before the first burn. Buy them with the pit, not after the first spark lands somewhere unfortunate.
Step eight: the first burn is a small one. Dry, split, seasoned wood. No lighter fluid, no cardboard, no trash, no pressure-treated scraps. Build a small hot fire, let it burn down, and learn how the smoke behaves in your yard before you invite anyone over.
The two pits I would start with
One bowl for people who want a real fire this weekend, and one ring kit for people who want the fire to look like it was always there.
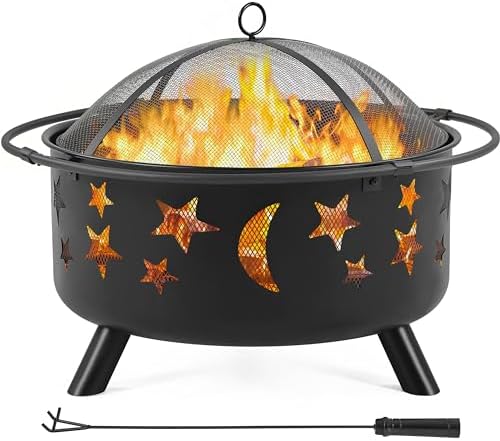
Budget pick: Yaheetech 30in Fire Pits for Outside Wood Burning Outdoor Fireplace
 Visit on Amazon →
Thirty inches across is the classic backyard size, big enough for a real fire and small enough to move with one other person. Check current Amazon price. This is the budget pick, and I want to be straight about what budget means here. The steel is thinner than a premium pit, and thinner steel means it will eventually rust, especially if it sits outside uncovered through a wet winter. Read the listing carefully for what is actually in the box, and if a spark screen is not included, buy one. Sit it on a non-combustible pad, cover it or store it between burns, and you get genuine fires instead of a decoration.
Flaws but not dealbreakers: It is an open wood bowl, so it smokes. Not a design flaw, just physics. Site it with the breeze in mind and keep the fuel dry and you will spend more nights around it than you expect.
Anyone renting, anyone new to fire pits, and anyone who wants to spend their money on firewood instead of steel will be happy here.
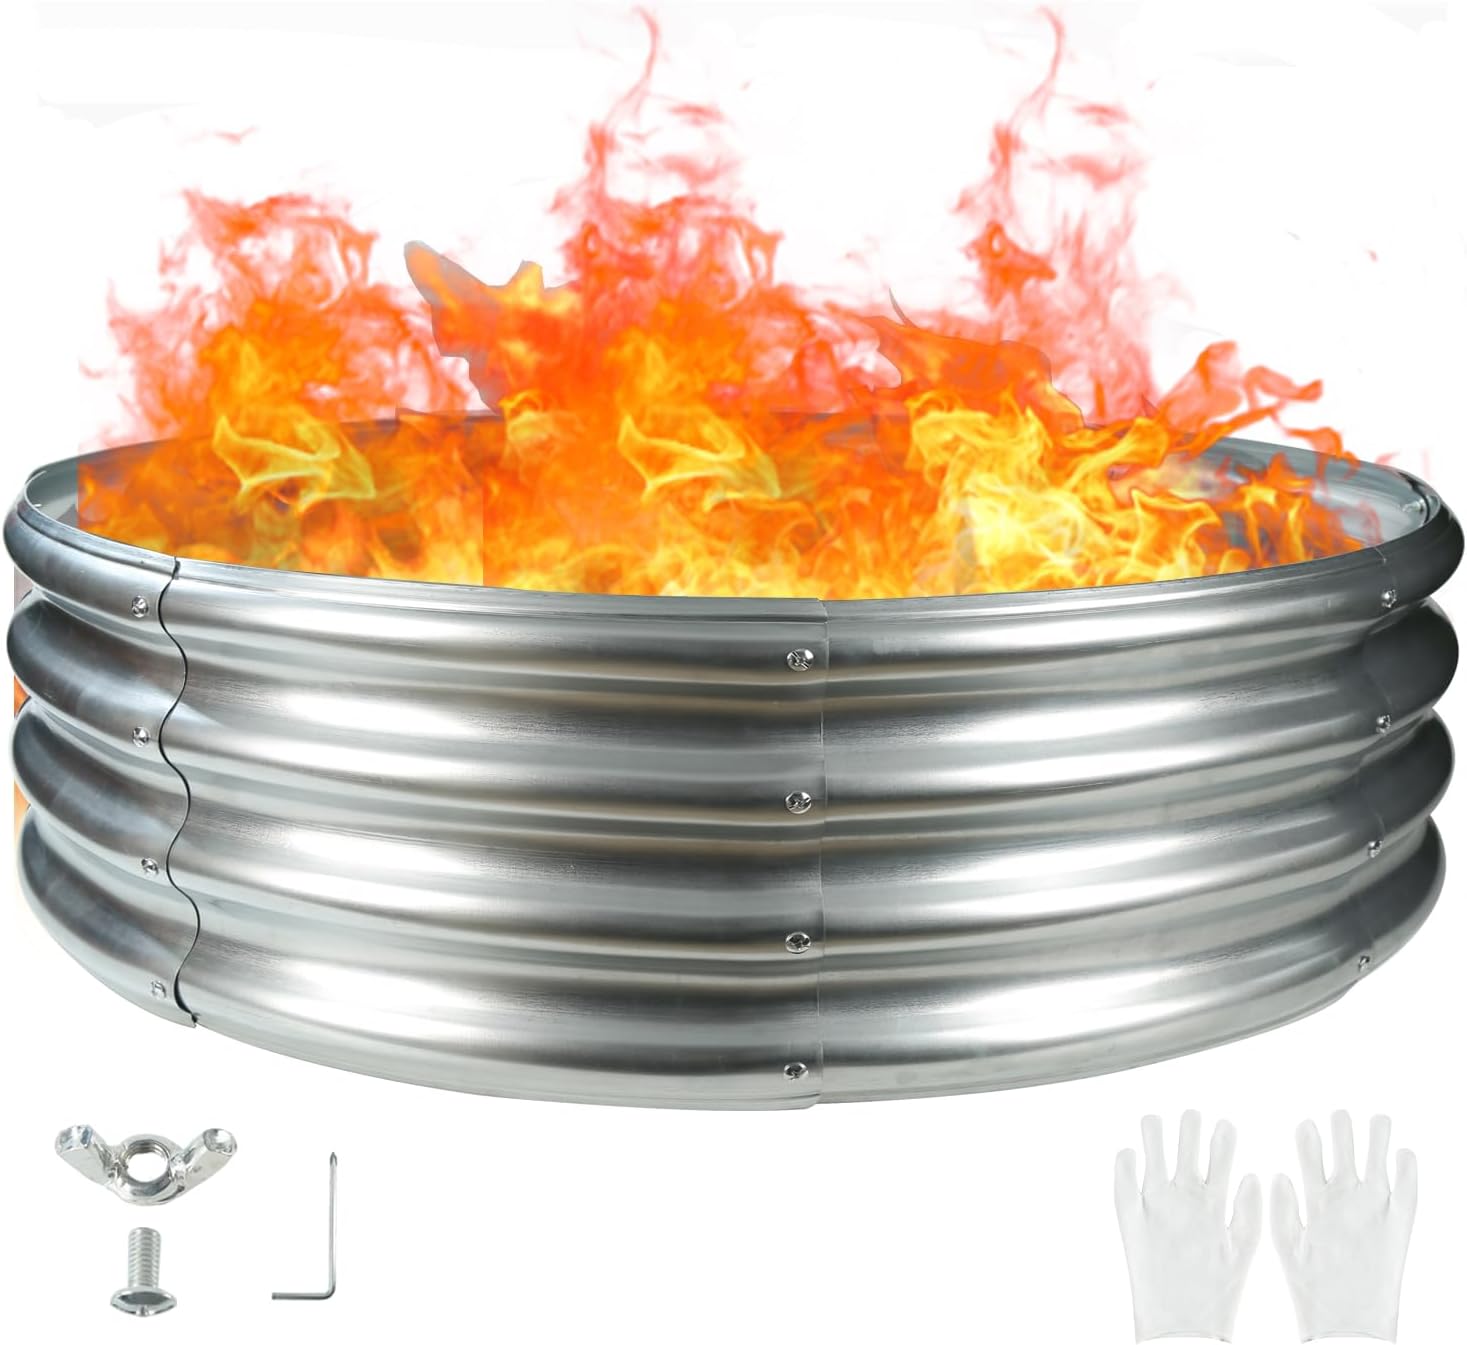
The permanent option: TBMLC 48" Round Galvanized Steel Fire Ring Pit/Raised Garden Bed Kit
 Visit on Amazon →
Forty-eight inches round in galvanized steel, sold as a fire ring pit or a raised garden bed kit. Check current Amazon price. If your goal is a built-in look without paying a mason, this is the frame: set it into a gravel pad, define the burn area, and stop chasing ash across the yard.
The coating is the thing to understand before you buy. Galvanized steel carries a zinc coating, and zinc plus sustained high heat is a combination worth researching rather than assuming. My advice is to treat this as containment and border, not as the bowl the fire lives in. Either line it and set a steel bowl or grate inside it, or use it as the raised bed it is also sold as and keep the actual fire in a separate pit beside it. Read the listing and ask the seller directly if you plan to burn inside it.
Flaws but not dealbreakers: It is a ring kit, so budget for the parts around it, meaning a base, a screen, and something to lift the wood off the bottom for airflow. That is normal for a ring, but people forget it until they are standing in the yard with a wheelbarrow.
Anyone who wants a permanent fire area, or who genuinely wants a raised bed and might add a fire bowl later, gets the most out of this.
How to run it so the smoke does not follow you
Smoke management is the feature. Everything else is decoration.
Burn dry, seasoned, split wood. Green wood hisses, smolders, and smokes. So does trash, and so does anything pressure-treated.
Give the fire air from below. If your pit has a grate or vent, use it. If it does not, keep the fuel loose instead of packed tight.
Build small and hot rather than big and lazy. A modest fire with good airflow burns clean. A towering pile of logs smolders at the edges and pushes smoke sideways.
Do not smother it. Adding three logs at once is how you get a smoldering pile. Add one, let it catch, add another.
Move the chairs, not the fire. If the wind shifts, the person downwind is the one who moves.
Skip the burn on a windy day or during a burn ban. That is not caution, that is common sense.
Care through a season
Water sitting in the bowl is what kills budget steel. Cover the pit or store it, and if you cannot do either, at least tip it so it drains.
Empty ash only when it is cold. Ash can hold live embers for days under the surface, and a plastic bucket in a garage is a bad place to find that out. Metal container, outside, away from the house.
Touch up rust spots with high-heat paint if you want to stretch the life of a thinner bowl. It is cosmetic, but it slows the process.
Keep the spark screen indoors when the pit is not in use. Screens rust faster than bowls because they are thin wire mesh, and a rusty screen stops fitting the rim properly.
Other pits, and why they are not in this guide
The Solo Stove Bonfire 2.0 is the smokeless pick I reach for on family nights, and the double-wall design genuinely cuts the smoke, but it is a radiant heater more than a campfire. The Breeo X Series is what I recommend to people who want smoke-free and are willing to pay premium for the build. The Tiki Brand pit is a solid all-rounder for a normal backyard, and the Outland Living Cypress is the propane answer for anyone who wants ambiance without the smell.
All four belong in a buying guide. This is a setup guide, so they are not linked here.
What this all costs
The bowl is the cheapest part of the project, and that surprises people. The base costs money, whether that is gravel and a tamper or a pallet of pavers. The screen and the poker cost money. The cover costs money, and the firewood costs money every single season you own the thing.
Then there is the free part, which is the part that decides everything: an afternoon of digging, leveling, and tamping before the pit ever comes out of the box. Skip it and you will be back out there in a month, fixing a rocking pit with a warped bottom and a scorch mark on the fence.
Fire is simple. Steel, airflow, and drainage are the hard parts. Get those three right and the pit becomes the thing your friends stay late for, long after the logs have gone to ash.