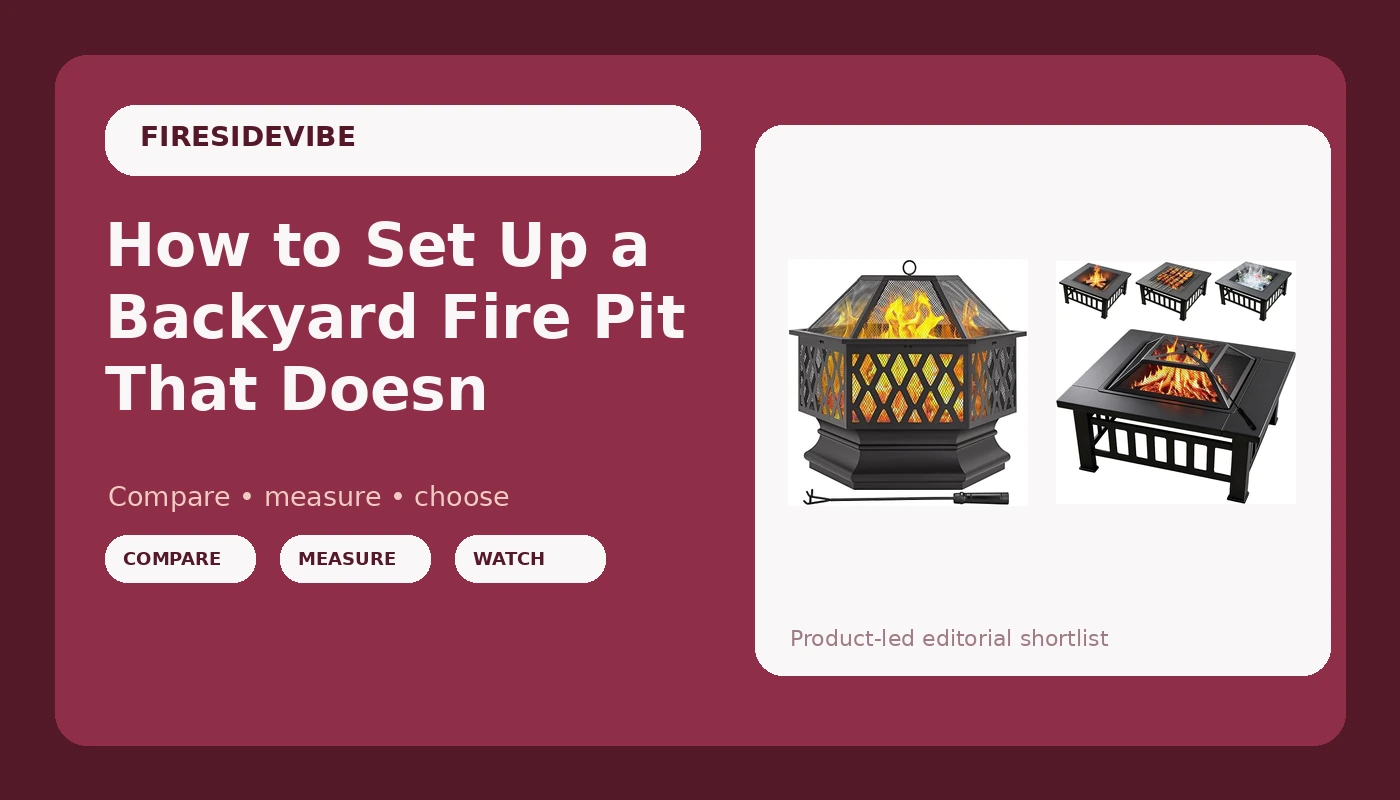
Most people buy a fire pit, drag it to the middle of the lawn, and light a fire. Then they spend the whole night moving their chair around the smoke. Backyard fire pit setup is not complicated, but it is a sequence, and the sequence starts well before you strike a match. Get the ground right, get the clearance right, get the airflow right, and the fire stops chasing your guests around the yard.
I've been designing and building outdoor spaces in and around Asheville for fifteen years. I've installed pits in client backyards, torn out pits that rusted through in a single season, and sat downwind of enough bad fires to know exactly which mistakes cause the smoke-follows-you problem. What follows is the order I actually work in.
The good news: most of this costs nothing but an afternoon.
Why you should trust me
I'm a landscape designer and outdoor guide, and I've built more fire pits than I've attended campfires, which is a strange sentence to write but an accurate one. My work has run from cheap chimineas that cracked in a season to heavy steel pits in client backyards that will outlive the deck they sit on.
I own three pits. A smokeless double-wall unit for family nights, a classic wood pit for when I want the real thing, and a gas pit for client events where nobody wants smoke in their hair. That mix is deliberate. It's also why I don't hand out blanket recommendations. The right pit depends on which of those three nights you're actually trying to have.
My rule for anything I recommend: it has to survive a full season of weather, and it has to have a real spark screen. I've seen what an ember does to a deck.
The four questions I run every pit through
Before anything else, here's the filter.
What's the steel gauge? Thickness decides lifespan. Thin steel is a one-season novelty. Heavier steel is a decade of fires. You can feel the difference in the rim, and you can see it in the weight.
Does the smoke follow you around the fire? This is airflow, and it's the whole ballgame. A pit that smokes you out of your own backyard is a fireplace with a seating problem.
Is there a real spark screen? Not a decorative lid. Mesh that actually catches embers.
Would it still be standing after a season of rain? Powder coating, drainage, and where you store it in January all matter here.
Both pits below answer these questions differently, and that's why both are on this list. One is the wood burner you can move around the yard. The other is a multi-purpose table that lives in one spot.
Two fire pits worth putting in the yard
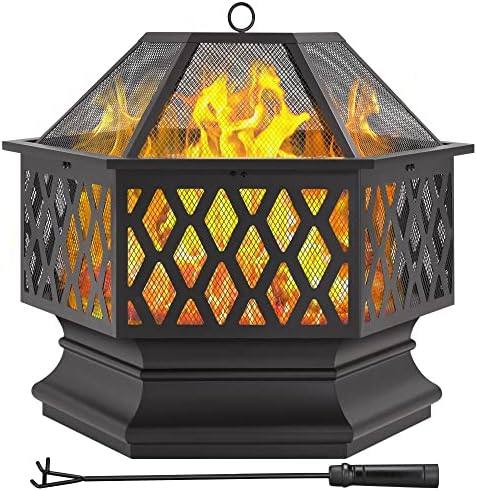
Budget pick: Yaheetech 26in Fire Pits for Outside Hex Shaped Fire Pit Wood Fire Pit Outdoor Fireplace for Bonfire Patio Picnic BBQ, with Spark Cover, Fire Poker
 Visit on Amazon →
This is the budget pick in the honest sense of the word. It's a 26-inch hex-shaped wood burner with a spark cover and a fire poker included, which means you're not hunting for accessories on day one. The hex shape is not just styling. Flat panels are easier to weld straight and easier to keep clean than a rolled drum, and the shape sheds water instead of pooling it.
Steel this thin will rust eventually. I'll say that plainly, because the alternative is pretending a budget pit is a lifetime purchase. What it will do is give you real wood fires this season and probably several more, if you cover it and don't leave ash sitting in the bowl all winter.
Flaws but not dealbreakers: Thin steel wants to be emptied and covered. If you're the type to leave a pit full of wet ash from October to April, buy heavier steel or accept that this one becomes yard art.
The spark cover is the part I care about most. A wood fire without a screen is a liability, and this one ships with it. The poker is a nice touch for moving logs without losing your eyebrows.
Anyone who wants a real wood fire on a patio or a picnic spot without spending serious money should start here.
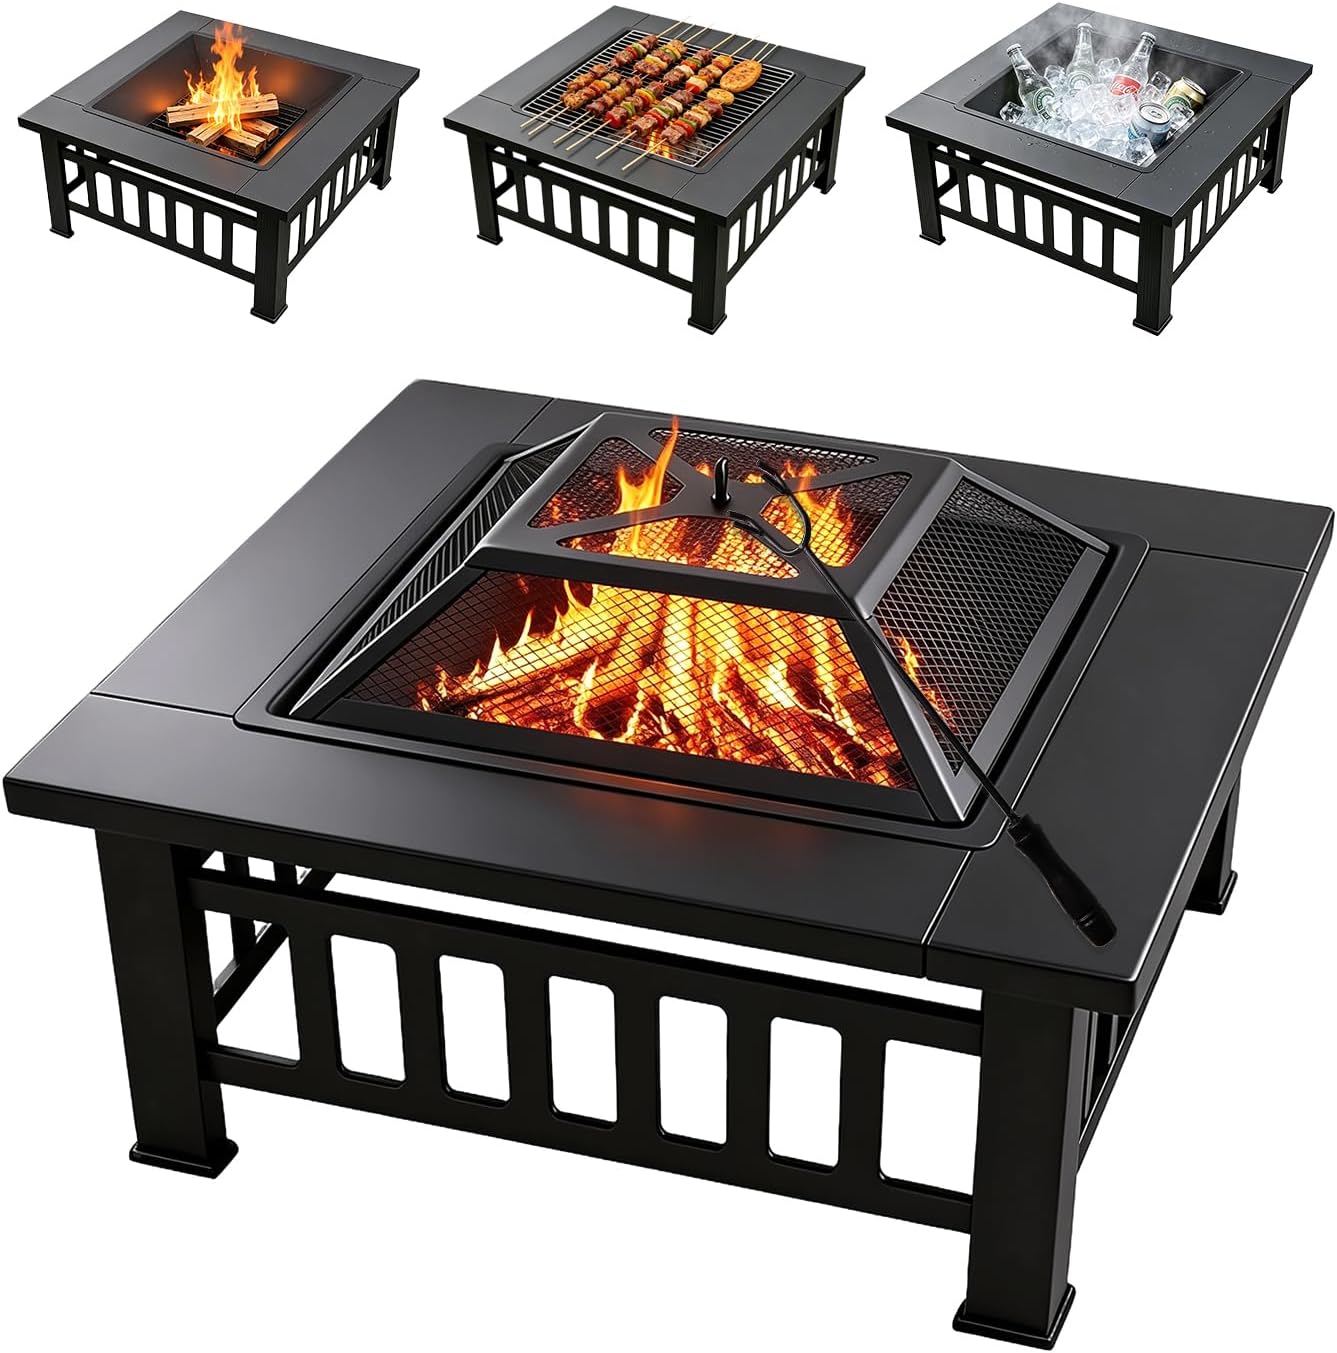
Upgrade pick: 3-in-1 Multifunctional Square Fire Pit Table, 32-Inch Outdoor Metal Fire Pit with Ice Bucket, Black Powder Coated Iron, Charcoal Fueled
 Visit on Amazon →
This one is doing a different job. It's a 32-inch square table with a black powder-coated iron body, a charcoal-fed fire, and an ice bucket built in. Powder coating is the real upgrade here: it's the difference between a surface that shrugs off a wet season and one that starts blooming orange rust by June.
The 32-inch square footprint gives you a wider fire than the 26-inch hex and a rim you can actually set a drink on. The ice bucket is the part people roll their eyes at until they host a party. Cooler space and fire in one footprint is genuinely useful when your patio is small.
Charcoal rather than logs changes the character of the fire. It burns hotter and cleaner, it's easier to control, and it's ready for cooking faster. If you want the crackle and the log-moving ritual, this is not that. If you want a table that turns into a fire after dinner, it is exactly that.
Flaws but not dealbreakers: Square corners mean the fire is a bit more exposed at the edges than a round bowl, so keep the screen on and keep chairs a sensible distance back. Charcoal also means you're buying fuel, not scavenging it.
Anyone with a fixed patio spot, a small yard, or a household that hosts a lot should look here first.
The actual setup workflow
Now the sequence. This works whether you bought the hex burner, the square table, or something you already own.
Step one: pick the spot by wind, not by view. Stand in your yard on a normal evening and watch which way the breeze moves. Smoke follows the person sitting opposite the wind, so seating gets arranged around that, not around the prettiest angle from the kitchen window. Put the pit downwind of the seating you use most.
Step two: clear the ground and check your clearance. Fire pits go on stone, gravel, concrete, or bare mineral soil. Not on dry grass, not on a wood deck, not under a low tree branch, not under an overhang. Ten feet of horizontal clearance from anything combustible is the number I work to, and more is better if your roof line or fence is close.
Step three: level it. A pit that rocks is a pit that spills. Set it on a level surface, and if your patio slopes for drainage, shim it or move it. A wobbling bowl full of burning wood is the kind of thing that ends a party early.
Step four: pick your fuel and don't mix it up. Wood for the experience, charcoal for heat and control, gas for convenience. Wood wants dry, seasoned hardwood, split small enough to catch but big enough to last. Charcoal wants a chimney starter and patience. Don't burn construction scrap, treated lumber, or anything painted.
Step five: build the fire small and wide. Teepee fires look great in photos and burn fast and hot. A criss-cross stack with air gaps burns longer and smokes less, because the wood is getting oxygen from more than one side. Start with kindling, add two or three splits, and let it establish before you bury it.
Step six: put the spark screen on before you need it. Not after the first ember pops. The screen goes on early and stays on while the fire is active. This is the single non-negotiable step in this whole guide.
Step seven: burn it down, don't dump it out. Let the fire burn to ash on its own. Dumping a half-burnt load into a trash can is how people melt trash cans. When the ash is cool, scoop it out. Ash left in the bowl holds moisture against the steel, which is exactly how a cheap pit becomes a rusty pit.
Step eight: cover it and store it. If your pit has a cover, use it. If it doesn't, flip it over or move it under shelter for the winter. A pit that sits full of water from November to March is a pit you'll be replacing.
The one thing that decides whether the night works
Airflow. Everything else is secondary.
Smoke is unburned fuel. When a fire gets enough oxygen and enough heat, the smoke burns off in a secondary burn, which is the whole principle behind smokeless double-wall designs. You can't retrofit that into a basic bowl, but you can stop making it worse. Don't crowd the fire with logs. Don't put the pit in a corner where the fence blocks the breeze. Don't light it on a dead-still, humid evening and then wonder why the smoke hangs at chest height.
If the smoke is following you, the fire is telling you it wants more air. Give it some, and move your chair.
What doesn't make the list
I'd skip a few categories entirely. Thin stamped steel bowls with no screen are planters that had a fire pit printed on the box. Chimineas look charming and crack in a season. Anything sold purely on how it looks in a photo, with no mention of steel thickness, is a decoration, not a purchase.
Gas and propane tables are a legitimate choice, but be honest about what you're buying: convenience and instant ambiance, not a campfire. That's a fine trade for a client event or a rental with strict rules. It's not the same night as wood.
If a listing can't tell you the gauge, the fuel, and whether a screen is included, that's your answer.
What this all costs
I'm not going to quote prices here, because they move. Check current Amazon price on both pits before you decide, and then do the math in seasons rather than dollars.
The hex burner is the lower entry point, and its cost is spread over however many seasons you keep it covered. The square table costs more up front and buys you powder coating, a wider footprint, and a piece of furniture that does two jobs. Both are cheaper than rebuilding a deck.
The accessories that matter are boring: a cover, a screen, a poker, a bucket for ash. If a pit ships with a spark cover and a poker, that's money you don't spend later.
The real cost of a bad fire pit isn't the purchase. It's the season you spend moving your chair.
That's the job. Pick the spot, clear the ground, build a small fire, keep the screen on, and put it away dry. Do that once and you'll stop thinking about the pit entirely, which is exactly the point.