Smoke follows the person who tends the fire. That is not folklore, it is airflow. A fire pulls its air from the low side, the plume rolls off the high side, and the person who stands up to poke the logs is almost always standing in the wrong one. Smokeless fire pit setup is really about beating that pattern before the first log goes in, and about choosing a pit whose design does the work on the nights the wind refuses to cooperate.
I have been designing and building backyard fire features around Asheville for fifteen years. I have installed chimineas that cracked inside a single season and steel pits that will outlive the people who bought them. I own three: a smokeless one for family nights, a classic wood pit for the real thing, and a propane one I keep for client events and rental properties where somebody else has to light it.
This is the process I run before the first burn, plus the two pits I reach for when I want the smoke problem solved rather than managed.
Why you should trust me
I have built more fire pits than I have attended campfires, which is a strange sentence for a guy who lives in the mountains, but it is true. Most of that work has been in western North Carolina, on sloped lots where the seating area is downhill from the burn site and the wind does something different every hour after dark.
I have three rules I do not break. I do not write about a pit until I have burned in it for a full night, not a test fire in the driveway. I do not call anything smokeless until I have sat downwind of it and stayed there. And I do not recommend a pit without checking the steel gauge and whether there is a real spark screen in the box.
That last one matters more than people think. The screen is not a decoration. I have watched an ember roll off a deck board and sit there glowing, and I have spent an afternoon replacing boards because somebody skipped it.
How I picked and how I tested
Both pits in this article got identical treatment: the same seasoned hardwood, the same backyard, the same hour-long sit-downwind test after the fire reached temperature. I also ran the propane unit through a full evening on a rental property deck, which is where most gas pits actually live.
The test is simple. Light the fire. Wait until it is burning clean, not smoking from the top of a fresh load. Then move to the downwind side and sit there for an hour. If the smoke finds you, the pit failed, no matter how it looks or what the box claims. If you can sit downwind with your jacket on and not smell like a chimney when you come inside, that pit did its job.
I checked three other things on each unit. Steel gauge, because thin metal is a one-season novelty and thick metal is a decade of fires. The base, because a pit that sits directly on a hot deck or dry grass is a problem waiting for a dry August. And the weather question, which is the one nobody asks at the store: would this still be standing after a season of rain if I forgot to cover it once.
What actually decides whether a fire pit smokes
Three things, in this order.
Fuel moisture. Wet wood smokes. That is the whole story for most people who blame their pit. Split firewood that has been stacked and covered for a year burns hot and clean. Green wood, or wood that has been sitting in a pile in the rain, smolders and throws a column of white smoke no design on earth can fix.
Airflow around the pit. A fire pit tucked against a wall, under a tree, or in the corner of a fence pulls air from one direction and dumps smoke in another. Give it open space on the upwind side and the plume rises instead of rolling across your lap.
The burn design itself. This is where smokeless pits earn their name. A double-wall pit feeds preheated air into the top of the fire, which burns the smoke a second time before it leaves the rim. That secondary burn is the difference between a fire night and a smoke detector night, and it only works when the wood is dry and the fire is hot enough to sustain it.
The two pits I use
These are the two I keep in rotation, one for wood and one for propane, and they solve different problems.
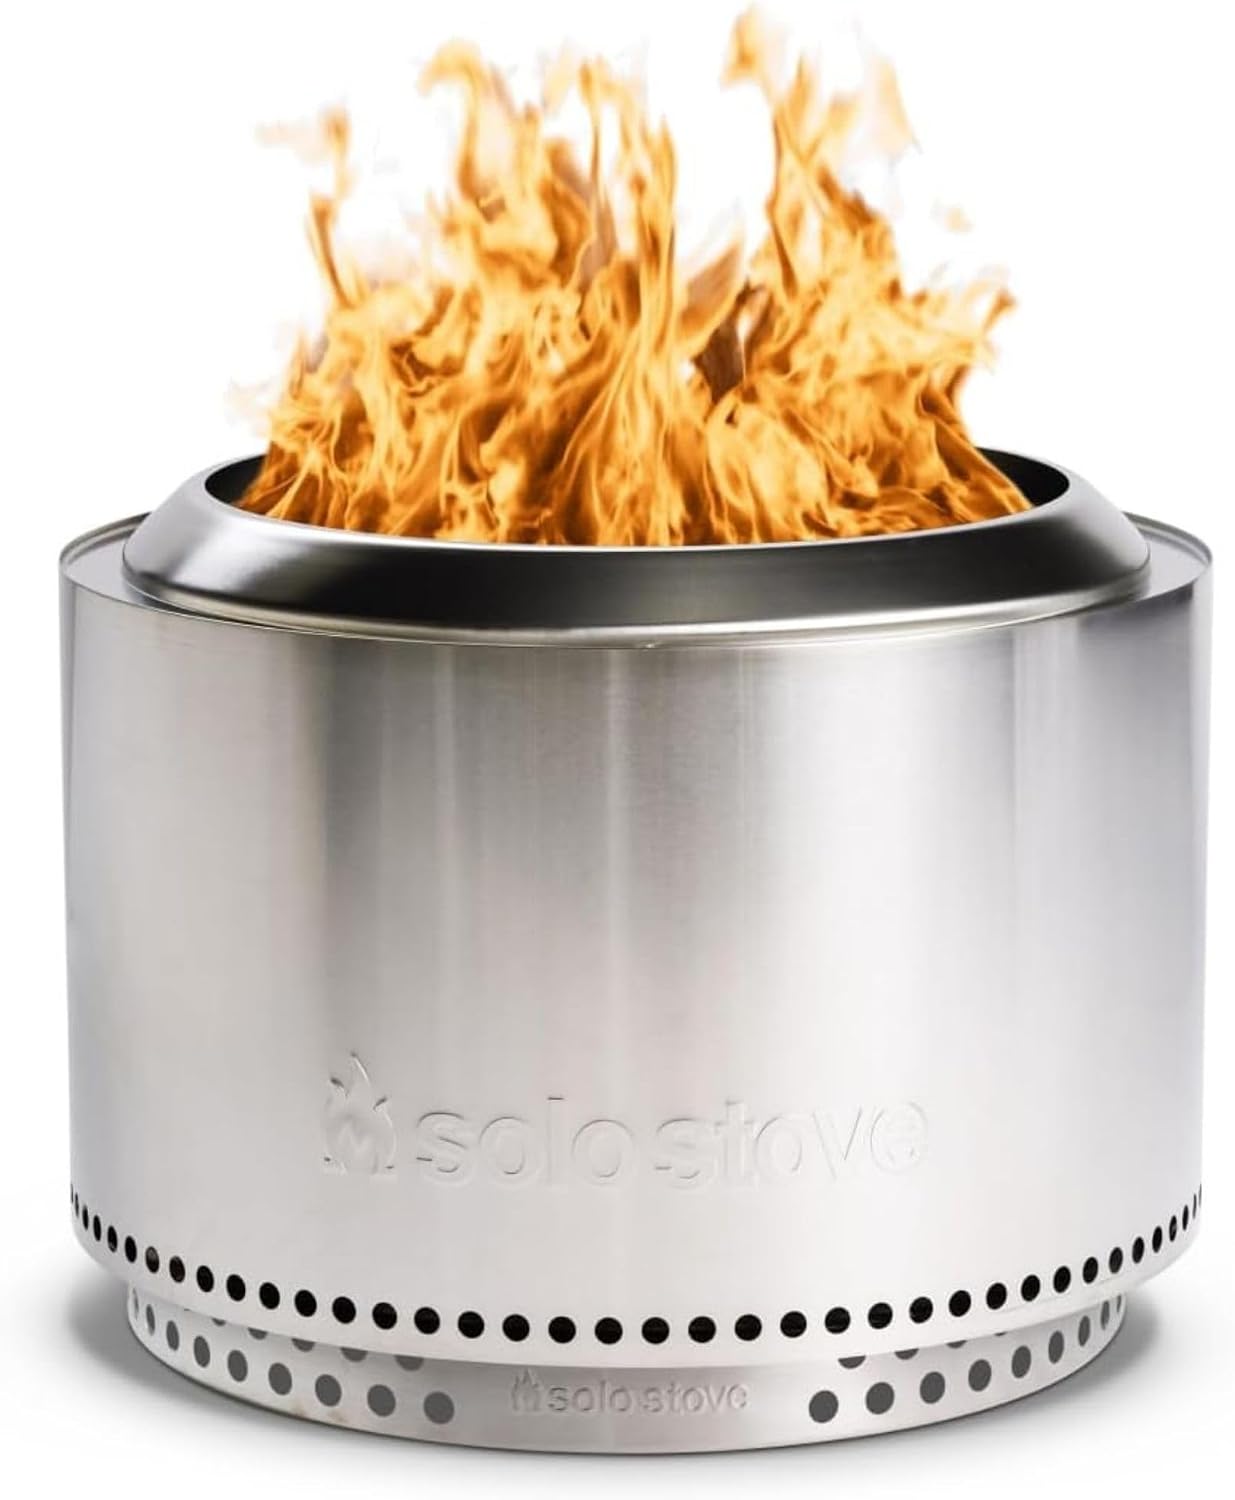
The smokeless pick: Solo Stove Yukon 2.0 + Stand | 27" Smokeless Fire Pit, Silver
 Visit on Amazon →
This is the pit I use for family nights, and it is the one I hand to clients who tell me they gave up on backyard fires because the smoke chased everyone inside. The double-wall design does what the name says, but understand what you are buying: it kills the smoke, not the weather, and it does not change the fact that you still need dry wood and a hot fire for the secondary burn to work. Feed it wet wood and you will get a wet-wood fire.
The stand is the part I care about most, and it is why I would not run this on a wood deck without one. Getting the base up off the surface means the heat has somewhere to go besides the boards underneath it. If your deck has been sealed in the last year or two, that matters even more.
Flaws but not dealbreakers: This is a radiant heater with a narrow window. Sit close and it will cook your shins while your back freezes. Sit far and you are watching a pretty fire, not warming your hands. It is also heavy enough that moving it is a two-person job or a wheelbarrow job, so treat it as a permanent backyard fixture, not a tailgate pit.
Check current Amazon price. Anyone who wants a wood fire in a normal backyard without smelling like one the next morning should start here.
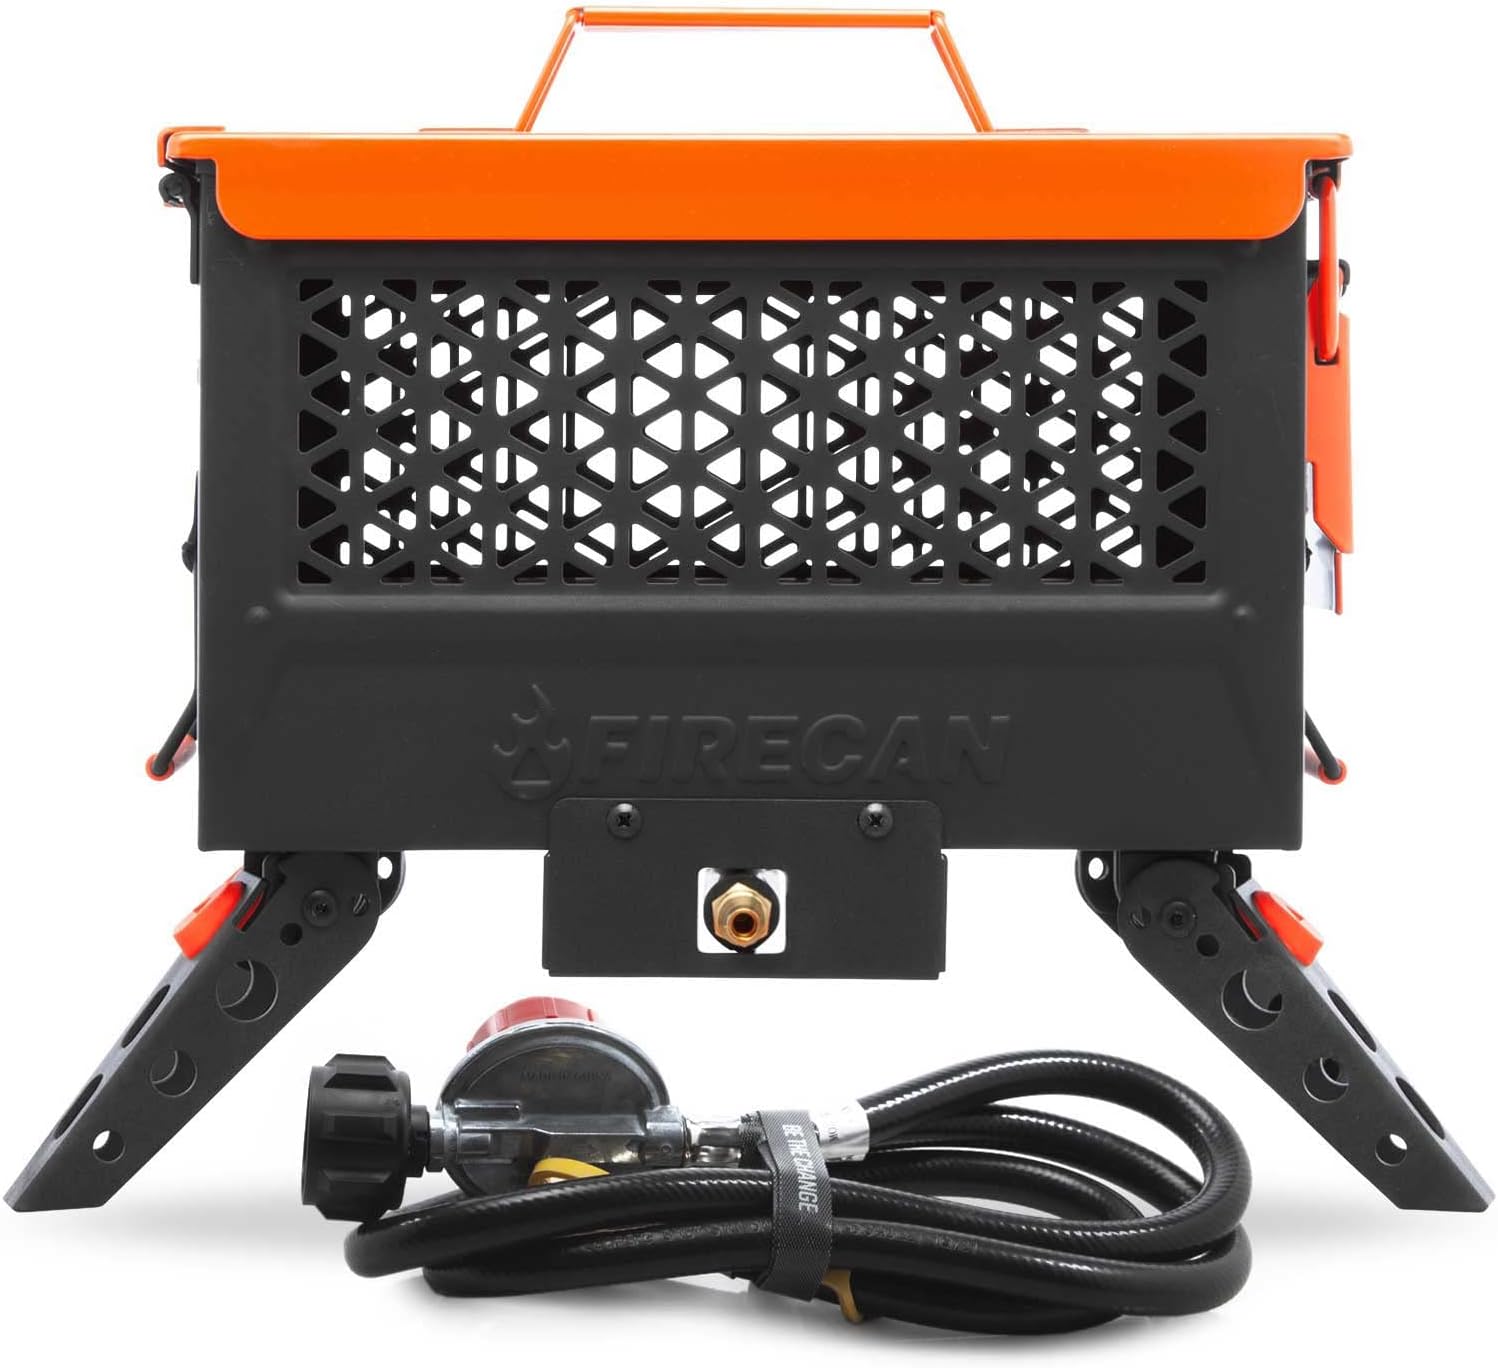
The portable pick: Ignik FireCan Portable Propane Fire Pit with Hose and Regulator
 Visit on Amazon →
Gas is convenience, not campfire, and I will not pretend otherwise. What the FireCan does well is give you a flame on a deck, a patio, or a rental property where a wood fire is banned, discouraged, or just a bad idea. The hose and regulator are the reason I keep this one instead of a canister pit. You run it off a standard tank, you are not feeding it little disposable bottles every 90 minutes, and the flame stays steady until the tank runs dry.
I use it for client events, for the evenings when I want ambiance in twenty minutes with no ash to deal with, and for the shoulder season when the wood pile is wet. It is also the pit I recommend to anyone under a burn ban, because a propane flame is not an open wood fire and most ordinances treat it differently. Verify that locally, though, because rules vary by county.
Flaws but not dealbreakers: The flame is thin and it does not throw heat the way a real log fire does. You are buying the look and the ease, not the warmth. It also has no business under a roof, an overhang, or a screen enclosure, ever, no matter how cold it gets.
Check current Amazon price. Anyone in a rental, a townhome, or a dry county who still wants a fire on a Tuesday night is the right buyer.
The setup workflow
Here is the order I run it in, every time.
Step one: Check the rules. Call or check your city or county burn ordinance before you buy anything. Some places ban wood burning outright on air quality days, some require a certain distance from structures, and some HOAs have their own rules that trump both. Ten minutes on the phone saves you a citation.
Step two: Pick the spot. Ten feet from any structure, nothing combustible overhead, and level ground. That rules out the corner under the porch, the spot beneath the low branch, and anything on dry grass or mulch. Stone, gravel, dirt, or a patio slab are all fine.
Step three: Prep the ground. Clear leaves, mulch, and pine straw in a wide circle around the pit. I have seen a fire climb out of a pit and into a mulch bed, and it happens faster than you would believe.
Step four: Dry wood only. Split it, stack it, cover the top and leave the sides open so air moves through. If you can hear a wet smack when you knock two pieces together, it is not ready.
Step five: Build small. Three or four splits arranged with room for air, not a tepee of kindling and not a pile of logs. Small hot fires burn clean. Big smoldering loads smoke.
Step six: Let it reach temperature. Give it fifteen or twenty minutes before you judge anything. A fire that is still coming up will smoke. A fire at temperature in a decent pit will not.
Step seven: Stop poking it. Every time you stir the logs you break the burn and release a puff of smoke. Leave it alone and let the secondary burn do its job.
Step eight: Screen on. If your pit came with a spark screen, use it. If it did not, buy one. Embers land where you are not looking.
Step nine: Shut it down properly. Let the fire burn out. Let the ash cool for a day or two before you touch it, and never dump warm ash into a paper bag or a plastic trash can, because that is how people burn down garages.
Step ten: Cover it. A pit left out in the rain all winter is a pit you will be replacing. Cover it or store it dry.
For the propane pit, the workflow is shorter but the safety steps are not optional. Connect the hose to the tank, open the valve slowly, and run soapy water over every connection. Bubbles mean a leak, and a leak means you stop and fix it before you light anything. When you are done for the night, shut the gas off at the tank, not just at the knob.
The mistakes that cost you a season
Thin steel is the number one killer. If the walls flex when you press them, that pit is going to rust through and sag, usually right after the warranty ends.
No spark screen is the second. It is a cheap fix on a dry deck and a nightmare without one.
Burning wet wood is the third, and it is the one people blame on the pit. It is not the pit.
Buying a bowl and calling it a fire pit is the fourth. A planter with a grate in it is a decoration. It will not hold heat, it will not hold up, and it will not survive a season.
The last one is a test error, not a product error. Testing a pit on a dead-still evening proves nothing. Wait for a night with a little wind, then sit downwind. That is the only test that means anything.
What this all costs
The wood pit is a one-time purchase plus a fuel cost that depends entirely on how much you burn. If you already have a woodstove or a fireplace, that fuel cost is close to nothing, because you are burning the same splits. If you are buying firewood by the cord, budget for it the way you would budget for propane.
The propane pit is a similar one-time purchase with a much more predictable per-evening cost, because a tank either has fuel in it or it does not. For a rental, a townhome, or a deck where wood is off the table, that predictability is worth real money.
Neither one is expensive to run compared to what people spend on patio furniture they use twice a year. Check current Amazon price on both and do the math against how many nights you would actually sit outside. For most people the answer is more nights than they expect, once the smoke stops following them around.
That is the whole job. Get the fuel dry, get the air moving, and get the pit out of the corner. The fire does the rest.