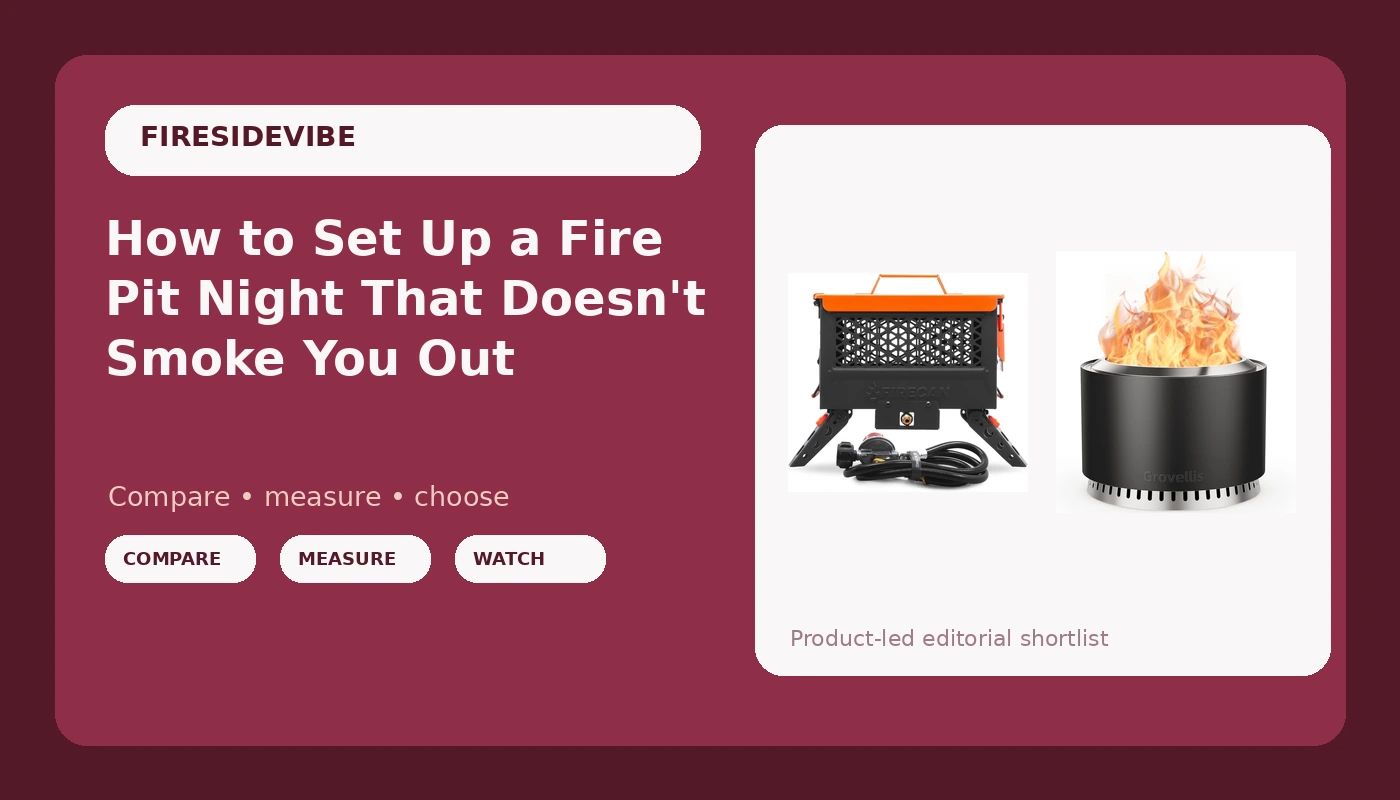
Every fire pit complaint I get starts with the same sentence: the smoke follows me. It does. Smoke goes where the air goes, and in a backyard the air goes wherever the house, the fence, and the tree line push it. That is why a smokeless fire pit can still smoke you out on a dead-still evening, and why a cheap steel bowl can burn clean on a breezy one.
I have installed pits in client yards all over western North Carolina, and I have burned my own three through enough nights to know the difference between a design that works and a marketing word. The short version: a smokeless fire pit is about 20 percent engineering and 80 percent how you site it, what you feed it, and how hot you let it run.
This is the setup routine I run every single time, plus the two pits I would actually start with if you are buying this week.
Why you should trust me
Fifteen years as an outdoor guide and landscape designer means I have built more fire pits than I have attended campfires, which is a strange sentence to type but an accurate one. I have installed everything from $50 chimineas that cracked in a season to $1,200 steel behemoths in client backyards, and I have watched which ones survive a mountain winter and which ones rust through by March.
I own three pits. A smokeless one for family nights, a classic wood pit for when I want the real thing, and a propane unit I keep around for client events where nobody wants smoke in their hair before a dinner party. I do not recommend a pit I have not burned, and I do not call anything smokeless until I have sat downwind of it for an hour.
How I picked and how I tested
Both pits below got full burn nights, not test fires. Same seasoned oak, same downwind sit test, same still evening and same breezy ridge to see how each one behaved when the air moved and when it did not.
For wood, the checks are simple. Steel gauge, because a 1mm pit is a one-season novelty and 3mm is a decade of fires. Weld quality around the base, because that is where they fail. Lid and spark screen fit, because an ember that escapes is a deck repair. And whether the cover that ships with it actually keeps water out of the bowl.
For propane, I look at the hose and regulator, the burner placement, and whether the thing is stable enough that a dog brushing past it will not tip it. Propane is the convenience play, and convenience that leaks or tips is not convenient, it is a hazard.
The two pits I would start with
You can fix a lot with placement and fuel, but you cannot fix thin steel and a missing screen. Start with a pit that has both, then run the setup below.
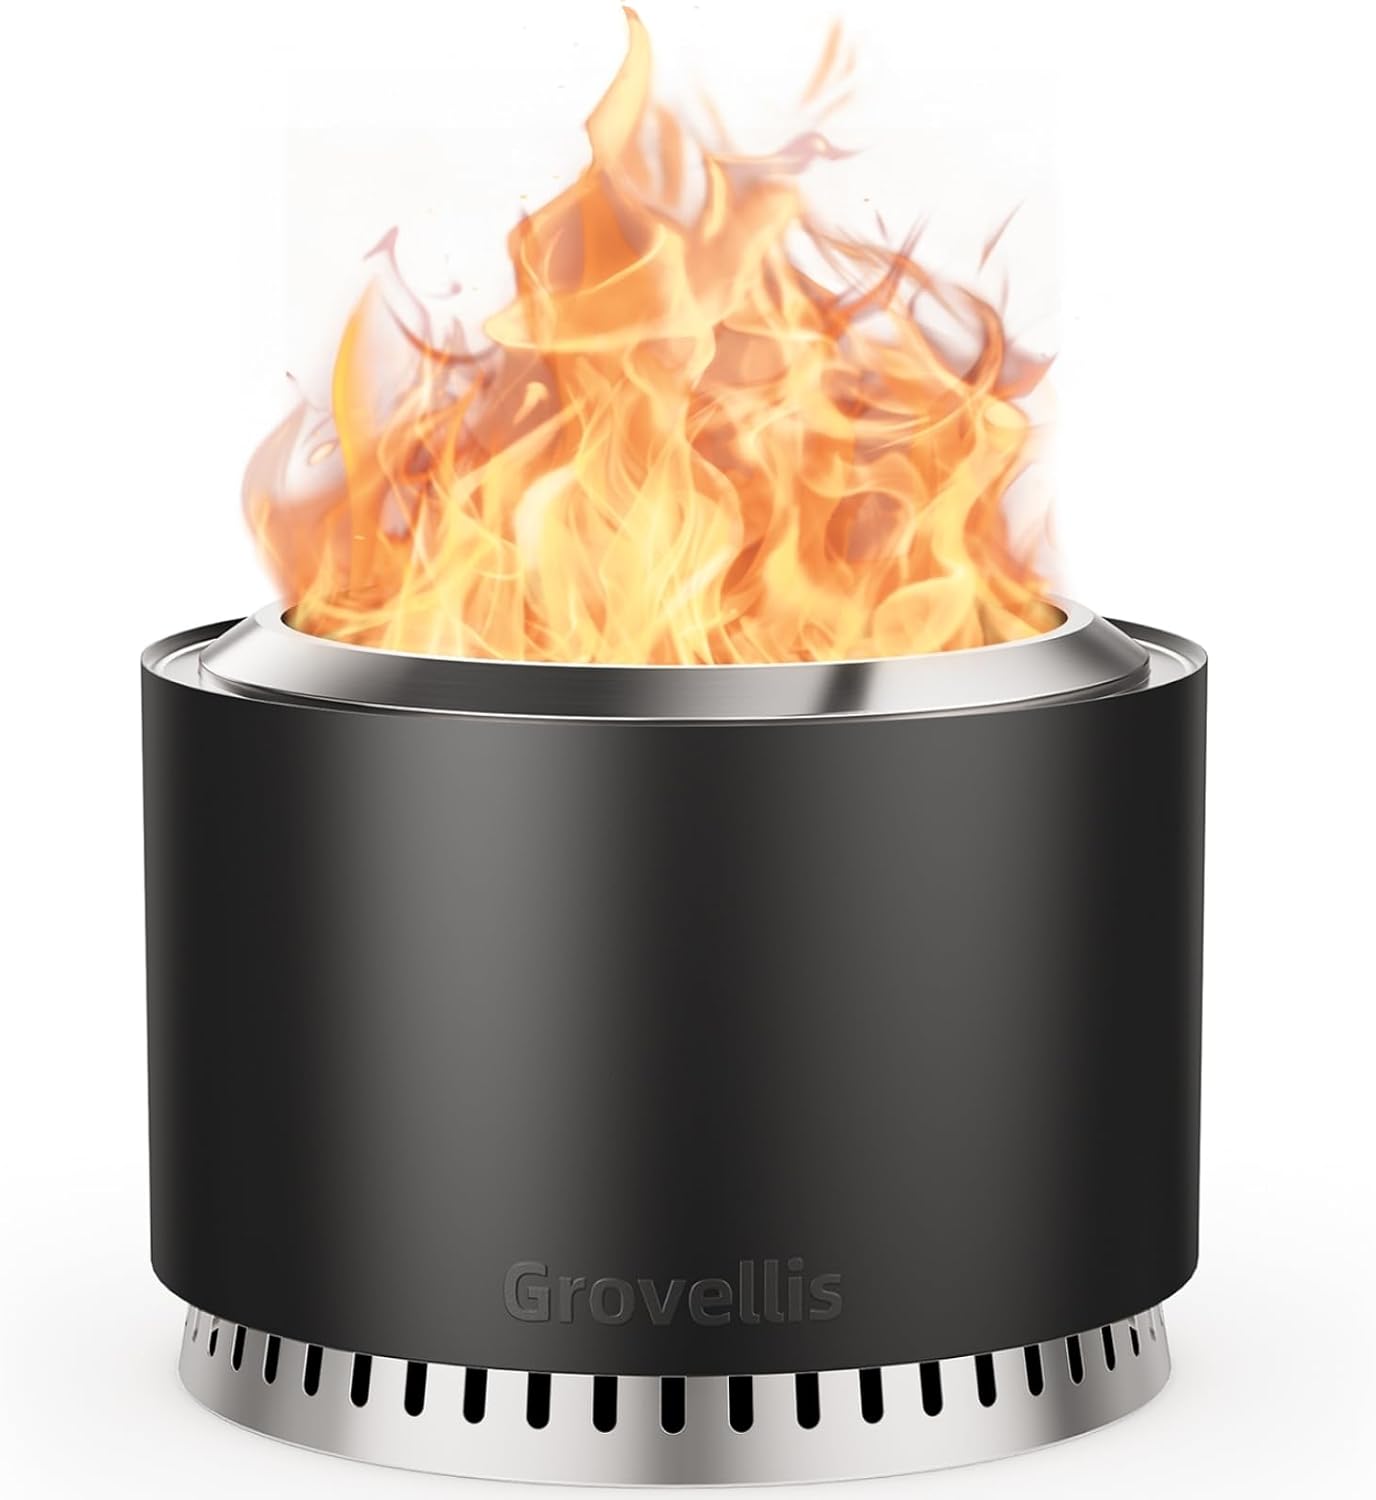
Our pick: 27 inch Smokeless Fire Pit with Waterproof Cover & Fire Poker
 Visit on Amazon →
Twenty-seven inches across is the size where a fire stops being decorative and starts throwing heat to four chairs instead of one. The smokeless design gives you the secondary burn that eats most of the smoke before it reaches your face, and in practice that means the difference between a fire night and a smoke-detector night.
The kit includes a waterproof cover and a fire poker, which sounds like filler until you have watched a decent pit rust through a wet October because nobody covered it. The cover fits, and the poker is long enough to move a log without roasting your forearm.
Flaws but not dealbreakers: It is heavy, and heavy means you are not carrying it to a campsite. It also still smokes on startup and during the last twenty minutes of cooldown, because every wood pit does. If someone promises you zero smoke from the first match to the last ash, they are selling you a brochure, not a fire pit.
Best for a permanent spot on a patio, gravel pad, or stone circle where it can stay put and stay covered.
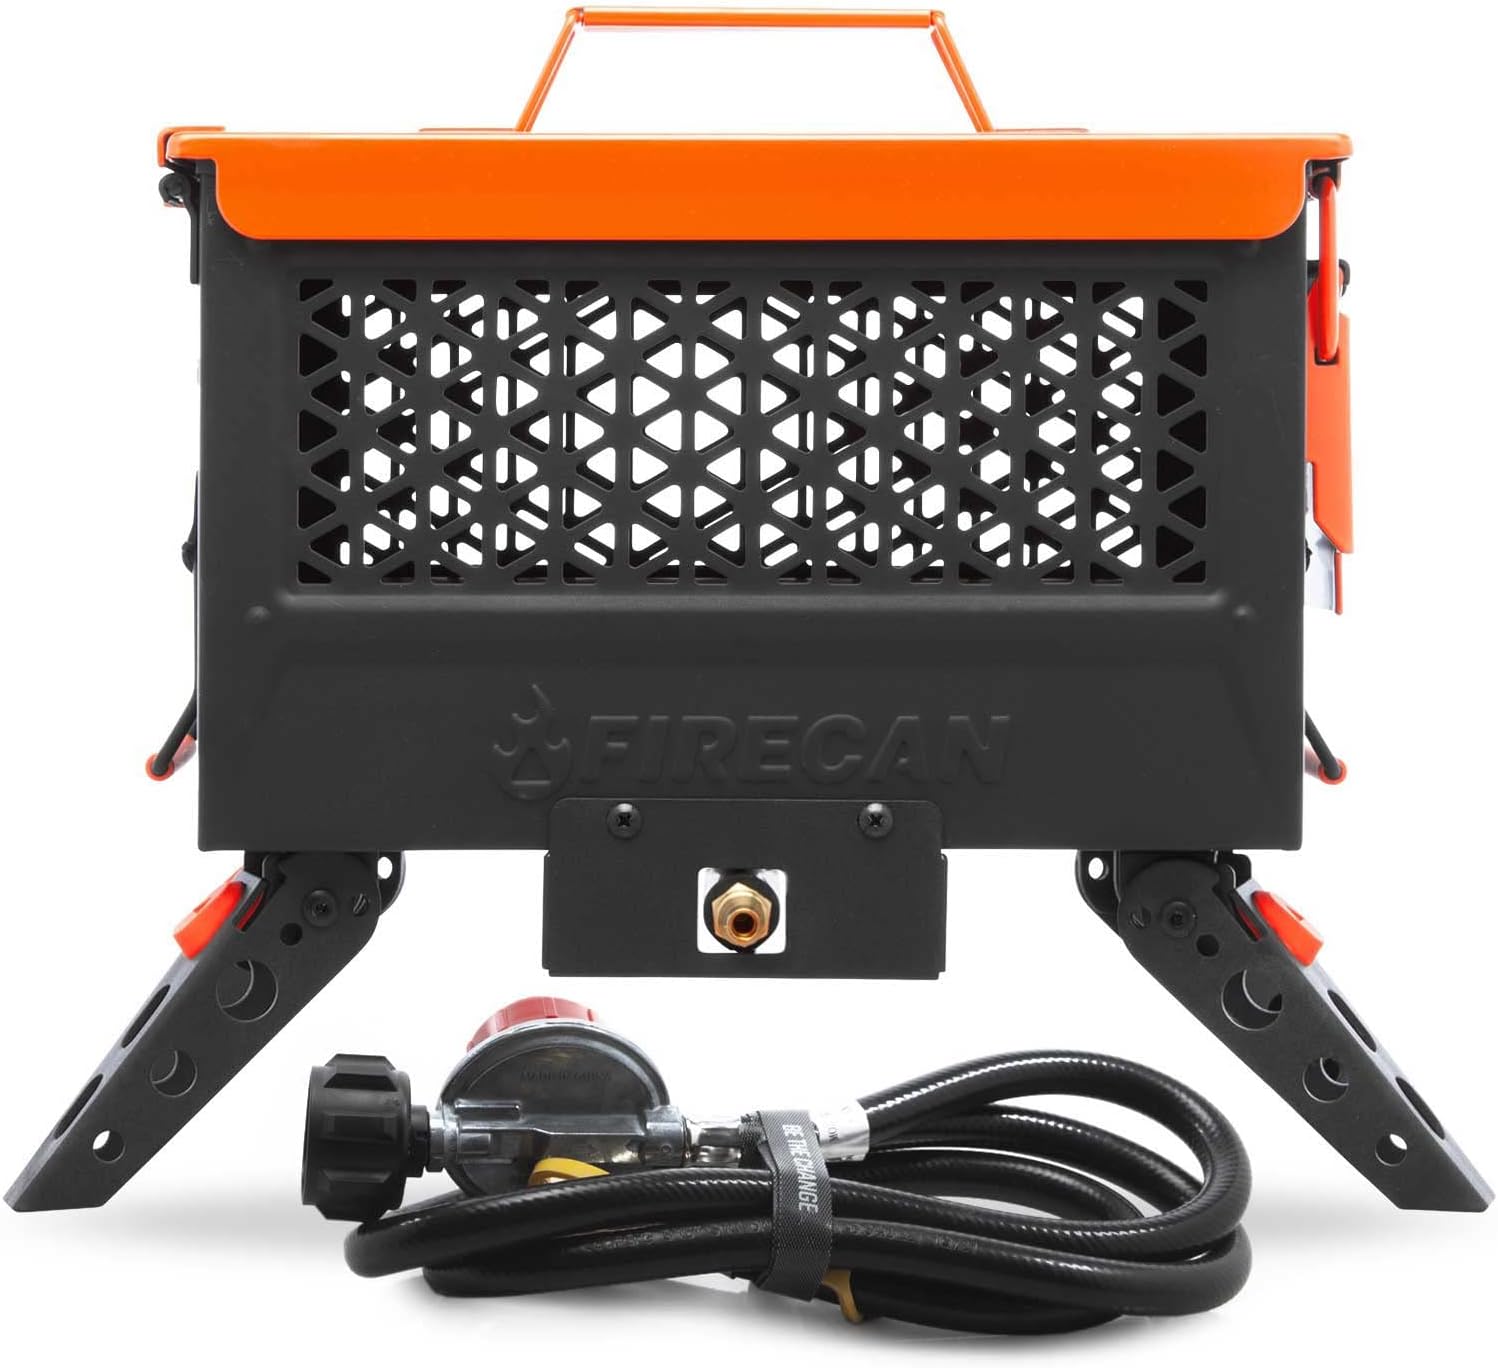
Best for decks and campsites: Ignik FireCan Portable Propane Fire Pit with Hose and Regulator
 Visit on Amazon →
The FireCan is the one I hand to people who want flames on a deck, at a tailgate, or at a campsite under a burn ban, because propane is the only way to get a fire without embers. It runs off a standard propane tank through the included hose and regulator, and it lights in seconds with no kindling, no ash, and no smoke in your hair.
What it is not is a wood fire. You are buying ambiance and convenience, not the smell and the crackle, and it throws less radiant heat than a wood pit of the same footprint. It is a sit-close fire, not a heat-the-whole-patio fire. I keep one for exactly that: clients who want the look of a fire without the smoke drifting into a dinner table.
Flaws but not dealbreakers: The flame is honest but modest, and you are tied to a propane tank. A 20-pound tank will outlast most evenings, but you have to carry it.
Safety notes that actually matter: check the hose connections with soapy water before the first light, keep the tank upright on level ground, and never run it inside a tent, a garage, or a screened porch. Propane produces carbon monoxide, and this unit is for outdoor use only.
Best for renters, deck owners, campsites, and anyone who wants the fire without the smoke.
The actual setup: how to run a fire pit without getting smoked out
Now the part that matters more than the pit itself. This works on any wood pit, smokeless or not, and it is the routine I run before anyone sits down.
Step one: Site it for the smoke, not the view. Stand where your chairs will go and look at your fence, your house, and your tree line. Smoke travels with air, and air gets pushed by all three. Put the pit so the prevailing evening breeze carries smoke away from the seating, not across it. If your seating has to wrap around the pit, leave one side open as the escape lane.
Step two: Get the surface right. Ten feet from anything combustible is the number I use, and more if there are low branches overhead. Heat, not flame, is what damages siding and deck rails. Gravel, stone, pavers, and bare dirt are all fine. A wood deck is not, unless you have a heat shield under the pit and a spark screen on top, and even then I want you standing there with a hose.
Step three: Check the burn rules before you buy wood. Burn bans, HOA rules, and apartment leases kill more fire nights than bad pits do. A propane unit sidesteps most bans because there are no embers, which is the real reason the FireCan exists.
Step four: Fuel it properly. Seasoned hardwood, split small, dry. Green wood and pine sap are how you make smoke on purpose. Do not overfill the bowl. A pit packed to the rim starves the fire of the air it needs underneath, and a starved fire smolders, and a smoldering fire smokes no matter how good the steel is.
Step five: Build it hot and build it top-down. Put the big splits on the bottom and the kindling on top, then light the top. The fire burns downward into the fuel, which keeps the burn hot and fast instead of slow and smoky. This one habit fixed more smoke complaints for me than any piece of equipment.
Step six: Let the secondary burn happen. This is the part people skip. On a smokeless pit, the double wall only does its job once the fire is hot enough to burn its own smoke. That takes ten to fifteen minutes of a real flame. Pile on a log too early and you cool the fire down, kill the secondary burn, and wonder why your smokeless pit is smoking. Feed it small, keep it hot, and let it get up to temperature before you sit.
Step seven: Do the sit test. Sit down. Wait five minutes. If the smoke is following you, it is airflow, not the pit. Rotate the seating, open the escape lane, or raise the pit a few inches on a stand. Smoke chasing one person around a circle is almost always a wind-shadow problem, not a product problem.
Step eight: Screen it, then put it out properly. The spark screen is not optional. I have seen what an ember does to a deck, and it does not take a big one. When the night is over, let the fire burn down to ash instead of dousing it into a wet smoky mess, and never dump hot ash into a trash can or a paper bag.
If you are running propane instead, three things change. Skip steps four through six. Do the soapy-water leak check at the hose and regulator before the first light of the season. And keep the pit out of any covered or enclosed space, because carbon monoxide does not care that the flames look nice.
The competition and why it lost
People ask me about the same handful of pits every fall, so here is the short version with no links attached.
The Solo Stove Bonfire 2.0 is the one I use for family nights, and the double-wall design genuinely kills the smoke. It is also a radiant heat joke. You get a beautiful flame and a warm shin, and that is the trade.
The Tiki Brand Fire Pit is the best overall for most backyards. Thirty inches of steel, a real spark screen, and it throws heat without breaking the bank. It is the one I recommend to neighbors who want a fire pit and not a hobby.
The Outland Living Cypress is the best gas pick if you want a permanent propane fixture rather than a portable one. You are buying convenience, not a campfire, and the price reflects the plumbing.
The Breeo X Series is for serious backyard people. The smoke-free design works and the build quality is there, but the price is premium, and I say that as someone who bought one anyway.
The Yaheetech is the budget pick. It is thin steel and it will rust eventually, but it is a real fire pit and not a novelty planter with a bowl.
Anything that cannot survive a season of rain did not make the list. A pit that rusts through in year one was a decoration, not a purchase.
What this all costs
The wood pit and the propane pit sit in the same general range as each other, which is why the decision comes down to how you burn, not what you spend. Check current Amazon price on both before you commit, because these move around with the season.
The real math is not the pit. It is the cover you actually use, the spark screen you actually leave on, and the seasoned wood you buy instead of burning the green stuff you cut last month. A $12 bundle of dry hardwood will do more for your smoke problem than a $200 upgrade.
If you burn twenty nights a season for five years, the difference between the cheap pit and the right pit is a few cents a night. The difference between a covered pit and an uncovered one is whether you are buying another pit in three years.
The bottom line
Fire is simple. Steel and airflow are the only things that are hard.
Pick a pit with real steel and a real spark screen. Site it so the smoke has somewhere to go that is not your face. Build the fire hot, feed it dry wood, and let the secondary burn do its job before you sit down. Do that, and the smoke stops following you around the circle, and your friends stay until the logs are ash.
That is the whole job. The best fire pit is the one you actually cover in October.