Most fire pit problems are not fire problems. They are placement problems, fuel problems, and airflow problems, and they usually announce themselves on the first night, when the smoke finds the one person sitting downwind and stays there for three hours. I have set up wood and propane fire pits in client yards from Weaverville out to Waynesville, and the difference between a pit people use every week and a pit that quietly becomes a planter is almost never the pit itself. It is how you site it, what you feed it, and whether you gave the smoke somewhere to go.
I own three pits. A smokeless one for family nights on the deck, a classic wood burner for when I want the real thing, and a gas pit I bring out for client events because nobody wants smoke in their hair at a dinner party. This guide covers the two ends of that spectrum: a wood burning bowl you can set up in an afternoon, and a portable propane pit you can fold up and take camping. The setup steps are different enough that they get their own sections. The safety rules are identical for both.
Why you should trust me
I have been an outdoor guide and landscape designer in Asheville for 15 years. I have built and installed more fire pits than I have attended campfires, which is saying something for a guy who spends his weekends outside. I have watched a $50 chiminea crack in its first season, and I have bolted steel behemoths into client patios that will outlive the mortgage.
What I care about is boring: steel gauge, smoke behavior, and whether the thing has a real spark screen. Steel thickness decides lifespan. A thin pit is a one-season novelty. Thicker steel is a decade of fires. And a fire pit that smokes you out of your own backyard is not a fire pit, it is a fireplace with a seating problem.
How I decide which pit to set up
Before I touch a shovel or a wrench, I ask four questions.
What is the steel like? If the bowl flexes when you press it, it will not survive a winter of rain sitting outside. Budget pits are still real pits, but they need a cover and a dry spot to live.
Will the smoke follow people around? A shallow bowl with no secondary burn is going to smoke, and the smoke goes wherever the wind pushes it. You fix that with dry wood, a taller stack of fuel, and a seating layout that puts everyone on the same side of the pit as the wind.
Is there a spark screen? I will not recommend a wood pit without one. I have seen what a single ember does to a deck board, and it is a repair bill, not a story.
Would it still be standing after a season of weather? Rain, then freeze, then thaw, then rain again. That is the test most pits fail.
On fuel, the honest split is this. Wood is the experience: real heat, real smell, real ash to clean up. Gas is the convenience: instant on, no smoke, no ash, and a flame you can turn off when the guests leave. Do not pretend they are the same thing, because you will be disappointed either way.
What you need before you start
You cannot set up a fire pit on a spot that is wrong for it. Grass, a wood deck, a low porch, or anything under an eave will fight you all season. Get the surface and the distance right first, then pick your pit.
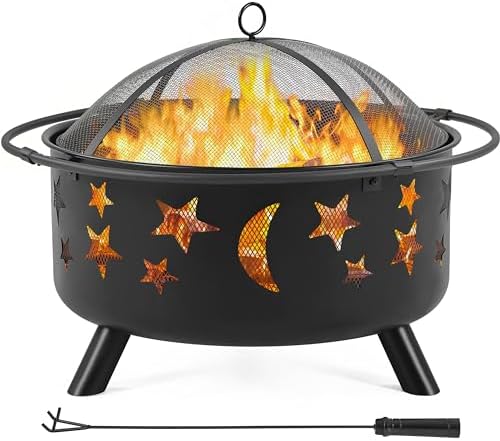
Budget wood pick: Yaheetech 30in Fire Pits for Outside Wood Burning Outdoor Fireplace
 Visit on Amazon →
Thirty inches is the size where a wood pit starts throwing heat at a full seated circle instead of just warming the two people closest to it. That matters more than any feature on the box. A 24 inch bowl looks fine in a photo and then everyone squeezes in like it is a camp stove.
This is the pit for the person who wants the real thing: split wood, a bed of coals, and the smell that makes people stay until the logs are ash. Check current Amazon price, then read the listing carefully for what ships in the box, because if a spark screen is not included, buy one before your first burn rather than after.
Flaws but not dealbreakers: It is a budget wood burner, so treat it like one. Keep it off wet grass, cover it when you are not using it, and do not expect the finish to look new after a season of weather. Surface rust on a cheap pit is normal. Rust through the bowl in year one means you left it sitting in the rain.
Anyone who wants a wood fire in a small backyard and does not want to spend premium money on the bowl itself should start here.
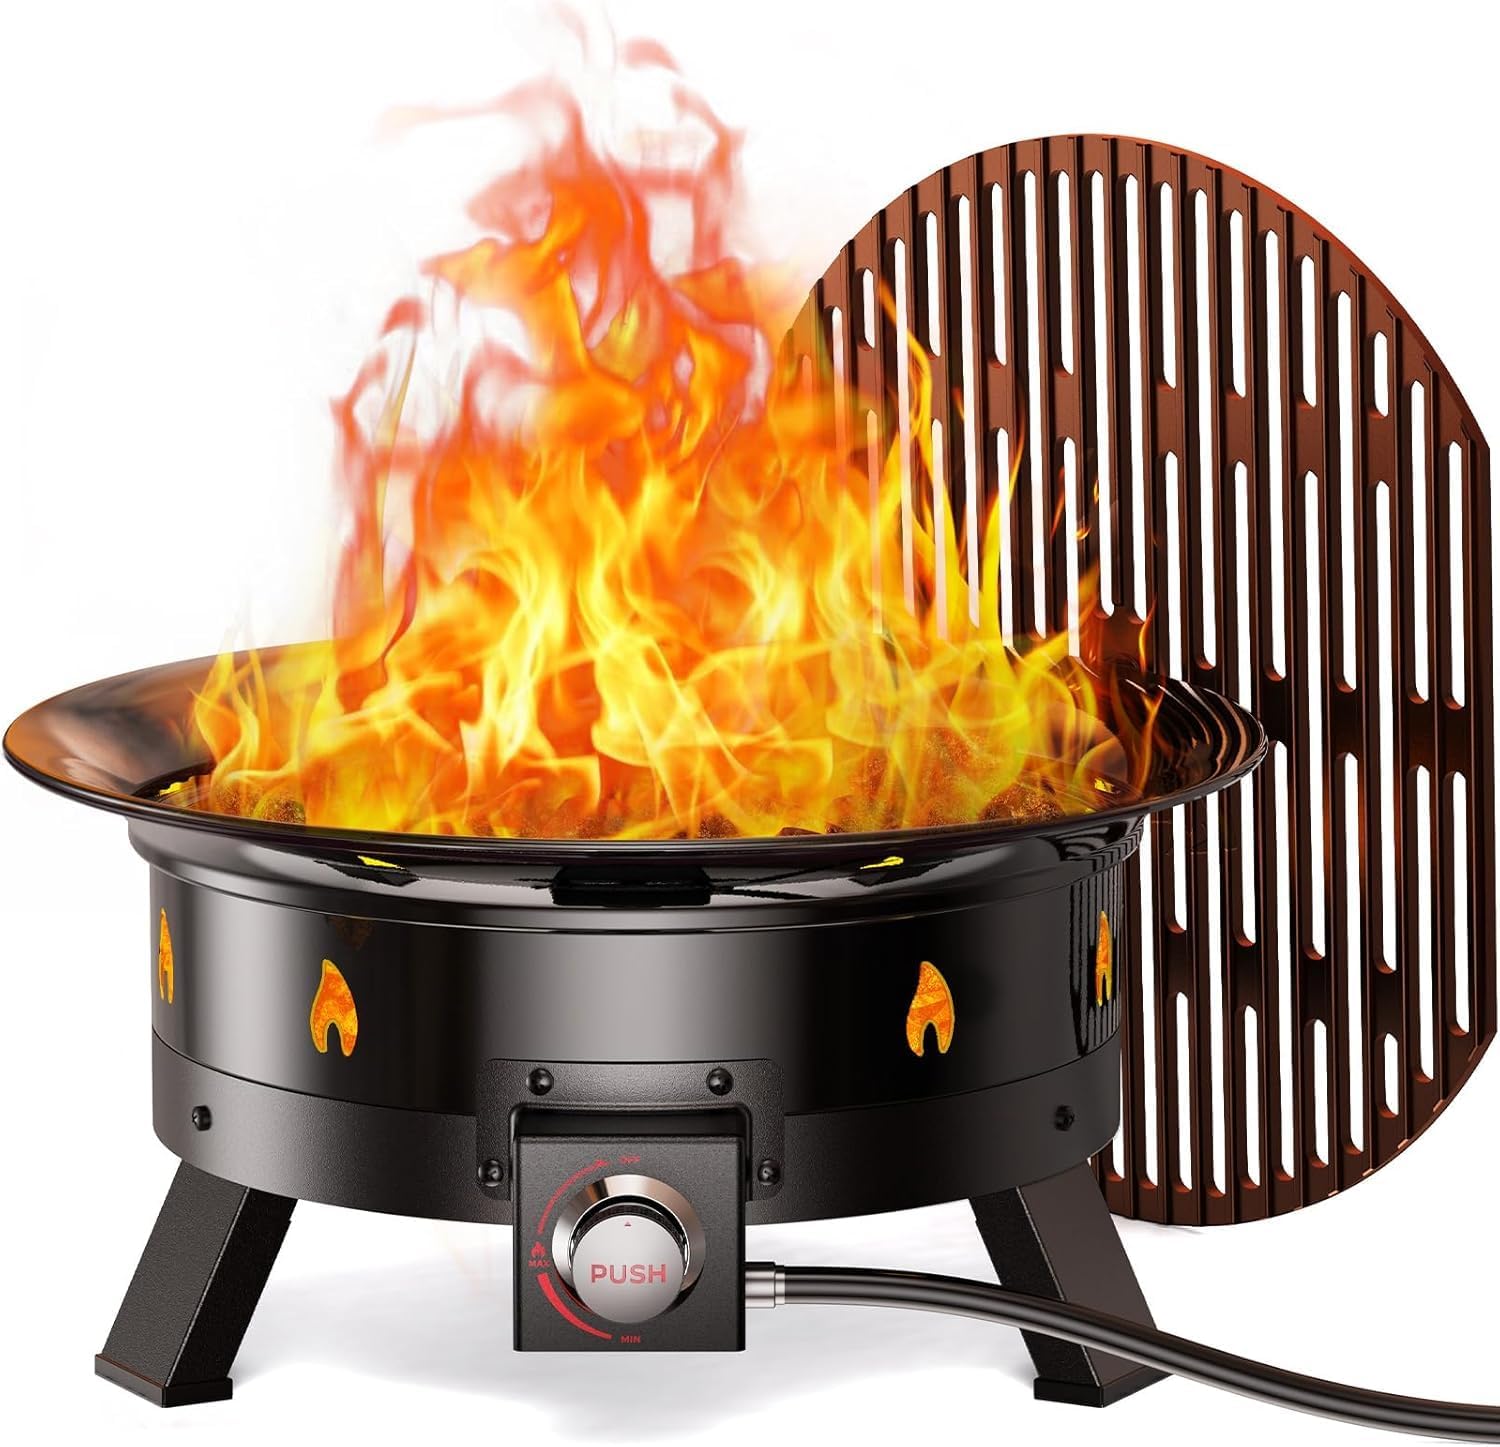
Portable propane pick: Ciays Large Propane Fire Pit 19 Inch, Gas Fire Pit with Grill Grate, Folding Legs, Hose Hooks, Propane Tank Holder, Cover & Carry Strap, Portable Outdoor Fire Pit for Camping, 58,000 BTU
 Visit on Amazon →
This is the one I would load in the truck. Folding legs, a carry strap, hose hooks to keep the line out of the dirt, and a holder that keeps the propane tank from wandering off mid-evening. Check current Amazon price. The grill grate on top is the detail people underestimate, because it turns a flame into a place to cook rather than just a place to stare.
The 58,000 BTU rating tells you this is not a decorative tabletop flicker. It puts out real flame, and in a burn ban or a campground that does not allow wood fires, a propane pit is often the only legal way to have fire at all. Confirm the local rules before you pack it, since bans vary by county and by season.
Flaws but not dealbreakers: You are buying convenience, not a campfire. There is no wood smell, no coal bed, and no slow evening of tending logs. You also need a propane tank, which does not come with the pit, and 19 inches is small for a crowd of eight.
Anyone who camps, tailgates, or wants fire on a patio without smoke in the house should look here first.
Setting up a wood burning pit
Step one: pick the ground. Ten feet from the house, the deck, the fence, and any low branches. Not under an eave. Not on grass you care about, because a hot pit kills a circle of lawn in one night. Flat ground, and if it is not flat, fix the ground rather than shimming the pit.
Step two: build the base. Set the pit on a non-combustible surface: pavers, gravel, a stone pad, or bare mineral soil. On a wood deck, put it on a rated deck pad with clearance underneath and above, or better, do not put a wood pit on a deck at all. The spark screen catches most embers. It does not catch all of them.
Step three: assemble and level it. Legs tight, bowl seated, screen sitting properly on its tabs. Rock the pit with your hand. If it wobbles, it will wobble more when it is full of burning wood.
Step four: small first burn. Two or three splits, no more, for the first fire. You are checking airflow, screen fit, and how the pit drafts. A first burn with a full load tells you nothing except how hot your face gets.
Step five: burn dry wood, and burn it high. Green wood smokes because you are boiling water out of it before it can burn. Seasoned wood, stacked loosely so air moves through the pile, is the single biggest smoke fix available. Once you have coals, feed small splits and keep the fuel sitting up rather than smothered flat in the bowl.
Step six: sit on the wind side. Every pit smokes a little when you first light it. Position your chairs so the wind carries smoke away from the seating circle, not across it. If you find yourself rotating your chair all evening, your pit is under-aired, not badly designed.
Step seven: burn it down, then shut it down. Let the fire burn to ash. Do not dump a half-burned load into a plastic bin. Ash goes into a metal can with a lid, and it sits outside, away from the house, for a day or two before it goes anywhere else.
Setting up a propane pit
Step one: assemble on a hard, level surface. Folding legs want a flat spot. Gravel and grass are not flat spots. The tank holder is there to keep a heavy tank from tipping the whole assembly, so use it.
Step two: connect the tank and leak test it. Hand-tighten the connection, then brush soapy water on the fitting and the hose. Bubbles mean a leak. Tighten, retest, and if it still bubbles, stop and replace the hose. Do this at the start of every season, not just the first time.
Step three: route the hose with the hooks. The hose hooks exist so the line does not kink, sit in mud, or run across a hot surface. Kinked hose means weak flame. Melted hose means a very bad night.
Step four: lid open, then light. Never light a gas pit with the lid or cover closed. Give the gas somewhere to go and let the burner catch cleanly before you settle in.
Step five: check the flame. A steady blue flame with some yellow tips is what you want. A flame that is mostly yellow, or that pops and sputters, usually means air in the line or a partially blocked burner. Turn it off and check.
Step six: shut the tank valve first. Tank valve closed, then let the line burn off, then the control knob off. That order keeps gas from sitting in the hose between uses.
Step seven: cool, cover, store. The cover and carry strap are the reason this pit has a long life. Let it cool completely, cover it, and store it dry.
Safety rules that are not optional
No fire pit, wood or gas, gets left burning unattended. Not for the bathroom, not for the phone call, not for one more beer inside.
Keep the pit clear of anything that can catch: dry leaves, low branches, cushions, dog toys, and the fuel bag sitting three feet from the bowl. Fire pits do not burn houses down on their own. Wind and dry grass do.
Spark screens stay on for wood pits, every burn. Kids and dogs get a fixed boundary and get taught it. A fire pit is a hot object at knee height, which is exactly the wrong height for a running five year old.
Propane gets a leak test every season, and propane tanks get stored upright, outdoors, never in a garage or a shed with a water heater.
What this all costs
The wood pit is the lower entry cost and the higher effort cost. You buy the bowl once, and after that you are paying in split wood, ash cleanup, and a cover you should replace every couple of seasons. If you already have firewood, the per-night cost is basically your time.
The propane pit is the higher entry cost and the lower effort cost. You pay for the pit, then a tank, then refills, and you pay again every time you want a fire. What you get back is a fire in 90 seconds, no smoke, no ash, and the ability to use it where wood fires are banned. Check current Amazon price on both and do the math against how many nights a year you will actually light the thing. A pit you use twice a season is expensive at any price.
The cheapest mistake is buying a pit that smokes you out. The second cheapest mistake is buying a pit that rusts through because it lived in the rain. Both are avoidable with a cover, a pad, and one afternoon of setup.
That is the job. Fire is simple. Steel, airflow, and a spark screen are the only parts that are hard.