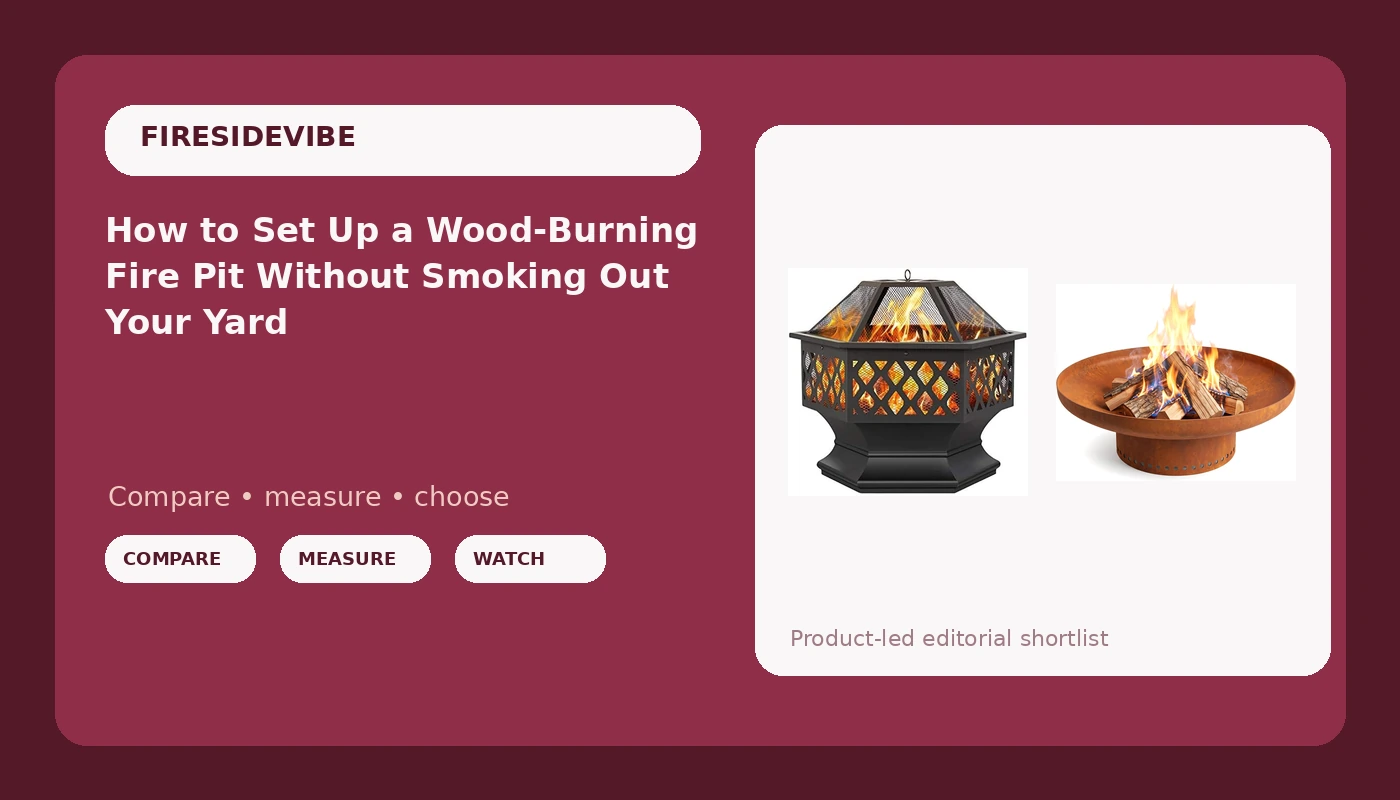
A wood burning fire pit setup fails in one of two places: the ground under it, or the air around it. Most people buy the bowl, set it on the grass, light a fire, and then spend the whole evening sliding their chair around the circle to dodge the smoke. Nobody warns them that the smoke problem usually gets decided before the first match, by where the pit sits, what it sits on, and how the wood is stacked inside it.
I have set fire pits into client yards for fifteen years, and I own three of my own: a smokeless one for family nights, a classic wood bowl for the real thing, and a gas unit I drag out when a client wants ambiance without smoke in their hair. The setup routine is the same for all of them, and it takes about twenty minutes plus one short break-in fire.
Here is the order I do it in, and the two wood burning bowls I would start with if you are buying your first one this season.
Why you should trust me
I design backyards in and around Asheville for a living. That means I have dug more paver bases, hauled more bags of gravel, and answered more "why does the smoke keep following me" questions than I can count. I have also watched a $50 pit outlive a $400 one because the cheap one got set up correctly and the expensive one got dropped on a slope next to a cedar hedge.
My rules come from that work. Steel thickness decides the lifespan. Airflow decides the smoke. The spark screen decides whether you are sitting by a fire or explaining to your insurance adjuster how the deck rail caught. None of those three things cost much to get right, and all three are decided in the first hour you own the pit.
I also live in a place with real weather. Western North Carolina gets rain, then more rain, then a cold snap that freezes whatever water is sitting in your bowl. A pit that lives outside uncovered here will tell you the truth about its steel within a season, and that is the standard I hold anything to.
How I picked and how I tested
I did not write this from a spec sheet. Before I would put my name on any wood burning fire pit for a client, I run the same four questions past it.
First, what is the steel gauge, and does anyone say it out loud? A pit that will not tell you the thickness is usually thin. Second, does the smoke follow you around the fire, or does it go up and away once the pit is loaded right? Third, is there a real spark screen, not a decorative lid that sits crooked and leaves a gap on one side? Fourth, would this thing still be standing after a season of rain, a freeze, and a spring of neglect?
That fourth question is where most budget pits fail, and it is also the question that separates a bowl you keep for a decade from a bowl you replace every spring. I would rather recommend a plain steel bowl that a buyer can set up properly than a fancy one that arrives with a screen that does not fit.
I also think about what comes in the box, because the parts people forget are the parts that matter. A spark screen and a poker are not accessories. They are the two items that turn a bowl of burning wood into a fire you can actually sit beside.
The two wood burning bowls I would start with
Both of these are simple steel wood burners. Neither one is a smokeless double-wall design, so plan on managing smoke the old-fashioned way: dry wood, good airflow, and a chair on the upwind side. What they give you is a real fire in a real bowl for a price that leaves room in the budget for a cover and a base.
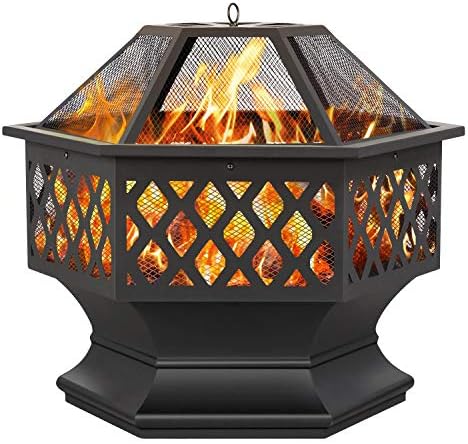
Our pick: Yaheetech Fire Pit Fire Pits for Outside 24in Hex Shaped Firepit Bowl with Spark Screen & Poker for Patio Backyard Garden Picnic Bonfire Camping
 Visit on Amazon →
This is the one I would hand a first-time buyer, because it arrives with the two things everyone else forgets to buy. The spark screen is in the box, and so is the poker. That alone saves you a second order and a week of waiting, and it means there is no excuse for running the pit unscreened on the first night.
The hex shape is a real design choice, not a gimmick. Flat panels resist flex better than a smooth round wall of the same thickness, which matters when a pit gets hot, cools down, and gets hot again all season. It also gives you a flat face to shovel ash against when you are cleaning it out. Check current Amazon price, and confirm the screen and poker are included when you order, because that package is the reason to pick this one over a bare bowl.
Flaws but not dealbreakers: It is a budget steel bowl, so treat it like one. Bring it inside or cover it before the first hard freeze, and do not expect the finish to look new after a summer of burns.
Anyone who wants one box that contains everything needed for a first fire should start here.
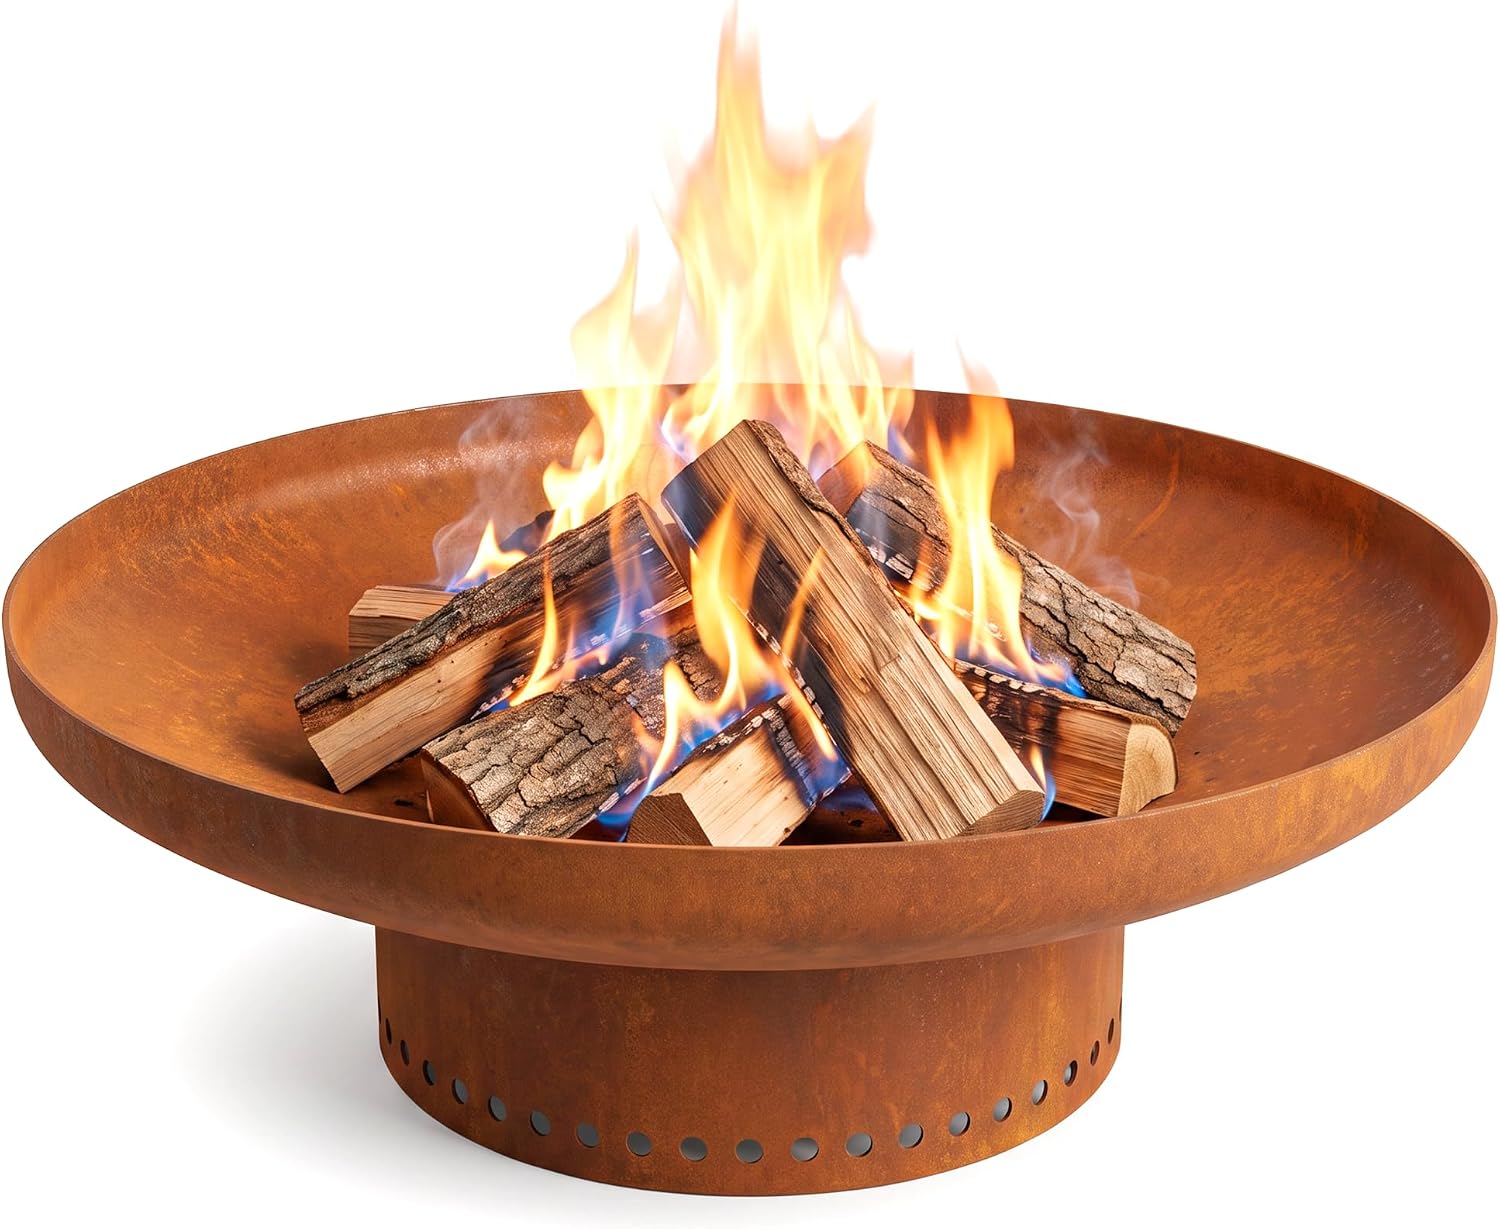
The no-frills alternative: 23.6 in Fire Pit, Round Outdoor Wood Burning Steel Fire Bowl
 Visit on Amazon →
This is the plain version of the same idea: a round steel bowl, wood burning, nothing extra in the box. If you already own a screen and a poker, or if you are planning to set the bowl into a paver surround and use it like a built-in, this is the shape you want. Round bowls radiate heat evenly in every direction, which is exactly what you want when people are sitting in a circle rather than clustered on one side.
Here is the honest caveat. There is no screen in the box, so budget for one before your first burn. A round bowl with an open top and a breeze is how embers end up in dry grass, and dry grass in September is not a theory in my part of the country. Check current Amazon price, then add a screen and a cover to your total before you decide.
Flaws but not dealbreakers: Nothing about the bowl itself is a problem. The missing screen is the issue, and it is a cheap fix if you plan for it.
Anyone with a screen already on the shelf, or anyone building the pit into a stone or paver surround, will get along fine with this one.
The actual setup workflow
Now the part you came for. This works with any wood burning bowl, and it is the same sequence I follow in a client yard.
Step one: Pick the spot before you pick up the shovel. Ten feet from the house, the fence, and any low branches. Three feet of clear ground around the bowl. Flat ground, not a slope, and never under a roof overhang or a porch ceiling. If the pit is going on a wood deck, stop and check your local code first, because plenty of places say no and plenty of others want a heat shield and a non-combustible pad underneath. Fire does not care about your plans for the weekend.
Step two: Build the base. You want a non-combustible surface under the bowl: a paver pad, a gravel bed, sand, or a commercial fire pit mat. Set the pad level. If the pit rocks even a little, it will walk itself across the patio as the metal expands and contracts, and a rocking pit eventually tips.
Step three: Check drainage and clearance. Water pooling under the bowl is what rusts the bottom out first. Set the pit on slightly crowned ground so rain runs away, or drill nothing, just set it on a pad that sheds. Leave the drain holes in the bowl itself clear, because that is where water leaves when it rains.
Step four: The break-in fire. Do not load this thing up to the rim on night one. Build a small fire, let it burn down, and let the metal heat cycle once. Any oils or finish on a new bowl burn off in that first fire, and it is better to smell that with a small load than with a towering one. Expect some smoke and some smell. That is normal and it stops after the first burn.
Step five: Fuel and airflow. Use dry hardwood, split to fit with air gaps between the logs. Do not pack the bowl tight, because fire needs air coming up from below and moving between the wood. Keep a bed of ash about an inch deep on the bottom to insulate the steel, and empty it when it gets much deeper than that. No lighter fluid, no gasoline, no wet wood from the pile that has been sitting under a tarp since spring.
Step six: Manage the smoke like it is a feature, because it is. Smoke is unburned fuel and cold wood. A hot fire with dry wood and room to breathe sends most of it up and away. If the smoke keeps turning toward you, stand up and look at the wind. If it is coming over the fence at head height, your chair is in the wrong spot, and no bowl on the market fixes that.
Step seven: Screen on, and leave it on. Put the spark screen in place before the first log catches, not after the fire is rolling. Wind picks up embers, and a screen that is sitting in the garage is not catching anything. The poker that came with your pit is for moving logs, not for reaching over an open flame with your sleeve.
Step eight: Put it out properly. Let the fire burn down to ash when you can. If you need to kill it faster, spread the coals with the poker and let them die, then add water slowly, a little at a time. Dumping a bucket on a hot bowl is how thin steel warps, and a warped bowl never sits level again. Stir the ash, soak it, stir again, and make sure nothing is warm before you walk away.
Step nine: Close it up for the night and the season. Cover the bowl when it is cool. In a wet climate, the cover is the difference between a bowl that lasts and a bowl that rusts through from the bottom up. Before winter, get the ash out, dry the bowl, and store it under cover if you can.
What I would skip
Skip anything that cannot survive a season of rain, because a pit that rusts through in year one was a decoration, not a purchase. Skip painted finishes on the inside of the bowl, since the paint burns off the first time and leaves you with a smell instead of a fire.
Skip tabletop units marketed as backyard pits. They hold three logs and they are really for a patio table on a cool evening, not for a group of friends who want to sit around something for three hours. Skip anything that looks like a planter with a bowl dropped inside it. And skip any pit that arrives without a spark screen and does not give you a way to add one that actually fits.
What this costs and how to think about it
A pit in this class plus a paver base, a cover, and a screen if it does not come with one is a one-time purchase, not a subscription. The math that matters is not the sticker. It is whether the bowl is still sitting level in year three, because the second-cheapest option is usually the one you buy twice.
Add up the bowl, the screen, the cover, and a few bags of paver base. Compare that against replacing a rusted bowl every spring for three years, plus the evening you spend rebuilding the base each time. The setup afternoon is the cheapest part of the whole thing, and it is the part that decides which of those two paths you end up on.
The short version
Pick the spot first. Level the base. Break the bowl in with a small fire. Burn dry wood with air around it. Keep the screen on. Cover it when it is cool.
That is the whole job. Do it once in the fall and you will spend the rest of the season sitting by a fire instead of fighting it.