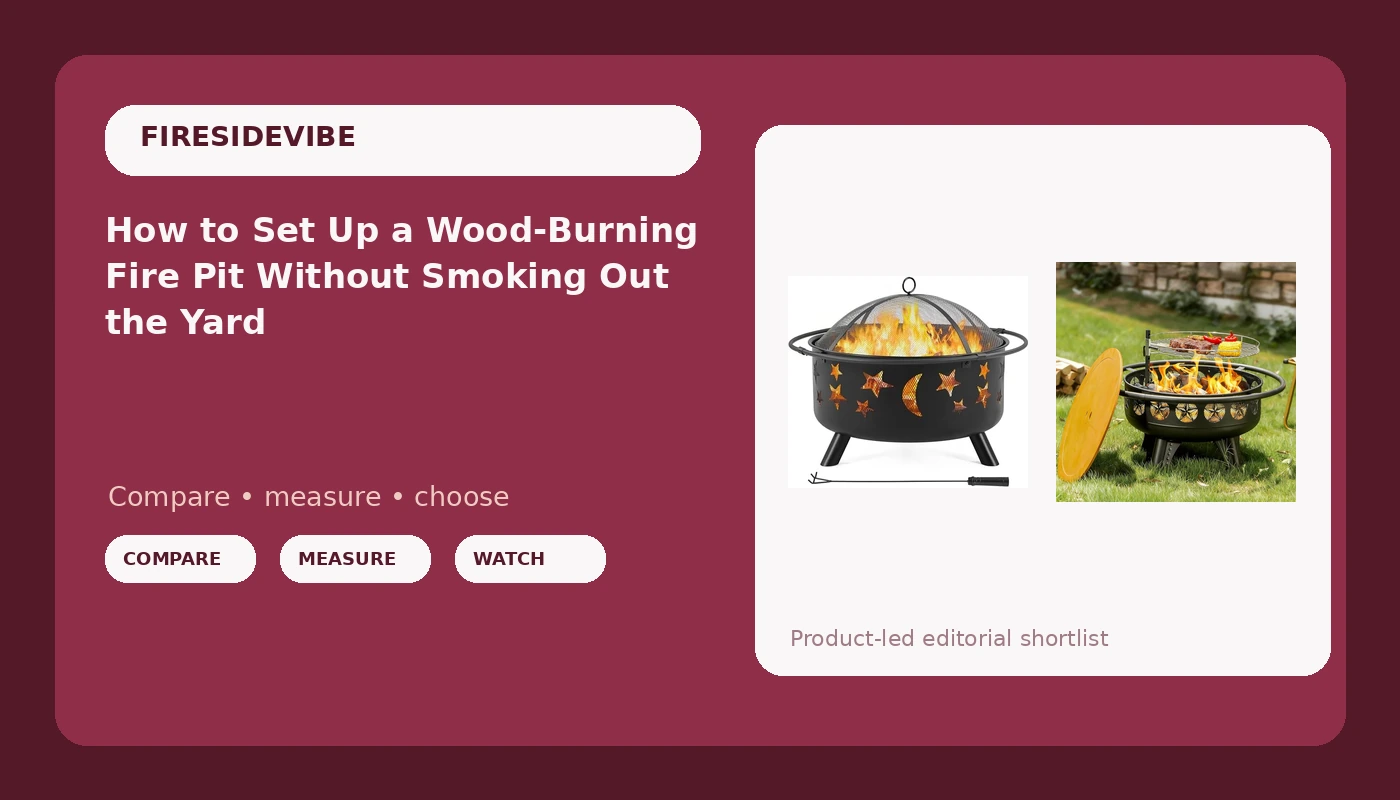
Most wood burning fire pit setup advice starts with the fire. Mine starts with the steel and the spot in the yard, because a pit that smokes you out of your own chairs or rusts through in a season is not a fire pit, it is a decoration with a burn permit.
I have been building and specifying fire pits around Asheville for fifteen years. I have installed them on decks in Weaverville, in gravel courtyards off Haywood Road, and on a client ridge line where the wind does whatever it wants after 7 p.m. The pits that survive are the ones where somebody thought about airflow and distance before they thought about the first log.
The two wood burning pits I would hand most people to start with are below, followed by the setup order I use on every install: placement, base, clearance, airflow, fuel, screen, first burn. Do those in order and the smoke goes up instead of into your lap.
Why you should trust me
I have built more fire pits than I have attended campfires, which sounds like a joke until you see the bed of my truck. Fifteen years of landscape work in western North Carolina, most of it around outdoor living spaces, means a lot of fire features: masonry rings, steel bowls, gas pits for clients who wanted ambiance without the smoke in their hair, and one chimney that cracked in its first winter because the homeowner bought on looks.
My test is boring and it never changes. What is the steel gauge? Does the smoke follow you around the fire? Is there a real spark screen? Would this still be standing after a season of rain? I keep three pits in my own yard, a smokeless one for family nights, a classic wood bowl for the real thing, and a gas unit I use for client events. That mix is exactly why I am picky about which wood pit I recommend.
How I picked and how I tested
Everything here is about wood burning steel pits, so the shortlist stayed there. I looked at bowl diameter, steel thickness, how air gets in and smoke gets out, whether the spark screen is included or sold as an afterthought, and how the bowl drains after a storm.
Both pits got the same routine: a full burn night with the same seasoned hardwood, the same wind check at 7 p.m., and the same question at the end. Did anybody move their chair? That last one matters more than any spec sheet. I also watched how each one handles ash cleanup and whether the base felt stable on a slightly uneven patio, because almost no patio in the mountains is perfectly level.
I did not test these in a lab and I am not going to pretend otherwise. What I can tell you is how each one behaves in a real yard over a real evening, and what you are trading at each price point.
The pits I would start with
Pick the pit first, then set it up. Buying the bowl is the easy part. Setting it up correctly is where most people lose the smoke battle before they ever light a match.
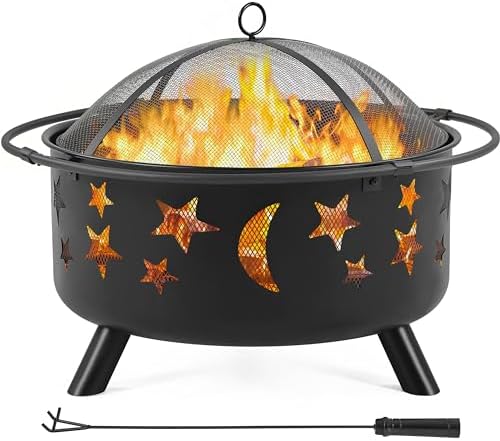
Budget pick: Yaheetech 30in Fire Pits for Outside Wood Burning Outdoor Fireplace
 Visit on Amazon →
Check current Amazon price. If you want a wood burning fire pit this weekend and you do not want to spend real money, this is the one I point people to first. Thirty inches is a good working diameter for four to six people, it takes standard firewood without you cutting anything down to fit, and the shape does the one job a budget bowl has to do, which is hold a fire safely and let air get under the logs.
The catch is the steel. Budget pits are built from thinner metal, and thinner metal means two things: it throws less heat at the people sitting around it, and it will eventually rust if you leave it out through a wet season. Neither is a reason to skip it. They are reasons to buy a cover, set it on gravel or a stone pad so water drains away, and accept that you are buying a good run of seasons rather than a family heirloom.
It ships with a spark screen, which I care about more than the shape of the bowl. If the configuration you are looking at does not include one, buy a screen before your first burn. I have seen what one ember does to a wood deck, and it is a very expensive lesson in a cheap part.
Flaws but not dealbreakers: The lighter build means you should not plan on dragging it around the yard every weekend. Pick its spot and leave it there.
Anyone renting, anyone furnishing a first patio, or anyone who wants to find out whether they actually like sitting outside in the cold should start here.
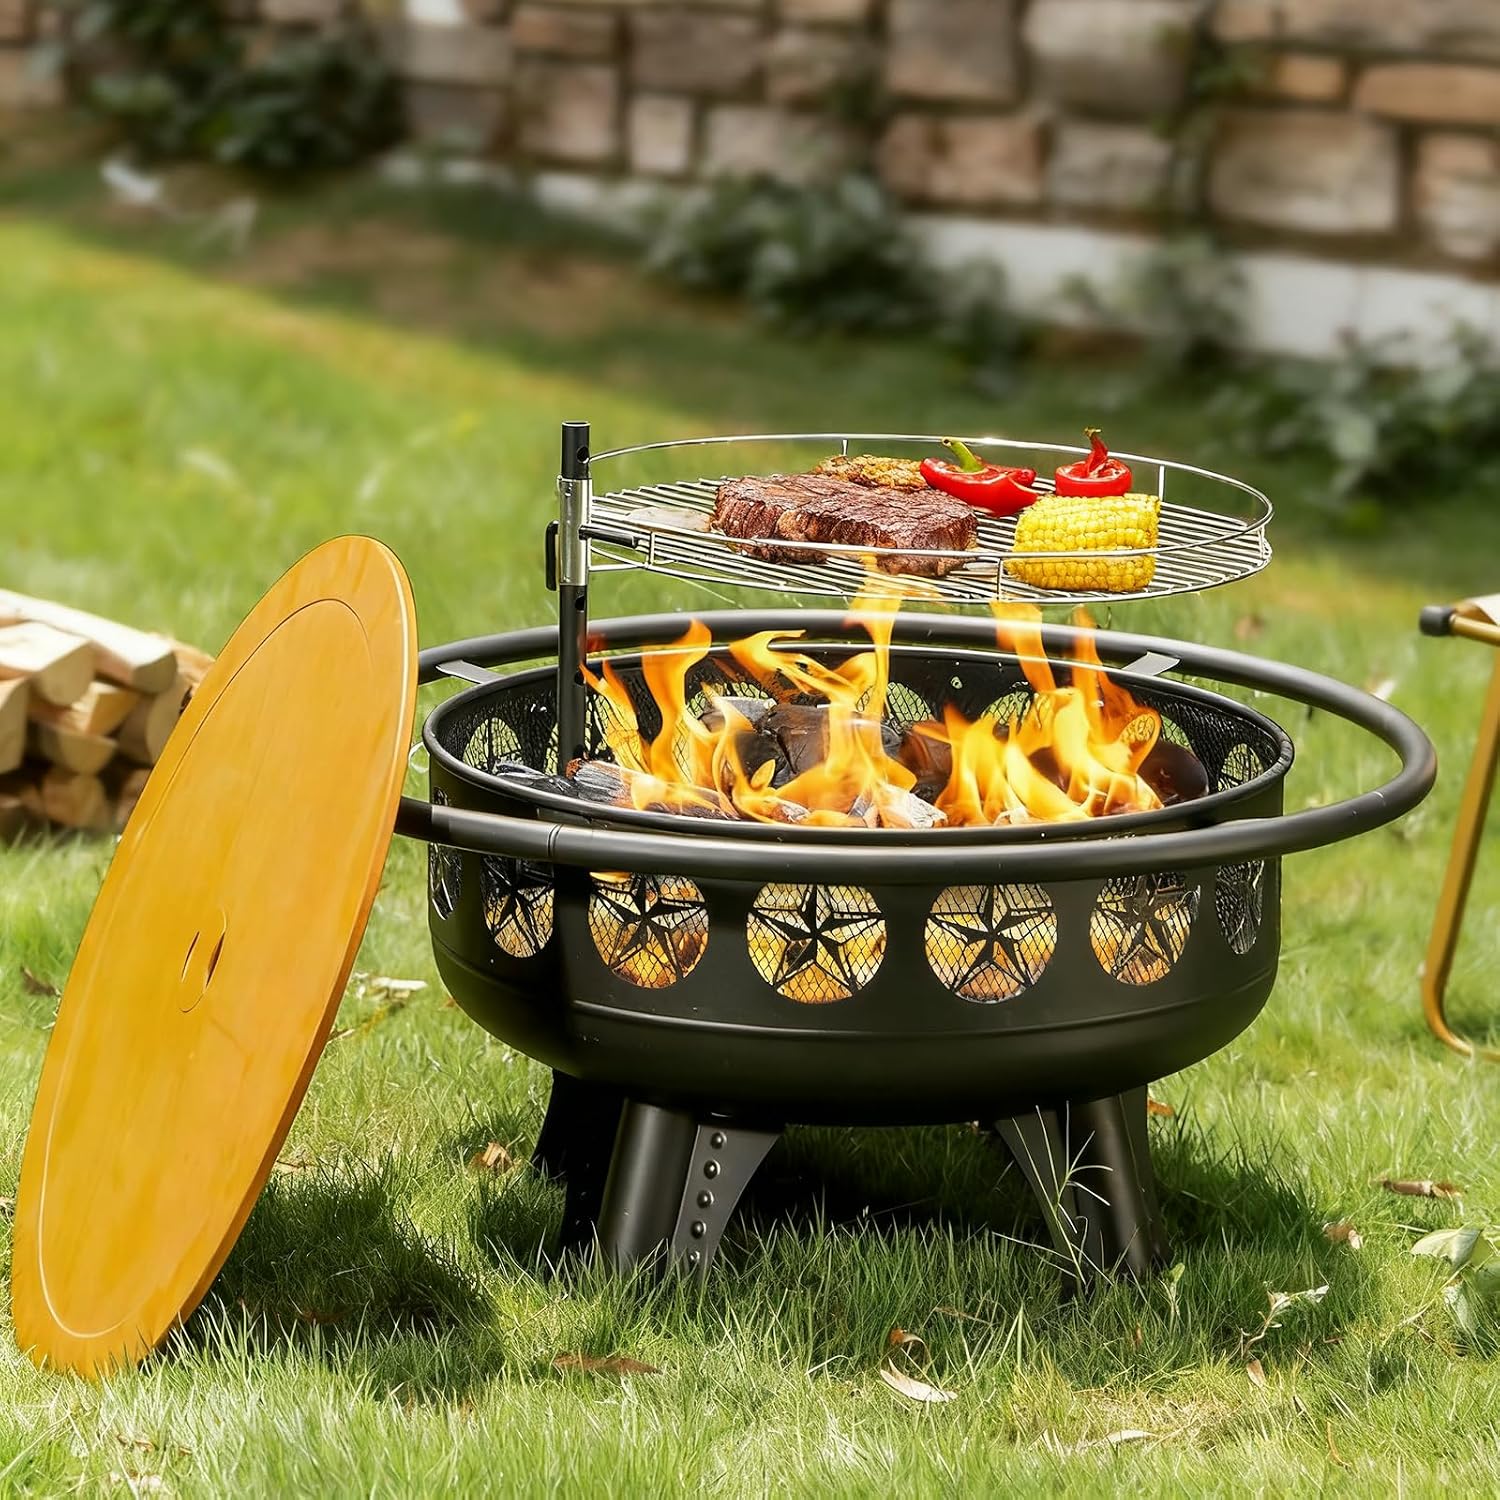
Grill-ready pick: Verdeluxe 32 Inch Outdoor Fire Pit with Grill 3-in-1 Wood Burning
 Visit on Amazon →
Check current Amazon price. This is the one I would buy for a household that wants the fire to do double duty. The 3-in-1 design gives you a fire bowl, a grill surface, and a shape that can work as a low table once the fire is out, and the thirty-two inch bowl leaves room for logs and food at the same time.
The grill is the reason to step up. Cooking over a wood fire is the difference between a fire pit and a place people want to be at 6 p.m. instead of 9 p.m., and a grate that actually fits the bowl beats a folding camp grill balanced on the rim every single time. In practice I burn for the first hour, let it settle into coals, then cook over those coals, which is the same rhythm as any charcoal grill you have ever used.
The caveat is maintenance. Anything with a cooking surface needs more attention than a plain bowl. Scrape the grate, keep it dry, and do not leave ash sitting in the bottom through a rainstorm or you will be scraping rust instead of burgers. Treat it like a grill that happens to be a fire pit and it will hold up.
Flaws but not dealbreakers: It is heavier than a plain bowl, and the cooking pieces are one more thing to store. If you never plan to cook outside, save the money and buy the simpler pit above.
Anyone who hosts, anyone with kids who want to roast something other than marshmallows, and anyone who wants one piece of equipment doing two jobs should look here.
The actual wood burning fire pit setup
This is the order I do it in on every install. Skip a step and you will feel it later, usually around the time the smoke changes direction.
Step one: pick the spot before you pick anything else. Ten feet from the house, the shed, the fence, and anything with low branches. Twenty is better. Check the wind at the time of day you actually use the pit, which for most people is after dinner and not noon. If the smoke drifts toward the chairs at 7 p.m., move the pit. No amount of clever design fixes a bad address.
Step two: level the base. Fire pits do not need much, but they need flat. A stone paver pad, a gravel circle, or a section of decomposed granite all work. Do not set a wood burning pit directly on a wood deck unless the manufacturer explicitly says you can and you have a non combustible pad under it. Grass is fine for a season, and dead grass is what you get for free.
Step three: check clearance above and around. Measure overhead clearance from the top of the bowl to the lowest branch or roof edge, not from the ground. Side clearance from combustibles matters more than people think, and a spark screen catches the big stuff, not everything.
Step four: get the airflow right. Fire needs air from below and a clear path for smoke to leave. Load small wood first, then larger splits, and leave gaps between the pieces. A tight pile of logs smolders and smokes. A loose stack with space between the splits burns hot and clean. If the bowl has vent holes or an ash pan, keep them clear of ash and debris.
Step five: start the fire small. Kindling and two splits, not a bonfire on night one. You are learning how the pit draws in your yard's particular wind. Add wood once the first load is burning well.
Step six: burn dry wood. Seasoned hardwood, split, with visible cracks in the end grain. Wet wood is the number one cause of a smoky fire and no pit design fixes a wet log. Store your wood off the ground and cover the top only, so air still moves through the stack.
Step seven: screen it and manage the end of the night. Spark screen on once the fire is going. At the end of the night, spread the coals with a poker and let them burn down. Do not douse a hot steel bowl with a bucket of water, because thermal shock is how bowls warp and welds crack. Cover the pit once it is cool to the touch.
Placement rules that keep you out of trouble
A few hard rules I do not bend on, whether it is my yard or a client's.
Keep ten feet minimum from structures and twenty if you have the room. Never burn under a low branch, a pergola, or an awning, no matter how good the photos would look. Set the pit on a non combustible surface if it sits anywhere near a deck, and keep a bucket of water or a shovel within arm's reach of the seating area. Check your local burn ordinances and pay attention to red flag days, because a backyard fire on a dry, windy afternoon in the mountains is how neighborhoods get evacuated. Dispose of cold ash in a metal can, never a paper bag or a plastic bin, and never into the woods. Keep kids and dogs to a marked boundary rather than a verbal one, since both forget instructions the second something interesting happens.
The competition and why it is not in this guide
This is a wood burning setup guide, so two whole categories are missing on purpose.
Smokeless double wall pits genuinely reduce smoke. If smoke is your main problem and your budget is several times what either pit above costs, a double wall design is the right answer, and it is what I use for family nights. You trade radiant heat for it, because the second wall insulates the burn, so it is a great small yard pit and a poor choice if you want to feel heat on your shins.
Propane and gas pits give you no smoke, no ash, and instant ignition. You are buying convenience, not a campfire. If your city or your apartment bans wood burning, this is your answer and there is no shame in it. It is simply a different product with a different job, and it does not belong in a wood burning setup guide.
Clay chimineas and thin cast bowls look great for a season. They do not handle freeze thaw cycles in the mountains well, and I have replaced more of them than I have installed. Buy steel if you want to keep it.
What this all costs
The budget pit plus a cover, a screen if it is not included, and a stone pad is a modest outlay, and it is the cheapest real fire pit experience you can buy. The grill ready pit costs more up front, and for some households it replaces a charcoal grill outright, which is where the math gets interesting. Check current Amazon price on both before you decide, because the numbers move and I would rather you look than trust a snapshot.
The recurring cost is wood. The hidden cost is doing it wrong. A pit placed under a low branch, set on a wood deck without a pad, or left uncovered through a winter is the expensive version of this hobby. The setup above is free, and it is the part that decides whether you get a handful of seasons or a decade of them.
The bottom line
The best fire pit is the one that makes your friends stay until the logs are ash. Steel thickness and airflow are the only hard parts, and everything else is just where you put your chair.
Do the setup in order, keep a screen on it, cover it when the rain comes, and you will get more nights out of an inexpensive bowl than most people get out of a fancy one they never figured out how to place.