Most bad fire nights are airflow problems, not firewood problems. I have watched people blame damp logs, blame the pit, blame the brand, when the real issue was a fire stacked six inches above the rim of a bowl that had no way to pull air from underneath it.
A wood burning fire pit only needs three things: fuel that is dry, a bed that lets air in from below, and a spot in the yard where the prevailing wind is not aimed at your chairs. Get those three right and the fire does the rest. Get them wrong and you will smell like a chimney by nine o'clock.
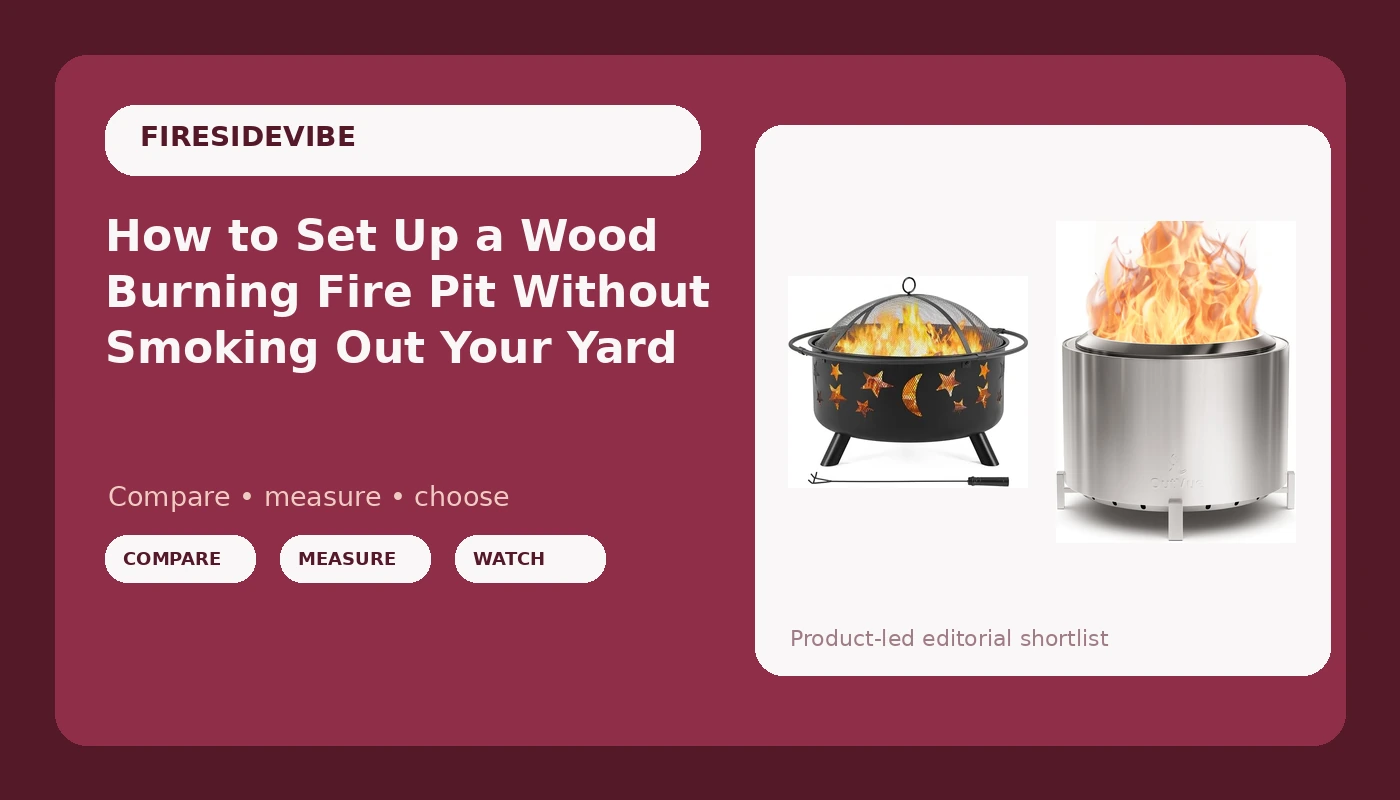
I have been building and installing fire pits for clients for 15 years, and the workflow below is the same one I hand to a homeowner with a brand new steel bowl and the same one I run on my own pits in Asheville. Two pits come up again and again for people starting from zero, and both are linked below with a plain explanation of which night each one is for.
Why you should trust me
I am Caleb, an outdoor guide and landscape designer in Asheville, North Carolina. Fifteen years of backyard work, and more fire pits built than campfires attended, which says something about how I spend my weekends. I own three pits: a smokeless double-wall unit for family nights, a classic steel bowl for the nights I actually want a fire, and a propane pit for client events where nobody wants smoke in their hair.
My rules are boring and they have not changed in a decade. Smoke management is the feature. Steel thickness decides the lifespan, because a thin bowl is a one-season novelty and a thick one is a decade of fires. The spark screen is not optional, and I say that as someone who has watched an ember roll off a deck and has replaced a bowl that rusted through after one wet winter.
How I pick and what I check
Every pit gets the same four questions before I recommend it to anyone: what is the steel gauge, does the smoke follow you around the fire, is there a real spark screen, and would it still be standing after a season of weather. A pit that fails any of those is a decoration, not a purchase.
For this workflow, the design family matters more than the brand name. A classic single-wall bowl burns wood in the open, radiates heat at your shins, and gives you the full campfire experience. A double-wall smokeless design pulls air up through the walls and burns the smoke a second time, which is the difference between a fire night and a smoke detector night. Both types are covered below, and both run the same setup steps in this guide.
Steel gauge is the number nobody advertises, so ask or lift the box. Three millimeters and up lasts a decade outdoors. Around one millimeter rusts through in a season or two, especially if it sits uncovered through winter. If you cannot find a thickness anywhere in the listing, treat that as your answer.
The two pits this guide is built around
These are the two I point people toward depending on which kind of night they want. Read both before you choose, because the layering step changes slightly between them.
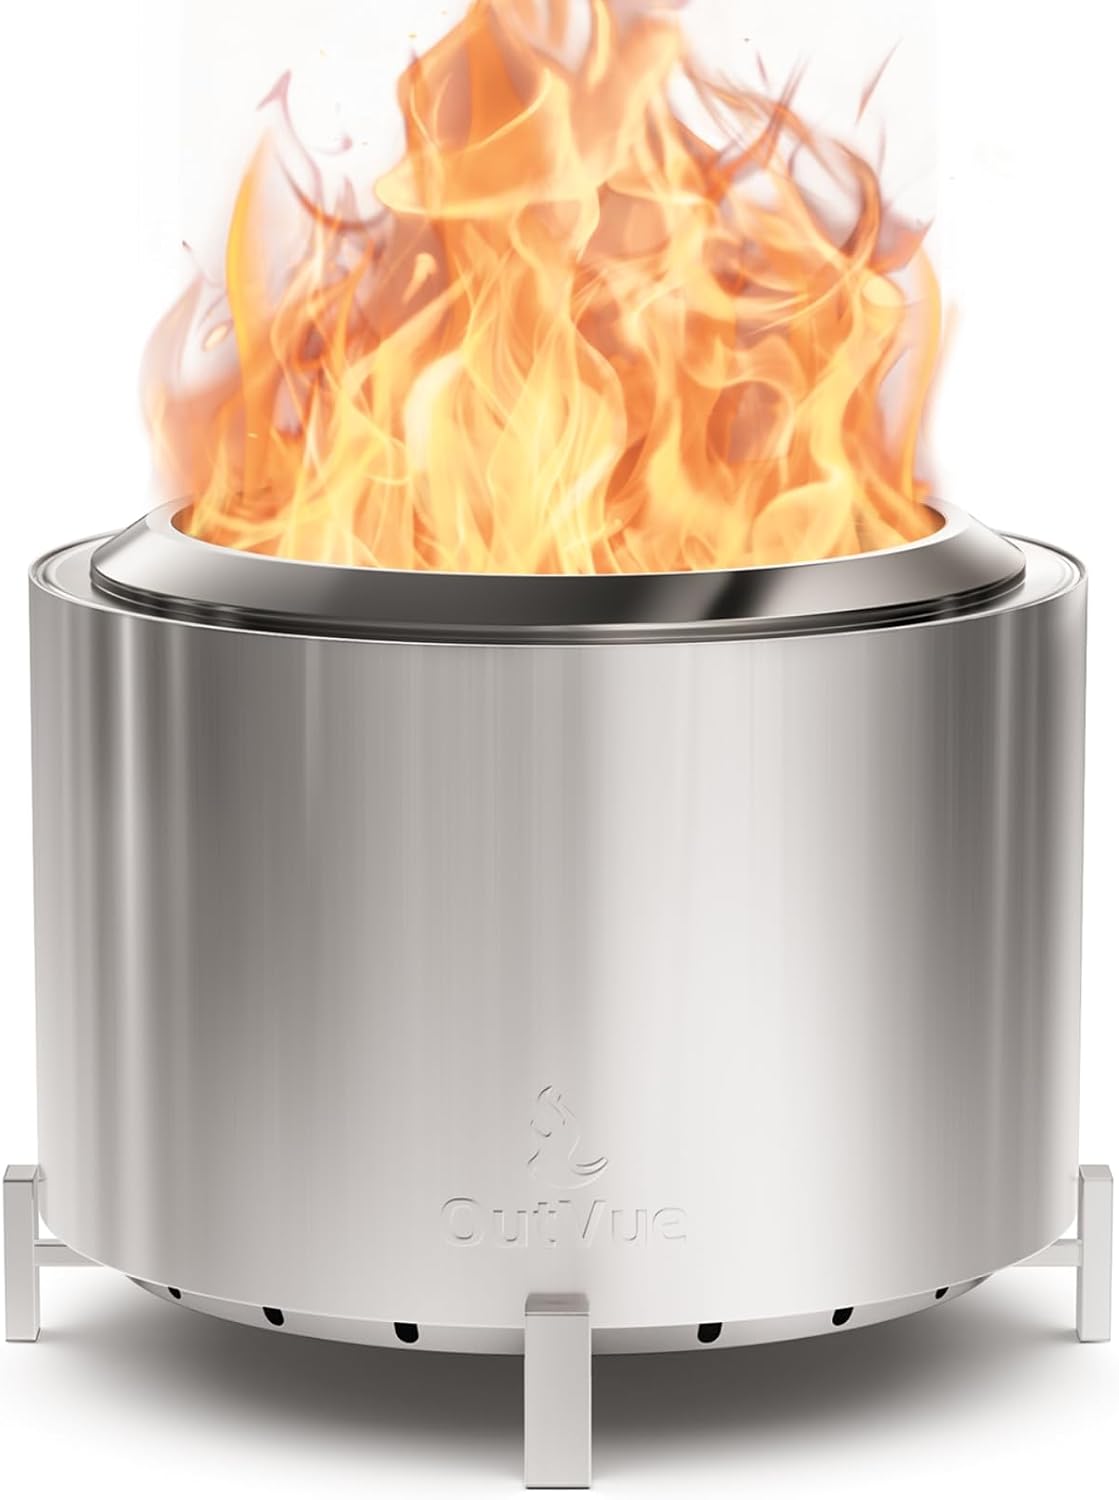
The smokeless pick: OutVue 27 Inch Stainless Steel Smokeless Fire Pit with Waterproof Cover
 Visit on Amazon →
Stainless steel, 27 inches across, double-wall smokeless construction, and it ships with a waterproof cover. That cover matters more than any other accessory in this article, because a covered pit is a pit that survives a wet season. Check current Amazon price.
This is the one for the family night, the small patio, and the neighbor who complains. The double-wall design feeds air into the secondary burn, which is what actually kills the smoke, and stainless resists the rust that ends the life of painted carbon steel. Because it is stainless, you can leave it out in the rain without watching orange streaks appear by spring, and the included cover handles the rest.
The tradeoff with any smokeless design is radiant heat. The walls stay cooler because the burn is happening up top, so your shins get less of it than they would from an open bowl. You get a taller, cleaner, hotter flame column and you keep your hair. Stainless also shows ash streaks and fingerprints, so keep a rag with your tools and wipe it down after a burn night.
Anyone who wants to sit around a fire without moving their chair every ten minutes should start here.
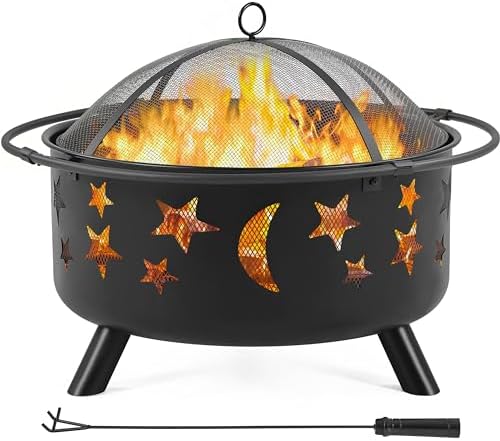
The classic pick: Yaheetech 30in Fire Pits for Outside Wood Burning Outdoor Fireplace
 Visit on Amazon →
Thirty inches, wood burning, open bowl, the traditional backyard fireplace shape. Check current Amazon price.
This is the pit for the nights when you want the real thing: crackle, visible flame, and heat you can feel on your face from three feet away. An open bowl throws radiant heat in every direction, which is why it is the right pick for a cool October evening and the wrong pick for a small covered patio.
The honest caveat on budget steel is that thin metal rusts, and it rusts faster when it sits out uncovered. The fix is cheap: buy a cover the same week you buy the pit, dump the ash after every few burns, and touch up any scratches in the finish with high-heat paint before they turn into flakes. Do that and a budget bowl earns its keep for years. Skip it and you will be shopping again next spring.
Anyone who wants the campfire experience in their own backyard, and is willing to cover the thing, will be happy with this one.
Pick the spot before you build anything
This is the step people skip, and it is the step that decides whether you enjoy the fire or fight it all night.
- Flat, non-combustible ground only. Gravel, stone, concrete, or bare dirt. Not grass, not mulch, not a wood deck, and not a composite deck no matter what the listing photo shows.
- Ten feet minimum from the house, the fence, the shed, and any low branches. Fifteen feet is better if your yard allows it.
- Check the wind before you commit. Stand where the chairs will go and watch which way the smoke would drift. Then rotate your seating plan, not the fire.
- Never under a roof overhang, inside a screened porch, or in a garage. Carbon monoxide does not care how nice the evening is.
- Keep a bucket of water or sand within arm's reach of the seating. Not because you plan to use it, but because the one night you need it, you will not want to walk to the hose.
Layering the fire so it does not smoke
Now the part that separates a good burn from a smoky one. This works in both pits above.
Step one: build a bed. An inch or two of old ash, or sand if the pit is new, insulates the bottom of the bowl and gives the coals something to sit in. A bare metal floor pulls heat out of your fire and makes it struggle.
Step two: give it air from below. In an open bowl, that means a grate or a couple of small logs laid parallel as a base. In a double-wall smokeless pit, the wall vents do this job, so keep them clear and never fill the pit above the vent line.
Step three: stack loose, not tight. Use the log cabin stack for a slow evening fire or the lean-to for a quick hot one. Either way, leave gaps. Fire needs oxygen between the pieces of wood, not just around them.
Step four: kindling on top. Small dry twigs and splits go on top of the stack, not crammed underneath it. Stuffing kindling into a tight space is how you get a smoldering pile that smokes for 20 minutes.
Step five: light from the top. A top-down burn comes up clean, and the fire feeds itself downward into the bigger logs. It looks wrong the first time you do it. It works.
Step six: stay below the rim. Never stack wood higher than the top edge of the bowl. Anything above the rim is exposed to wind, throws embers, and smokes unevenly because there is no wall to channel air around it.
Lighting and the first twenty minutes
Use a long lighter or a match, not lighter fluid. Accelerants leave a smell that hangs in the steel and in your clothes, and they flare in a way that catches people off guard.
Let the kindling catch and burn down to a coal bed before you add anything big. That is usually 10 to 15 minutes. People rush this step, throw a big split on a young fire, and smother the flame they just built. Patience here is the whole trick.
Once you have coals, feed one log at a time and give each one a few minutes. Two logs at a time is fine if the fire is established. Three at once is how you end up with a smoking pile and a yard full of disappointed guests.
The downwind test
Here is the test I actually run, and it takes ten seconds. Sit in the chair you plan to use. If the smoke follows you when you shift seats, the fire is starved, not cursed.
Fix it in this order. First, spread the coals with a poker so air can move through the bed. Second, rotate the top log so the burning side faces the wind. Third, check that the wood is dry. Wet wood hisses, smokes white, and will not cooperate no matter how well you built the fire. If it is wet, split it smaller and let the coals dry it out before you add more.
If smoke still chases you, your pit is in the wrong spot. Move the seating, or move the pit. It is a lot less work than rebuilding the fire every 15 minutes.
The spark screen, and how to shut it down
Put the screen on before the fire is lit, not after the first pop sends an ember across the patio. A screen costs very little compared to a deck repair, and in my book a pit without one is incomplete.
When you are done for the night, let the fire burn down on its own. Do not dump water into a hot steel bowl. The thermal shock warps the metal and can crack a welded seam, and you will be buying a new pit sooner than you planned. If you need to leave before the coals die, smother the fire with a lid or a metal cover and let it sit.
Cold ash goes in a metal bucket, never a plastic bag, and never straight into the trash on the same night. Ash can hold heat for a surprisingly long time.
Winter care and the season test
The last question I ask about any pit is whether it would still be standing after a season of weather, because most pits die in the off season, not during it.
Cover the pit or bring it inside when you are done for the year. Empty the ash first, since ash holds moisture against the steel. If you see rust spots starting, scrub them with steel wool and touch up painted carbon steel with high-heat paint. Stainless just needs a wipe and a dry place. Check the welds and the legs in spring before your first burn of the year, and tighten anything that has loosened.
What this all costs
There are really only two numbers here: the pit, and the small kit around it. Check current Amazon price on both pits above and compare them against the night you actually want to have.
The kit is a cover if your pit does not include one, a poker, a metal ash bucket, and a spark screen. Those items are cheap next to the pit itself, and they are what decide whether you are still using the same bowl three years from now. The most expensive option is buying twice.
Do the spot check, layer the fire loose, keep it below the rim, and sit downwind to test it. That is the entire job. The best fire pit is the one that keeps your friends in their chairs until the logs are ash.