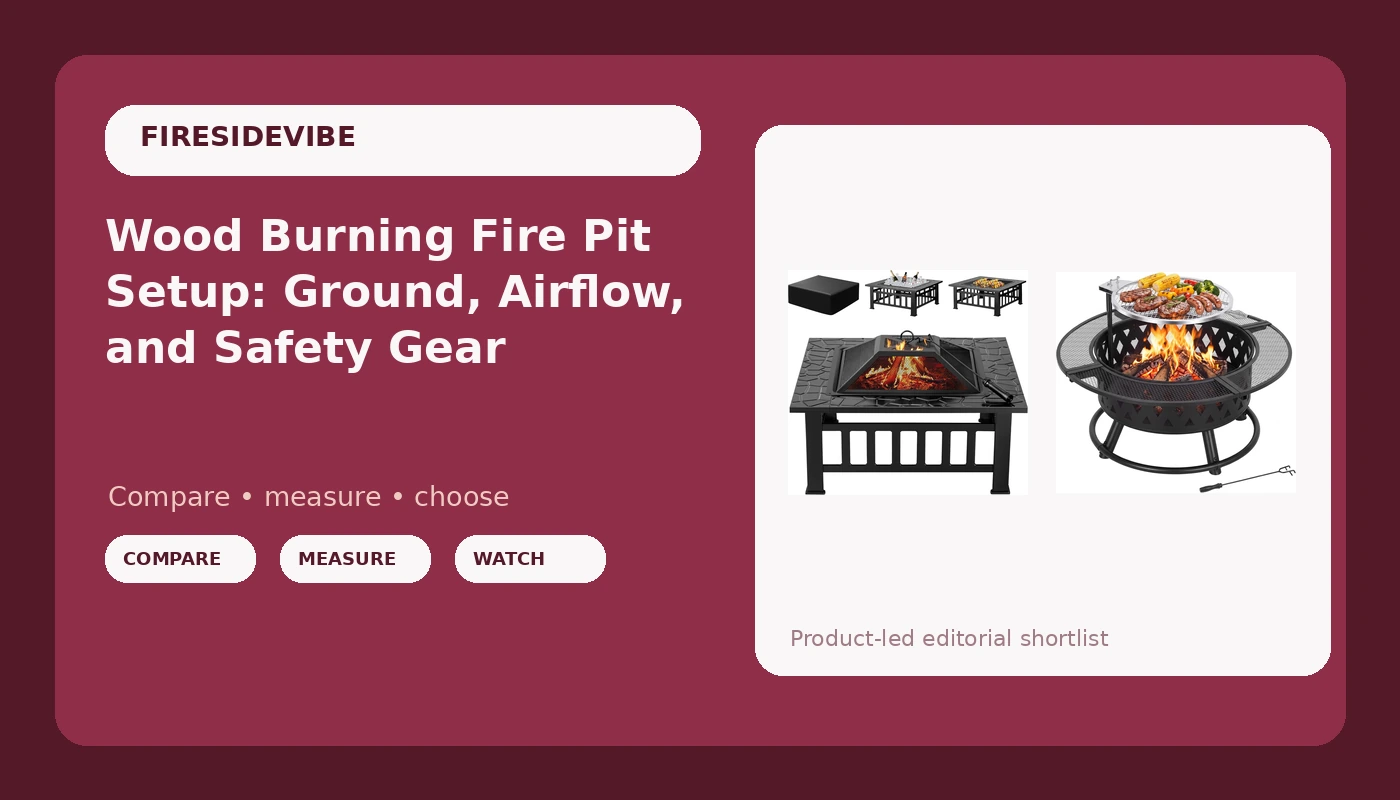
A wood burning fire pit is the simplest thing in your yard and the easiest thing to get wrong. I have watched people spend a whole Saturday building a beautiful stone ring and then light the first fire four feet from a cedar fence. The pit was never the problem. Everything around the pit was.
This guide is the setup order I use when I install a wood burning fire pit in a client yard, from picking the spot to the first real burn night. It covers the two pits I would hand a first-time buyer, the ground prep that keeps them standing, and the small habits that decide whether you get ten years out of the thing or one season.
None of it is complicated. It just has to happen in the right order, because the spot decides the base, the base decides the airflow, and the airflow decides whether you spend the night moving your chair.
Why you should trust me
I have been designing and building outdoor spaces around Asheville for 15 years, and fire pits are the part of the job clients get most excited about. I own three: a smokeless one for family nights, a classic wood pit for the real thing, and a gas one for client events where nobody wants smoke in their hair. I have also installed everything from a cheap chiminea that cracked in one season to steel behemoths that cost more than my first truck.
I do not recommend a pit I have not sat downwind of. I do not call anything smokeless until I have parked a chair in the smoke path and watched where it goes. And I check two things on every pit before it goes in a yard: how thick the steel is, and whether there is a real spark screen. The spark screen is not optional. I have seen what one ember does to a deck, and it is not a small repair.
The four questions I ask before anything else
Before you buy anything, answer these. They sort every pit on the market into yes and no faster than any spec sheet.
- What is the steel gauge? Thick metal lasts a decade. Thin metal is a one-season novelty that will rust through and look tired by the second spring.
- Does the smoke follow you around the fire? A pit that smokes you out of your own backyard is a fireplace with a seating problem. Design matters here, not just size.
- Is there a real spark screen? Mesh that actually sits on the rim and stays there. If it ships without one, price one in before you light up.
- Would it still be standing after a season of weather? Rain, snow, and a wet fall. If the answer is no, you bought a decoration.
Two pits that fit two different jobs
The two below cover the two most common situations I get asked about: a bigger pit you want to cook over, and a smaller one that fits a patio or a tight seating circle. Both are wood burning, because that is the experience. Gas is convenience, and I will not pretend otherwise.
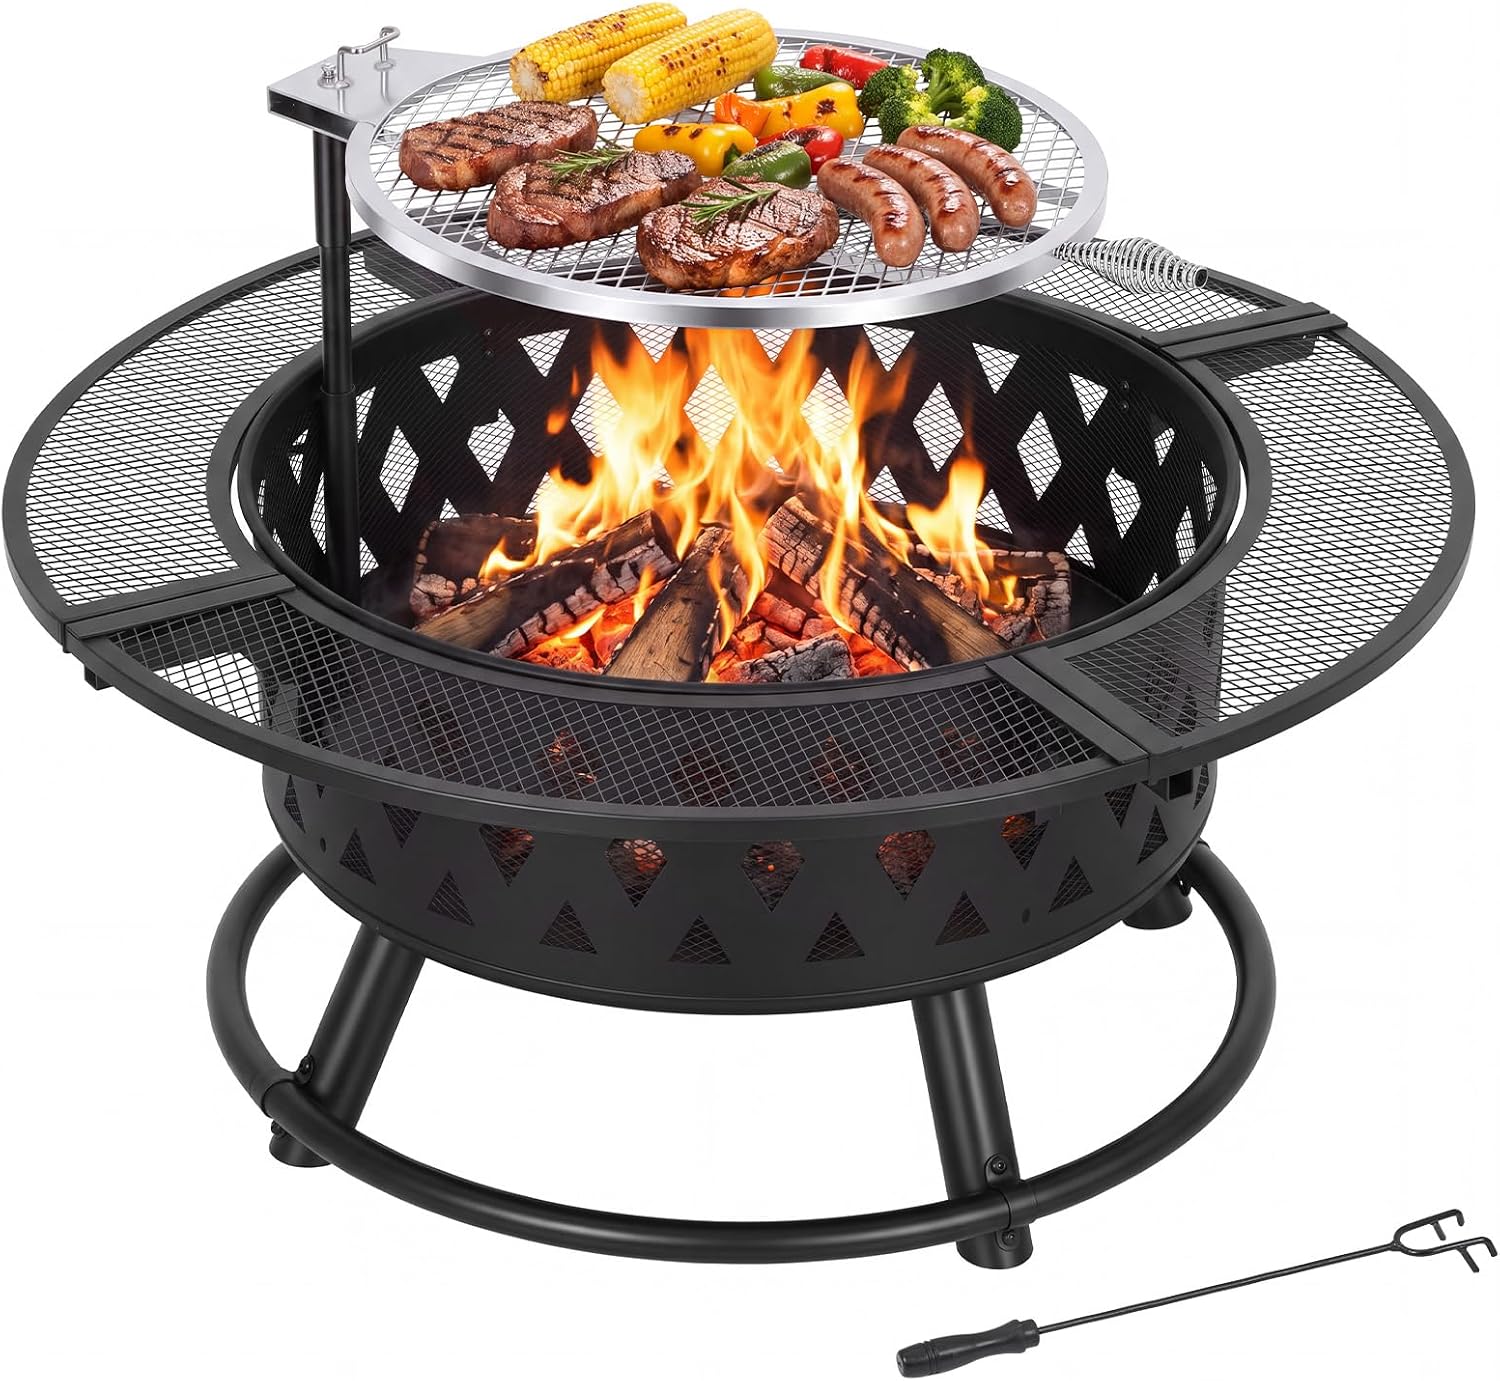
Best for cooking over the fire: Garvee 39" Fire Pit with Grill Grate, Wood Burning for Outside Fireplace
 Visit on Amazon →
The grill grate is the whole reason to look at this one. A 39 inch wood burning pit with a grate that drops over the coals turns a fire night into a cookout, and it is the setup I would pick for a family that wants burgers and dogs over wood instead of propane. It is the larger of the two pits here, so it wants a real seating circle around it and honest clearance on every side. Give it room.
Flaws but not dealbreakers: A bigger pit eats more wood per night. If you are buying bundles at the hardware store, budget for more than you think. It also needs a genuinely level base, because a wide rim sitting on uneven ground will rock, and a rocking pit is a spilled pit.
Anyone with a patio or a decent patch of gravel who wants fire plus food should start here.
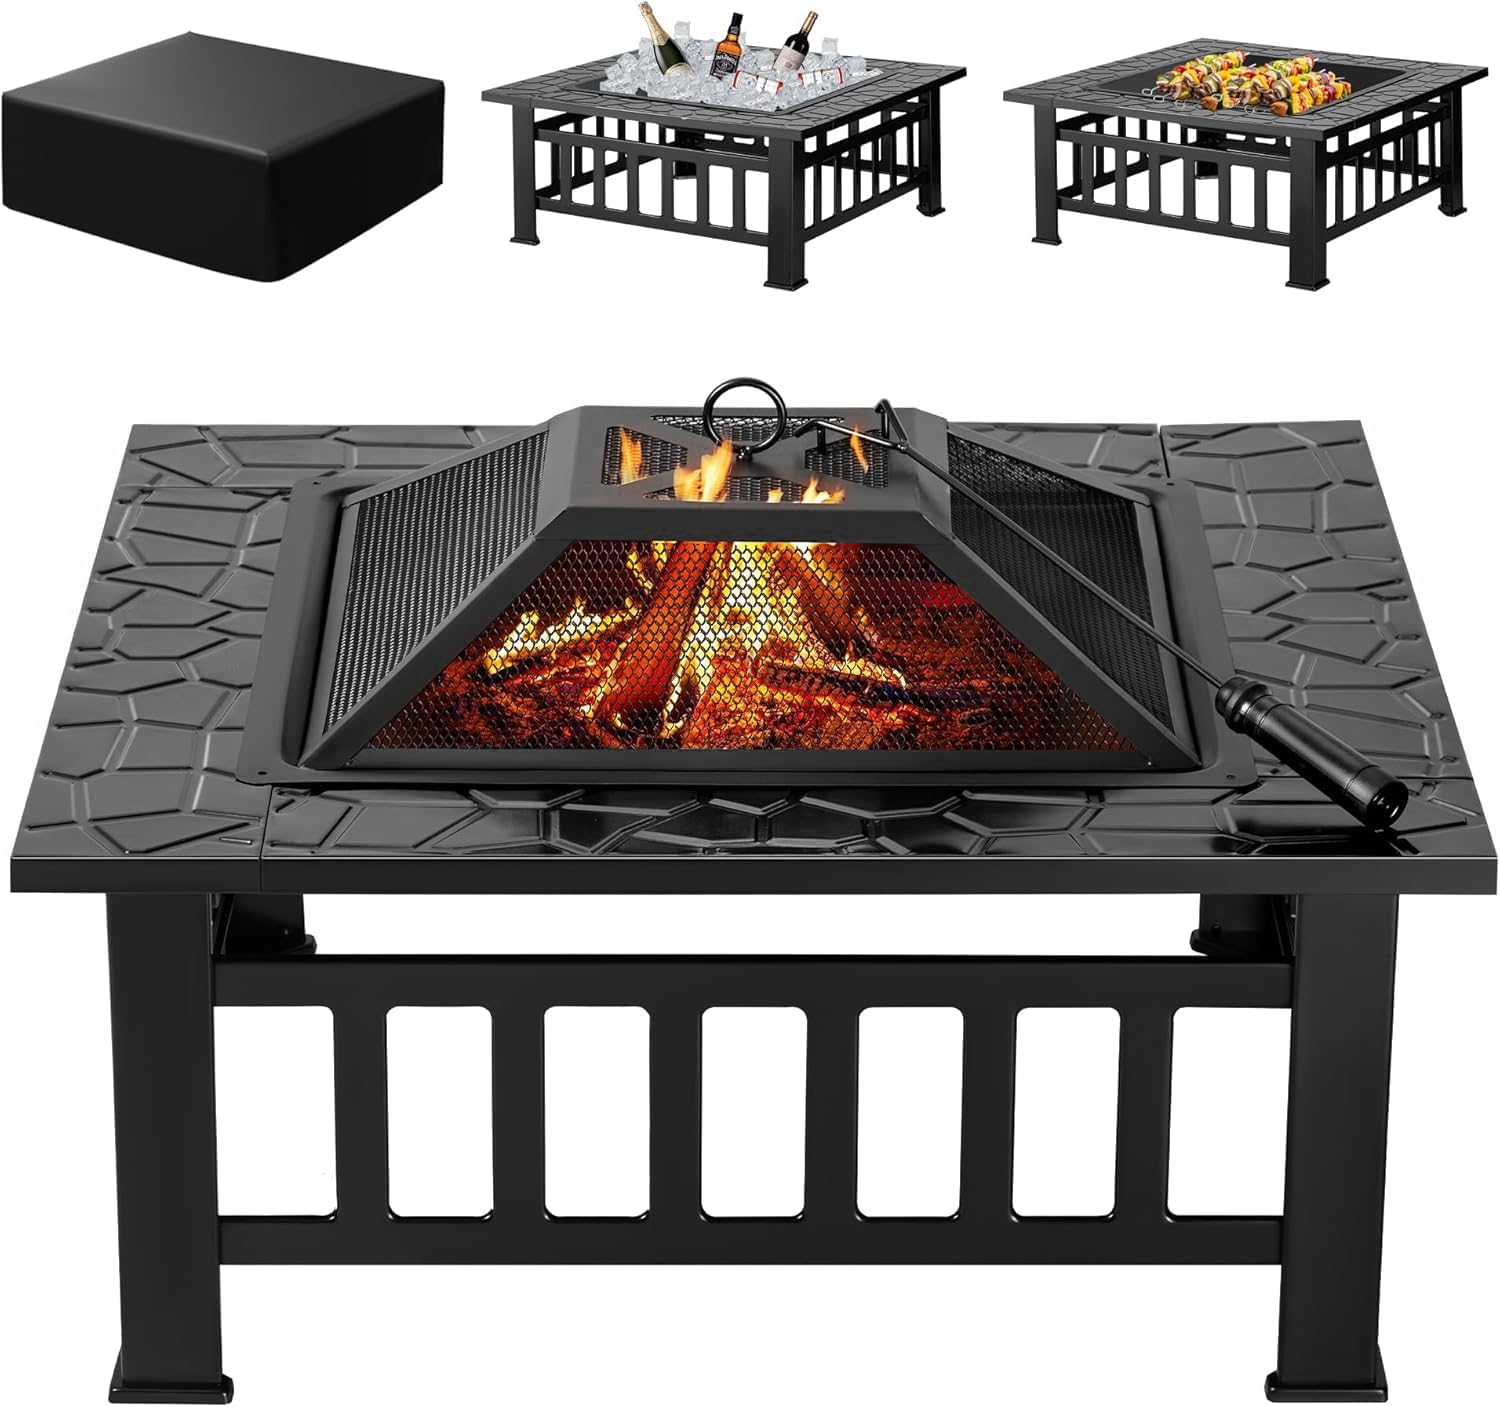
Best for tight yards and patios: Devoko Outdoor Fire Pit, 32 Inch Firepit Table Metal Outdoor Fireplaces
 Visit on Amazon →
The Devoko is the one I point people toward when the yard is small or the seating area is a patio rather than a lawn. At 32 inches it takes up noticeably less footprint than the Garvee, which means it fits a tighter circle of chairs and a shorter run of pavers without crowding anybody. The firepit table style also reads as furniture in a way a plain bowl does not, so it looks intentional on a patio instead of dropped there.
Flaws but not dealbreakers: No grill grate in the name, so treat this as a sitting-around-the-fire pit, not a cooking rig. If you want to cook, go up to the Garvee. Also, smaller fire means smaller coal bed, so plan on feeding it more often if you want a long night.
Anyone with a patio, a townhouse yard, or four chairs and not much more will get more out of this size.
Site selection: the decision that outranks every other
Pick the spot before you unpack anything. Everything else follows from it.
Give the pit at least ten feet of clear air from the house, the fence, and any low branches, and check your local burn ordinance and HOA rules, because some jurisdictions want more and some ban open burning outright on certain days. Look up. A branch that clears your head in July is lower than you remember in October.
Then think about smoke. Smoke follows the person who complains about it, and it follows the wind. Stand where you plan to sit at the time of day you actually burn, and figure out which way the evening air moves through your yard. Put the pit so the smoke has somewhere to go that is not your neighbor's open window or your own screen door.
Finally, look down. Grass, gravel, pavers, and deck boards are four different situations. The next section is how to handle each.
Base prep: level, non-combustible, and draining
A wood pit sitting directly on a wood deck is a deck repair waiting on a windy night. Full stop. If your only space is a deck, the pit goes on a non-combustible pad or a paver base, with clearance on all sides, and the spark screen stays on the entire time.
On grass or dirt, scrape the top layer back and set a base of compacted gravel or a small paver pad. You want two things from that base: a level surface so the pit does not rock, and drainage so water does not sit under the bowl after a storm. Standing water is what kills the bottom of a fire pit, and it kills it quietly.
On an existing patio, check the pavers are not loose before you set the legs down. A pit on shifting pavers will lean within a month.
The actual setup, step by step
Step one: Mark the clearance. Lay out your seating first, then the pit, then walk the ten foot ring and look for anything combustible inside it. Move the pit before you move the chairs.
Step two: Build the base. Compacted gravel or pavers, wider than the pit's footprint by a few inches so the legs or base ring are fully supported.
Step three: Set the pit and level it. Use a level across the rim, not the ground. Check it twice, once front to back and once side to side. If it rocks, fix the base, do not shim the pit.
Step four: Stage the safety gear before the first fire. A spark screen that fits the rim, a poker long enough to keep your knuckles out of the heat, a pair of leather gloves, and a metal bucket of water or sand within arm's reach. This is the step people skip, and it is the step that matters.
Step five: Burn it in small. The first fire should be short and hot, not a towering blaze. New metal has oils and coatings on it that need to burn off, and a gentle first fire lets the steel expand without drama. Expect some smell on that first burn. It goes away.
Step six: Learn the airflow. Start with kindling built into a loose teepee, not a packed pile, and light it on the side the wind is coming from. Fire needs air more than it needs fuel. If your fire is sulking, you have smothered it, not starved it.
Step seven: Feed it properly. Seasoned hardwood, split to a size your pit can actually hold, and never stacked above the rim. A fire burning over the top of the bowl throws embers, and embers are how decks die.
Step eight: Manage the ash. Leave about an inch of ash in the bottom as insulation, and shovel out the rest once it is completely cold. Cold ash goes into a metal can, never a plastic bag, never the trash can in the garage.
Cooking over the grate
The Garvee's grill grate is the reason to pay attention to that model, and the trick to using it is patience. Wait for the flames to die down and the coals to go gray before anything touches that grate. Cooking over open flame gives you a black outside and a raw middle, and it is the most common mistake I see on a backyard fire.
Oil the grate before it goes over the coals, keep a pair of tongs and a heat-proof glove nearby, and keep the food moving. And keep the lid or screen situation in mind: once you are cooking, the screen comes off, which means somebody stays with the fire. That somebody is you.
Safety, in plain terms
Never leave a wood fire unattended, not for a phone call, not for a refill. Keep kids and dogs to a marked distance and teach them the ring is not a place to run through. Never use lighter fluid on a fire that is already burning. Never burn pressure-treated lumber, painted wood, or trash, because the fumes are worse than the smoke you are trying to avoid.
And when the night is over, let it die down, then drown it, stir it, and drown it again. Cold to the touch before you walk inside.
Weather, storage, and making it last
Cover the pit when you are not using it. Water sitting in the bowl is the number one killer of a fire pit, and a cover is the cheapest insurance you will ever buy for one. If your pit has drainage holes, keep them clear of ash and debris so rain has somewhere to go.
Come spring, look at the metal honestly. Surface rust on thick steel is cosmetic and can be cleaned and touched up. Rust that has eaten through is a verdict, and a pit that rusts through in year one was a decoration, not a purchase.
Questions I get every fall
Can I put it on my deck? Not directly on the boards. Non-combustible pad, clearance on every side, spark screen on the entire time. If that sounds like too much fuss, the pit belongs on the patio or the lawn.
How much wood will I burn? More than you expect, especially with a larger pit like the 39 inch Garvee. Buy seasoned hardwood by the half cord if you burn weekly, and keep it covered and off the ground.
Do I need the spark screen if I am careful? Yes. Careful is not a material. The screen catches the ember you did not see.
Which of the two should I buy? If you want to cook and you have the room, the Garvee and its grill grate. If you have a patio or a small circle and you just want to sit by a fire, the Devoko at 32 inches. Check current Amazon price on both before you commit, and let the size of your space make the call.
That is the whole job. Pick the spot, build a base that drains, level the pit, stage the gear, and start small. Do that once and you get a decade of nights where nobody wants to leave until the logs are ash. That is the test every fire pit should pass.