Most people shop for a wood-burning fire pit setup by falling for the bowl. The bowl is the easy part. What decides whether you get ten years of fire nights or one season of rust, smoke in your eyes, and a scorch mark on the deck is everything around it: the steel, the airflow, the spark screen, the surface it sits on, and where the wood and the ash actually live between burns. A fire pit is a small piece of infrastructure. Like any piece of infrastructure, it either gets planned or it gets replaced.
This is an explainer for that plan. Two of the options below are the pit itself, one casts the path out to it, and one handles the storage layer where the fire starters and the ash bucket sit. None of them are complicated. All of them are the difference between a fire area you use three times a year and one you use three times a week.
Related: Fire Pit Safety Basics: Clearance, Spark Screens, and Ash Disposal →
Quick answer
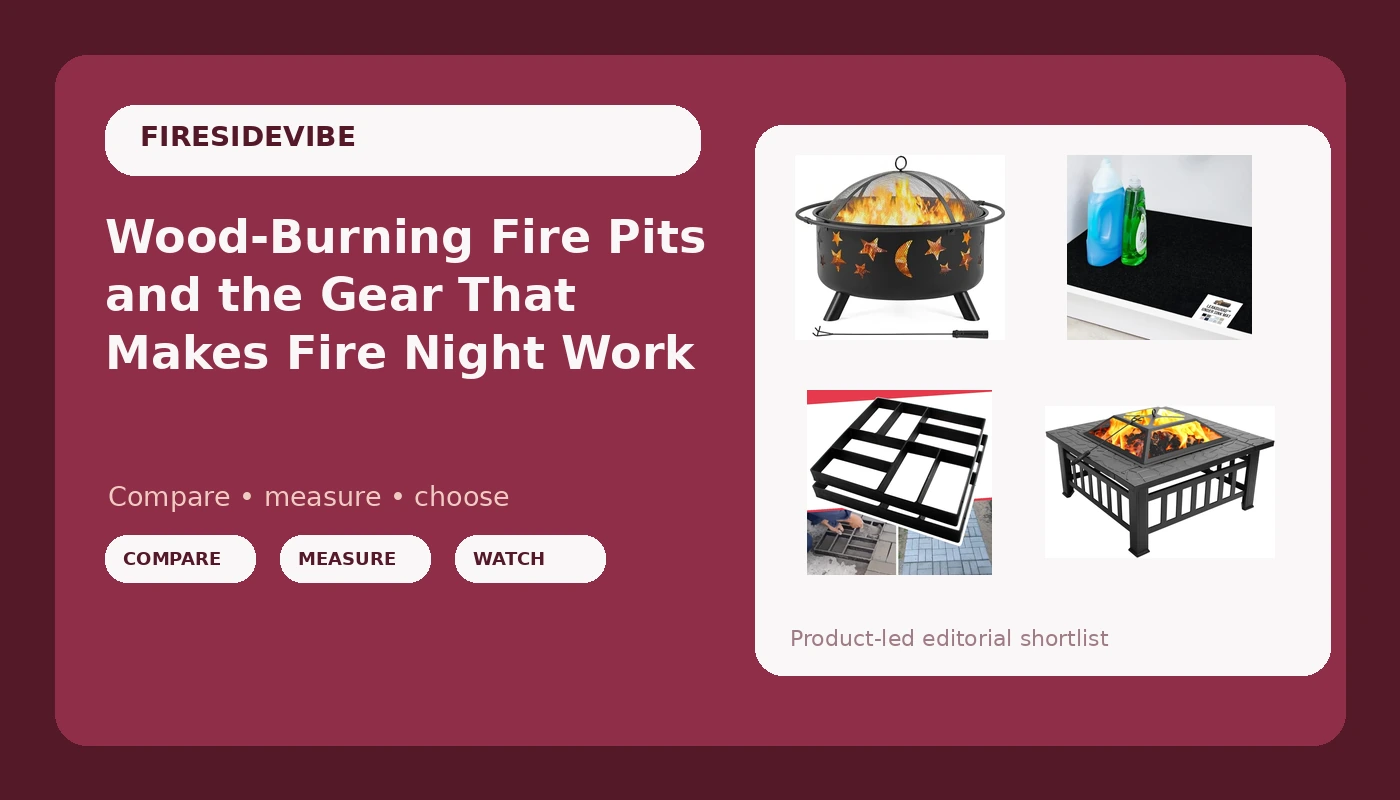
For most backyards, the practical starting point is the VINGLI 32in Wood Fire Pit with Mesh Lid and Fire Poker, because the listing includes the two accessories that matter most: a mesh lid that serves as a spark screen and a poker for moving logs without putting your knuckles near the coals. If you want the simplest possible bowl and you already own a screen and a poker, the Yaheetech 30in Fire Pit is the leaner option. Around the pit, the Anothera walk path maker molds let you cast a stable approach path, and the GORILLA GRIP LeakGuard mat gives the cabinet or shelf where you keep fire starters and lighters a protective liner.
Four useful options
| Model | Best fit | What stands out |
|---|---|---|
| VINGLI 32in Wood Fire Pit with Mesh Lid and Fire Poker | A first wood pit with the accessories included | 32 inch bowl, mesh lid, and fire poker in one listing |
| Yaheetech 30in Fire Pits for Outside Wood Burning Outdoor Fireplace | A straightforward bowl for a smaller circle | Simple 30 inch wood-burning outdoor fireplace |
| Anothera 2Pack Walk Path Maker Concrete Molds | Building the path to the pit | Two reusable 8-grid molds, each 15.7 x 15.7 x 1.57 inches |
| GORILLA GRIP LeakGuard Under Sink Mat, 24x24 Black | Protecting the shelf or cabinet that holds fire gear | 24 x 24 inch LeakGuard mat made for cabinet floors |
The featured pick: VINGLI 32in Wood Fire Pit with Mesh Lid and Fire Poker
The trade-off with any pit that ships complete is that the included parts are usually the basic version. A mesh lid keeps embers where they belong, but you lift it every time you feed the fire, so you want one light enough to handle with gloves on. Portability is the other trade. A pit you can move is a pit you can store out of the rain, which matters more than most buyers expect, but portable builds generally use lighter metal than a permanent installation, and lighter metal holds less heat and takes weather harder. That is a category-wide reality, not a knock on this specific pit. Check the product page for the stated material and thickness before you commit, and plan where it lives when it is not burning.
The simple bowl: Yaheetech 30in Fire Pits for Outside Wood Burning Outdoor Fireplace
Two inches of diameter sounds like nothing until you are sitting around it. A 30 inch bowl is comfortable for four people who do not mind sitting close, while a 32 inch bowl gives you a little more shoulder room and a slightly bigger fuel load. The real difference here is packaging. The Yaheetech listing is a bowl, so budget for a spark screen and a poker if you do not already own them, and price the whole kit before you decide which route is cheaper. If you already have a screen from a previous pit, this is the more economical path to a fire.
The path builder: Anothera 2Pack Walk Path Maker Concrete Molds
The path is the part of a fire pit setup nobody plans, and it is the part that keeps people from walking through the fire circle in the dark. A cast paver path also fixes the muddy track that forms between the back door and the pit after a wet week. The method is simple: level and compact the ground, set the mold, fill with concrete, tamp it, and lift the mold straight up. Two molds in the pack means you can leapfrog them down the yard instead of waiting on a single one to cure. Wear gloves, keep a trowel and a bucket handy, and set the path wide enough that two people can pass without stepping off the stones.
The storage layer: GORILLA GRIP LeakGuard Under Sink Mat for Kitchen Cabinet, 24x24 Black
This one is honestly a crossover. It is built for the cabinet under a kitchen sink, and that is what it does well: it catches drips and protects the surface underneath. Around a fire pit, the same job shows up in the cabinet, mudroom shelf, or tote where you keep lighters, fire starters, and a lighter fluid bottle that never quite seals. A liner under that shelf keeps spilled fluid and water off the wood, and the black surface does not show ash dust the way a bare shelf does. It is not fire gear, and it should never sit near an open flame. It is the boring piece that keeps the rest of the setup from staining your storage.
Prices and availability may change. Product images, names, and retailer links must be matched by verified ASIN. Do not state a current price, rating, stock status, or measured result without current evidence.
Steel gauge, airflow, and the spark screen
Three things separate a fire pit from a planter with a bowl, and none of them are visible in a product photo.
Steel gauge. Thickness is lifespan. Thin stamped steel heats fast, warps, and rusts through in a season or two of uncovered weather; heavier steel holds its shape, holds heat, and can be repainted and reused for years. The catch is that most listings do not put thickness in the title. Read the product description and the questions section, and if the material is not stated anywhere, treat that as information in itself.
Airflow. A wood fire needs air from below and around the fuel, not just on top. Vents or a raised grate at the base feed the fire and cut down on smoldering, which is where most of the smoke comes from. Smokeless designs take this further with a double-wall construction that pulls air back over the fire and burns the smoke a second time, a process called secondary burn. Those pits cost more and work best with dry, seasoned wood and a hot fire. A cold, smoldering fire in any pit will smoke you out of your own yard.
The spark screen. This is not optional. An ember that lands on a wood deck, a dry leaf, or a chair cushion does not need a big fire behind it. A mesh lid or screen catches the majority of pop and drift, and it also slows a gust that would otherwise throw sparks sideways. Keep it on whenever you are not actively adding wood. If a pit ships without one, buy one that fits before your first burn, not after.
Cover and drainage. Water is what kills cheap pits. A cover keeps rain out of the bowl, and a small drainage hole or a tipped-over storage position keeps water from pooling inside. Empty the ash after every few burns so moisture does not turn it into a corrosive paste against the steel.
How to plan the fire area in five steps
- Choose the surface. Gravel, stone, brick, or a rated fire pad. Check local burn rules and the manufacturer's clearance instructions before you light anything, and never assume a wood deck is safe just because the pit has legs.
- Set the clearance. Keep the pit well away from structures, fences, low branches, and anything that can catch. Confirm the required distance for your pit and your area rather than guessing.
- Build the approach. Cast your path with the molds, or lay stone, so people walk to the fire on a stable surface instead of through the seating circle in the dark.
- Stage the fuel and the tools. A covered wood bin, a metal ash container, a poker, and the screen within arm's reach of where you sit. Anything you have to walk to the garage for is something you will skip.
- Plan for weather and for the end of the night. A cover for the pit, a liner for the storage shelf, and a clear routine for cold ash. The fire is over long before the cleanup is.
Practical guidance for the first month
- Start with small fires to learn how your pit drafts before you load it up.
- Use kindling and a proper fire starter. Lighter fluid on a backyard fire is how eyebrows and fences get lost.
- Move ash only when it is completely cold, and only into a metal container with a lid.
- Keep the mesh lid on whenever you are not actively feeding the fire, and store the poker somewhere rain cannot sit on it.
- Put a liner under the shelf or tote where fire starters, matches, and lighters live, and keep those supplies away from the pit itself.
Which option should you choose?
Choose the VINGLI 32in Wood Fire Pit with Mesh Lid and Fire Poker when you want one order that covers the bowl, the spark screen, and the poker, and you would rather not shop for accessories separately. Choose the Yaheetech 30in Fire Pits for Outside Wood Burning Outdoor Fireplace when you want a plain 30 inch bowl for a smaller seating circle and you already own a screen and a poker. Choose the Anothera 2Pack Walk Path Maker Concrete Molds when the ground between your door and your fire area turns to mud and you want a cast path you can build yourself. Choose the GORILLA GRIP LeakGuard Under Sink Mat when the cabinet or shelf holding your fire supplies needs a protective liner that hides ash dust.
One caveat applies to all four: the listings here do not publish every spec that matters. Material thickness, exact clearances, and what is included in the box should be confirmed on the product page before you buy, and local burning rules always outrank any buying guide.
The bottom line
A wood-burning fire pit setup is a system, not a purchase. The bowl gets the attention, but the screen keeps embers off your deck, the steel decides whether you are replacing it in two years, the path decides whether people can find the fire after dark, and the storage shelf decides whether your mudroom smells like lighter fluid. Buy the pit that includes the safety parts, plan the ground around it, and treat the storage layer as part of the job. Then the only thing left to decide is how many chairs you can fit around it.