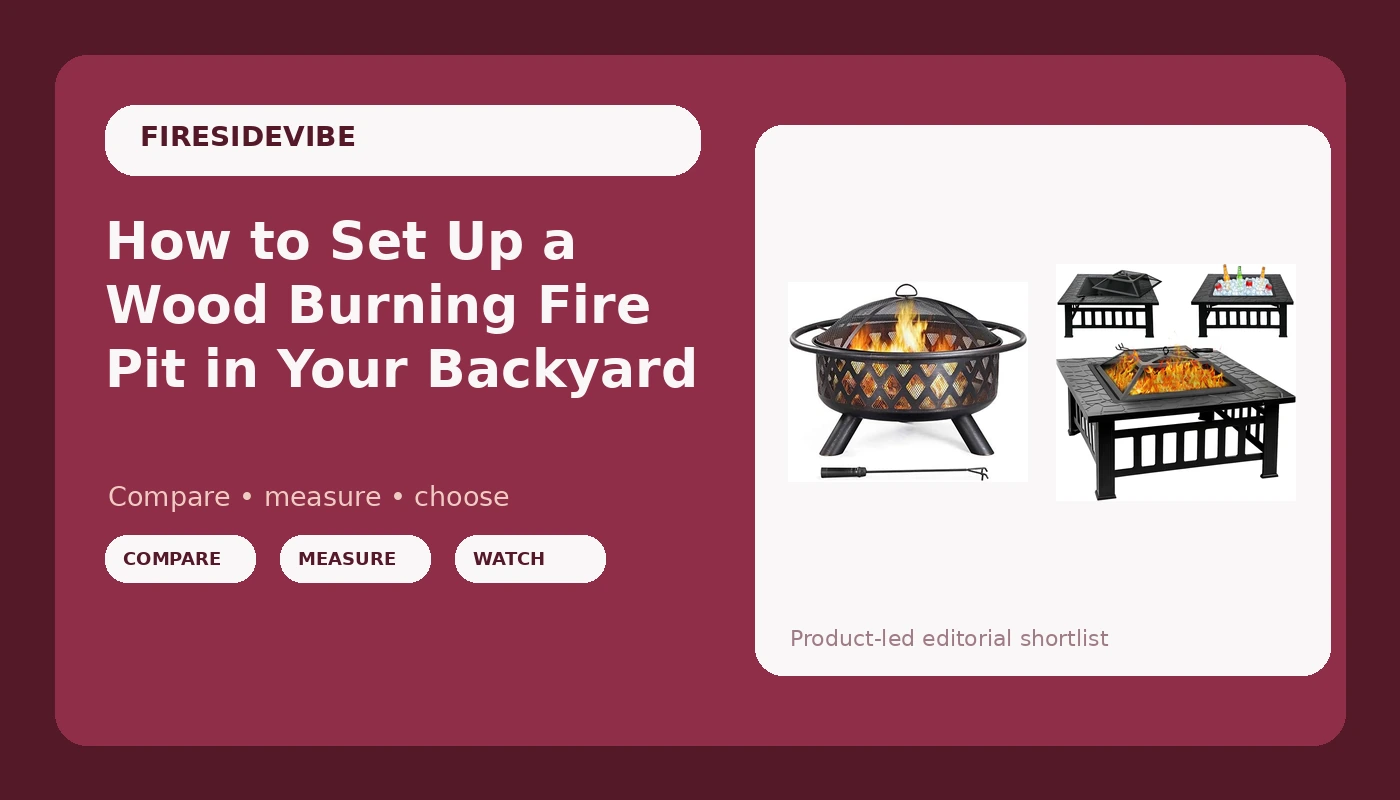
Most people buy a wood burning fire pit, set it on the patio, dump in a bag of logs, and spend the rest of the night sliding their chair around the smoke. The pit is almost never the problem. The setup is. Airflow, ground surface, wind direction, and how you load the first log decide whether you get a clean burn or a face full of ash.
I'm Caleb, an outdoor guide and landscape designer in Asheville, North Carolina. I've been building fire pits for clients for fifteen years, from cheap steel bowls that cracked in a season to steel behemoths that cost more than my first truck. This is the setup process I use on every pit I install: how to pick the spot, how to assemble it, how to break it in, and how to keep it from rusting out before its second spring.
Two pits show up here, a square table-style pit and a classic bowl, and both sit in the budget tier. The steps work on either one, and on whatever you already own.
Why you should trust me
Fifteen years of landscape work around western North Carolina means I've dug, leveled, and installed more fire pits than I've sat around. I've also watched the same mistakes repeat in yard after yard: a pit three feet from a cedar fence, a bowl sitting on a wood deck with nothing under it, a rain cover still in the box while the steel rusts through a winter.
My rules are simple and they don't bend. Steel thickness decides lifespan. Smoke management decides whether anyone actually sits downwind. A spark screen is not optional. And no pit earns a recommendation from me unless it can survive a full season of weather without being babied.
How I judge a fire pit before it goes in a yard
Four questions, in order:
- What's the steel gauge? Thicker steel holds heat, resists warping, and doesn't rust through in one season. Thin steel can still work, but only if you store it dry.
- Does the smoke follow you around the fire? That's about airflow, not brand. A deep bowl that draws from the top and feeds air from the bottom burns cleaner than a shallow pan.
- Is there a real spark screen? Embers on a deck are how fire pits become insurance claims.
- Would it still be standing after a season of rain, sun, and freeze-thaw? If the answer is no, it's a decoration, not a purchase.
Both pits in this guide clear those questions. Neither is a luxury build, and I'll tell you where each one gives ground.
The two pits in this guide
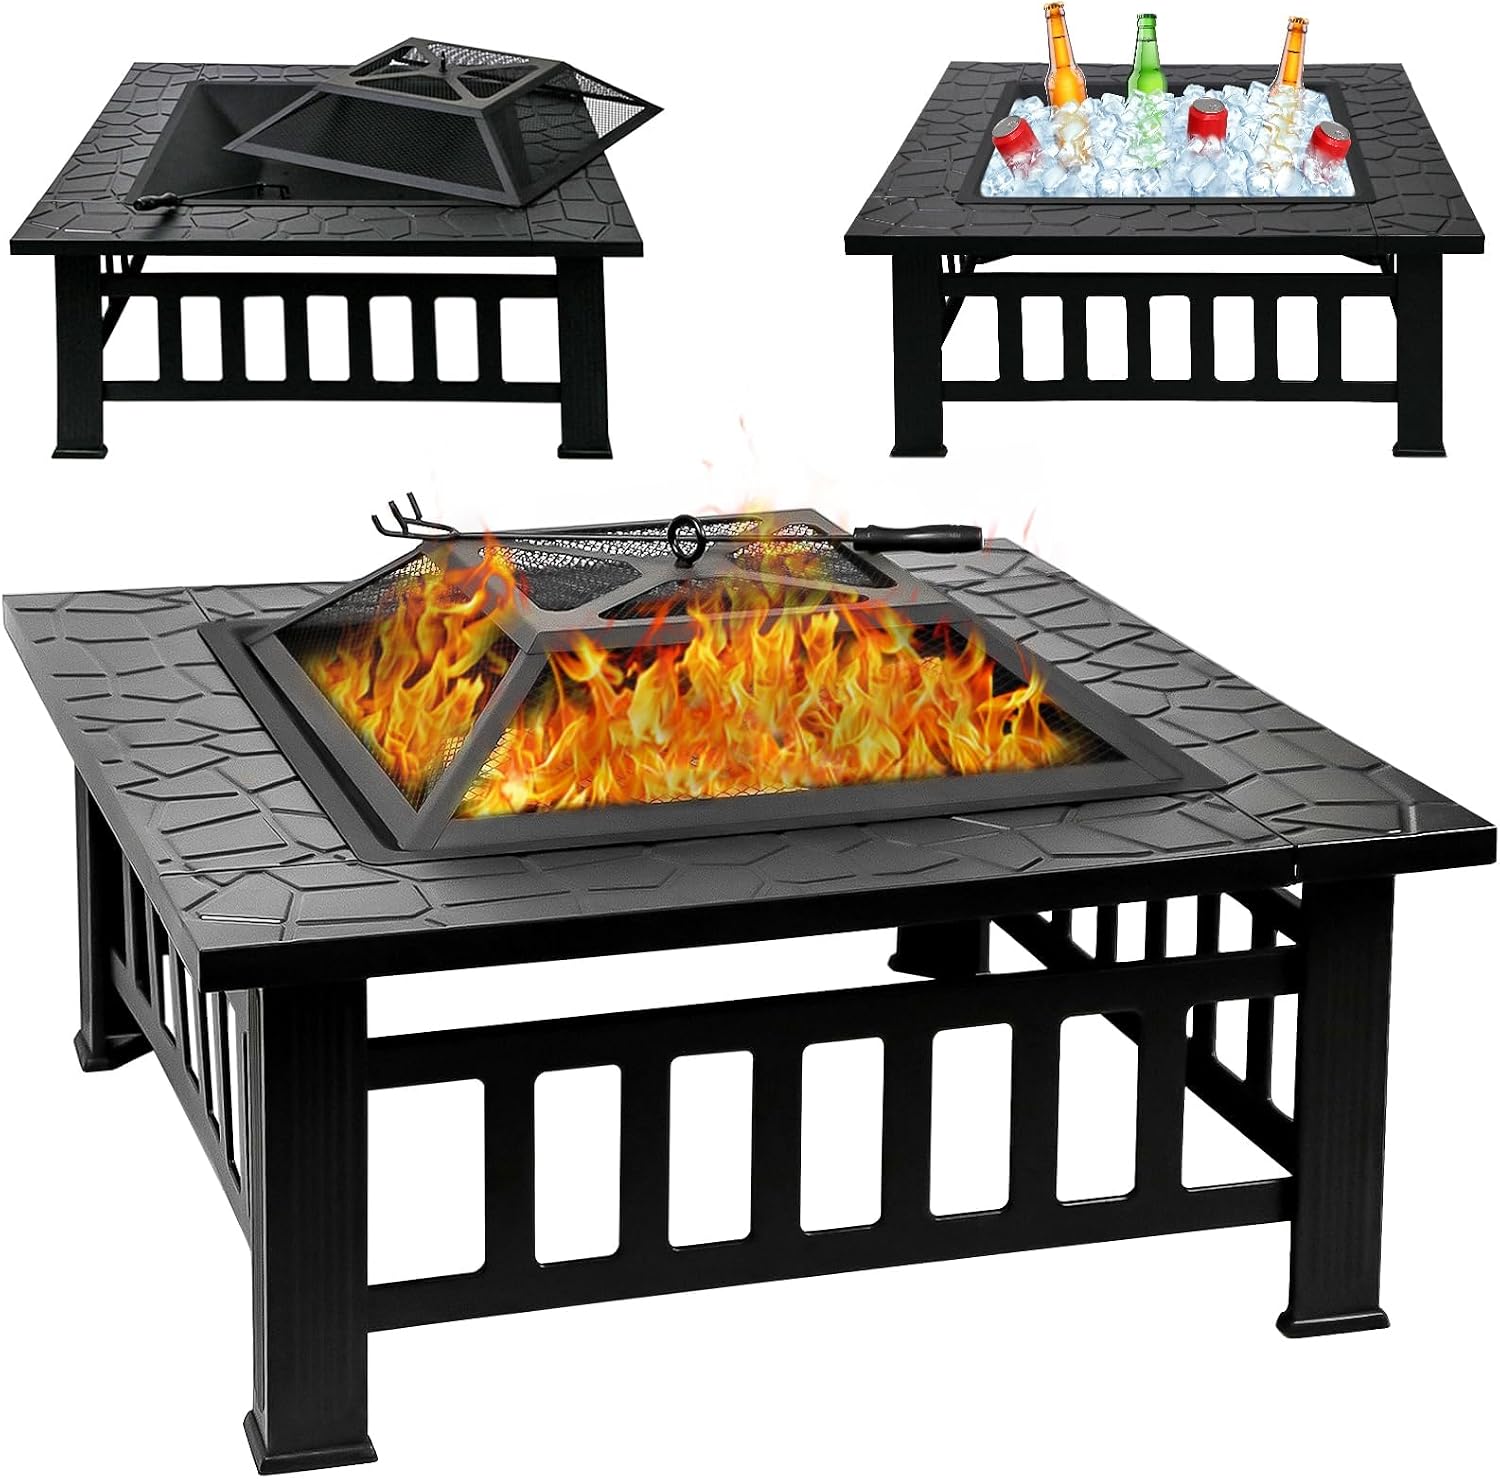
The square table pick: 32 Inch Fire Pit Table with Fire Poker & Spark Screen, Outdoor Burning Fire Pits, 3 in 1 Metal Square Firepit Stove for Outside Heating, Bonfire Party, Camping, Patio, Garden
 Visit on Amazon →
The square footprint is the reason to consider this one. A 32 inch table-style pit fits a small patio or a tight seating arrangement better than a round bowl of the same width, because you can push chairs up to a flat side instead of chasing a curve. It ships with a fire poker and a spark screen, so you aren't buying accessories before your first burn.
The table shape also makes it a gathering point rather than just a heat source: drinks on the rim, chairs on all four sides, fire in the middle. The listing describes it as a 3 in 1 design, so read the product page closely to confirm what you're getting before it lands on your porch.
Where it gives ground: a square firebox is less forgiving about log length than a round bowl, so keep your splits short. And any table-height pit puts the fire closer to your knees than a ground-level bowl, which is comfortable in cool weather and hot in July. Check current Amazon price.
Flaws but not dealbreakers: A mesh spark screen slows you down when you feed the fire. That's the trade for not raining embers on your patio, so plan on smaller, more frequent loads.
Anyone with a small patio or a seating area that wants a center point more than a bonfire will get the most out of this shape.
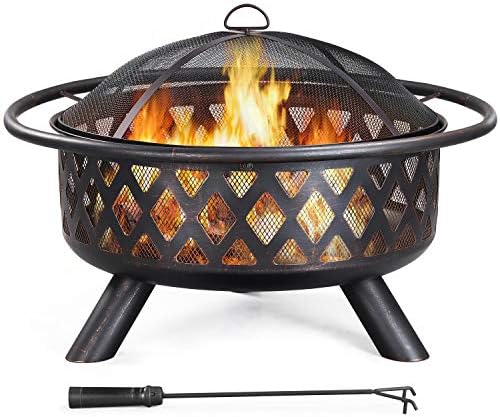
The classic bowl pick: Yaheetech Fire Pit 36in Outdoor Wood Burning Fire Pits Wood Large Fire Bowl for Outside BBQ Bonfire Patio with Mesh Spark Screen, Poker and Rain Cover
 Visit on Amazon →
If you want an actual fire, this is the shape to buy. A 36 inch bowl gives you depth for a real log pile, and the curve throws heat outward and low, which is where your feet and shins want it on a cool night. It comes with a mesh spark screen, a poker, and a rain cover, and that last item matters more than people expect: a bowl left open to the weather collects water, and standing water plus ash is what turns steel into rust.
The size is the other selling point. Thirty-six inches across means four people can sit around it without anyone getting crowded out of the heat, and it still looks proportional in a normal backyard.
Where it gives ground: at this price tier you're buying thinner steel than a premium pit, so the rain cover and dry storage aren't optional. Use the cover every time, and if you have garage space, put the bowl away for the winter. Check current Amazon price.
Flaws but not dealbreakers: A bowl this size is awkward to move once it's full of ash. Decide where it lives before you set it down.
Anyone with a yard, a gravel or stone patio, and a preference for wood smoke over propane should start here.
What you need before the first burn
Gather this before you open the box:
- A level, non-combustible surface: stone, gravel, concrete, or a fire-rated pad. Not grass, and never bare wood.
- A garden hose or a full bucket of water, plus a shovel for ash.
- Sand or fine gravel to bed a bowl-style pit.
- Seasoned or kiln-dried hardwood, split short.
- Fire starters. Skip lighter fluid; it's an accelerant, and it's how eyebrows get lost.
- Heat-resistant gloves and a poker.
- A spark screen. Both pits here include one. Use it.
- Five minutes to check your local burn ordinance and the wind forecast.
The setup, step by step
Step one: Check the rules. Burn bans, HOA covenants, and apartment leases all override your plans. A five-minute call saves a citation.
Step two: Read the wind. Smoke follows the prevailing breeze. Position the pit so the wind crosses the seating area instead of pushing smoke into it, and skip burning on a gusty night.
Step three: Pick the spot. Give the pit a wide berth: roughly ten feet from the house, the fence, the shed, and the woodpile, with nothing overhead. Low branches and a hot fire are a bad combination.
Step four: Level the ground. A pit on uneven ground rocks, and a rocking pit spills ash. Level the pad or the gravel first, set the pit down, and check it by hand.
Step five: Assemble it properly. Tighten legs and bolts now, not after the first burn. On the table-style pit, confirm the spark screen seats fully and the poker sits where you can reach it without leaning over the fire.
Step six: Bed the bowl. An inch or two of sand or fine gravel in the bottom of a bowl-style pit insulates the base and gives ash somewhere to go. Table-style pits usually want a lighter bed, so follow the manufacturer's instructions.
Step seven: Cure it with a small fire. The first burn should be small and short. You're burning off manufacturing oils and letting the metal heat and cool gradually. Twenty to thirty minutes of modest flame, then let it die down on its own.
Step eight: Learn its airflow. Feed from the upwind side, keep loads small, and leave the spark screen on. A fire smothered by too much wood smokes. A fire with room to breathe burns hot and clean.
Step nine: Put it out right. Water, stir the ash, water again, then feel for heat with the back of your hand near, not on, the coals. Never walk away from a pit that's still warm.
The mistakes I see in client yards
The pit is rarely the failure. The setup is. In order of how often I see them:
- A pit sitting directly on a wood deck. Use a fire-rated pad, or move it to stone or gravel.
- Wet or green wood. It smokes because you're boiling water out of it before it burns.
- Overloading the firebox. More wood than airflow equals smoke, every time.
- No spark screen on a breezy night. This is how decks get rebuilt.
- Leaving ash in the bowl all winter. Ash holds moisture against the steel.
- Storing the pit uncovered. The rain cover that ships with the Yaheetech exists for a reason.
- Sitting downwind and blaming the pit. Move your chair.
Keeping it alive through winter
Empty the ash once it's cold, all the way down to the metal. Cover the pit or move it under a roof. If you can get it into a garage or shed, do it, especially with thinner steel. Check the legs and the base for standing water after a storm. A pit that stays dry will outlast the same pit left out in the rain by years, and that difference costs you nothing but five minutes.
What this costs
Both pits here are budget-tier, so check current Amazon price on each before you buy. The extras are where people get surprised: a fire-rated pad, a bag of sand or gravel, gloves, and a couple of cords of seasoned wood over a season. None of it is expensive compared with replacing a rusted-out pit every spring, which is exactly what happens to uncovered steel in a wet climate.
Cost per night is the better way to look at it. A pit that lasts five seasons and gets used twice a month is cheaper than a pit that lasts one and gets used the same amount, no matter what the sticker said.
The bottom line
A wood burning fire pit is a simple machine: steel, fuel, and airflow. Set it on something that won't burn, level it, bed it, cure it with a small fire, and put it away dry. Do those things and either of these pits will give you years of nights. Skip them and you'll be buying a new one next fall.
Fire is simple. Steel and airflow are the only hard parts.